The Form widget in website builder
In the SendPulse landing page builder, you can add a subscription form to collect data from site visitors and subscribe them to campaigns or create deals with them.
Add the Form element
Add the Form widget to the desired part of the template.
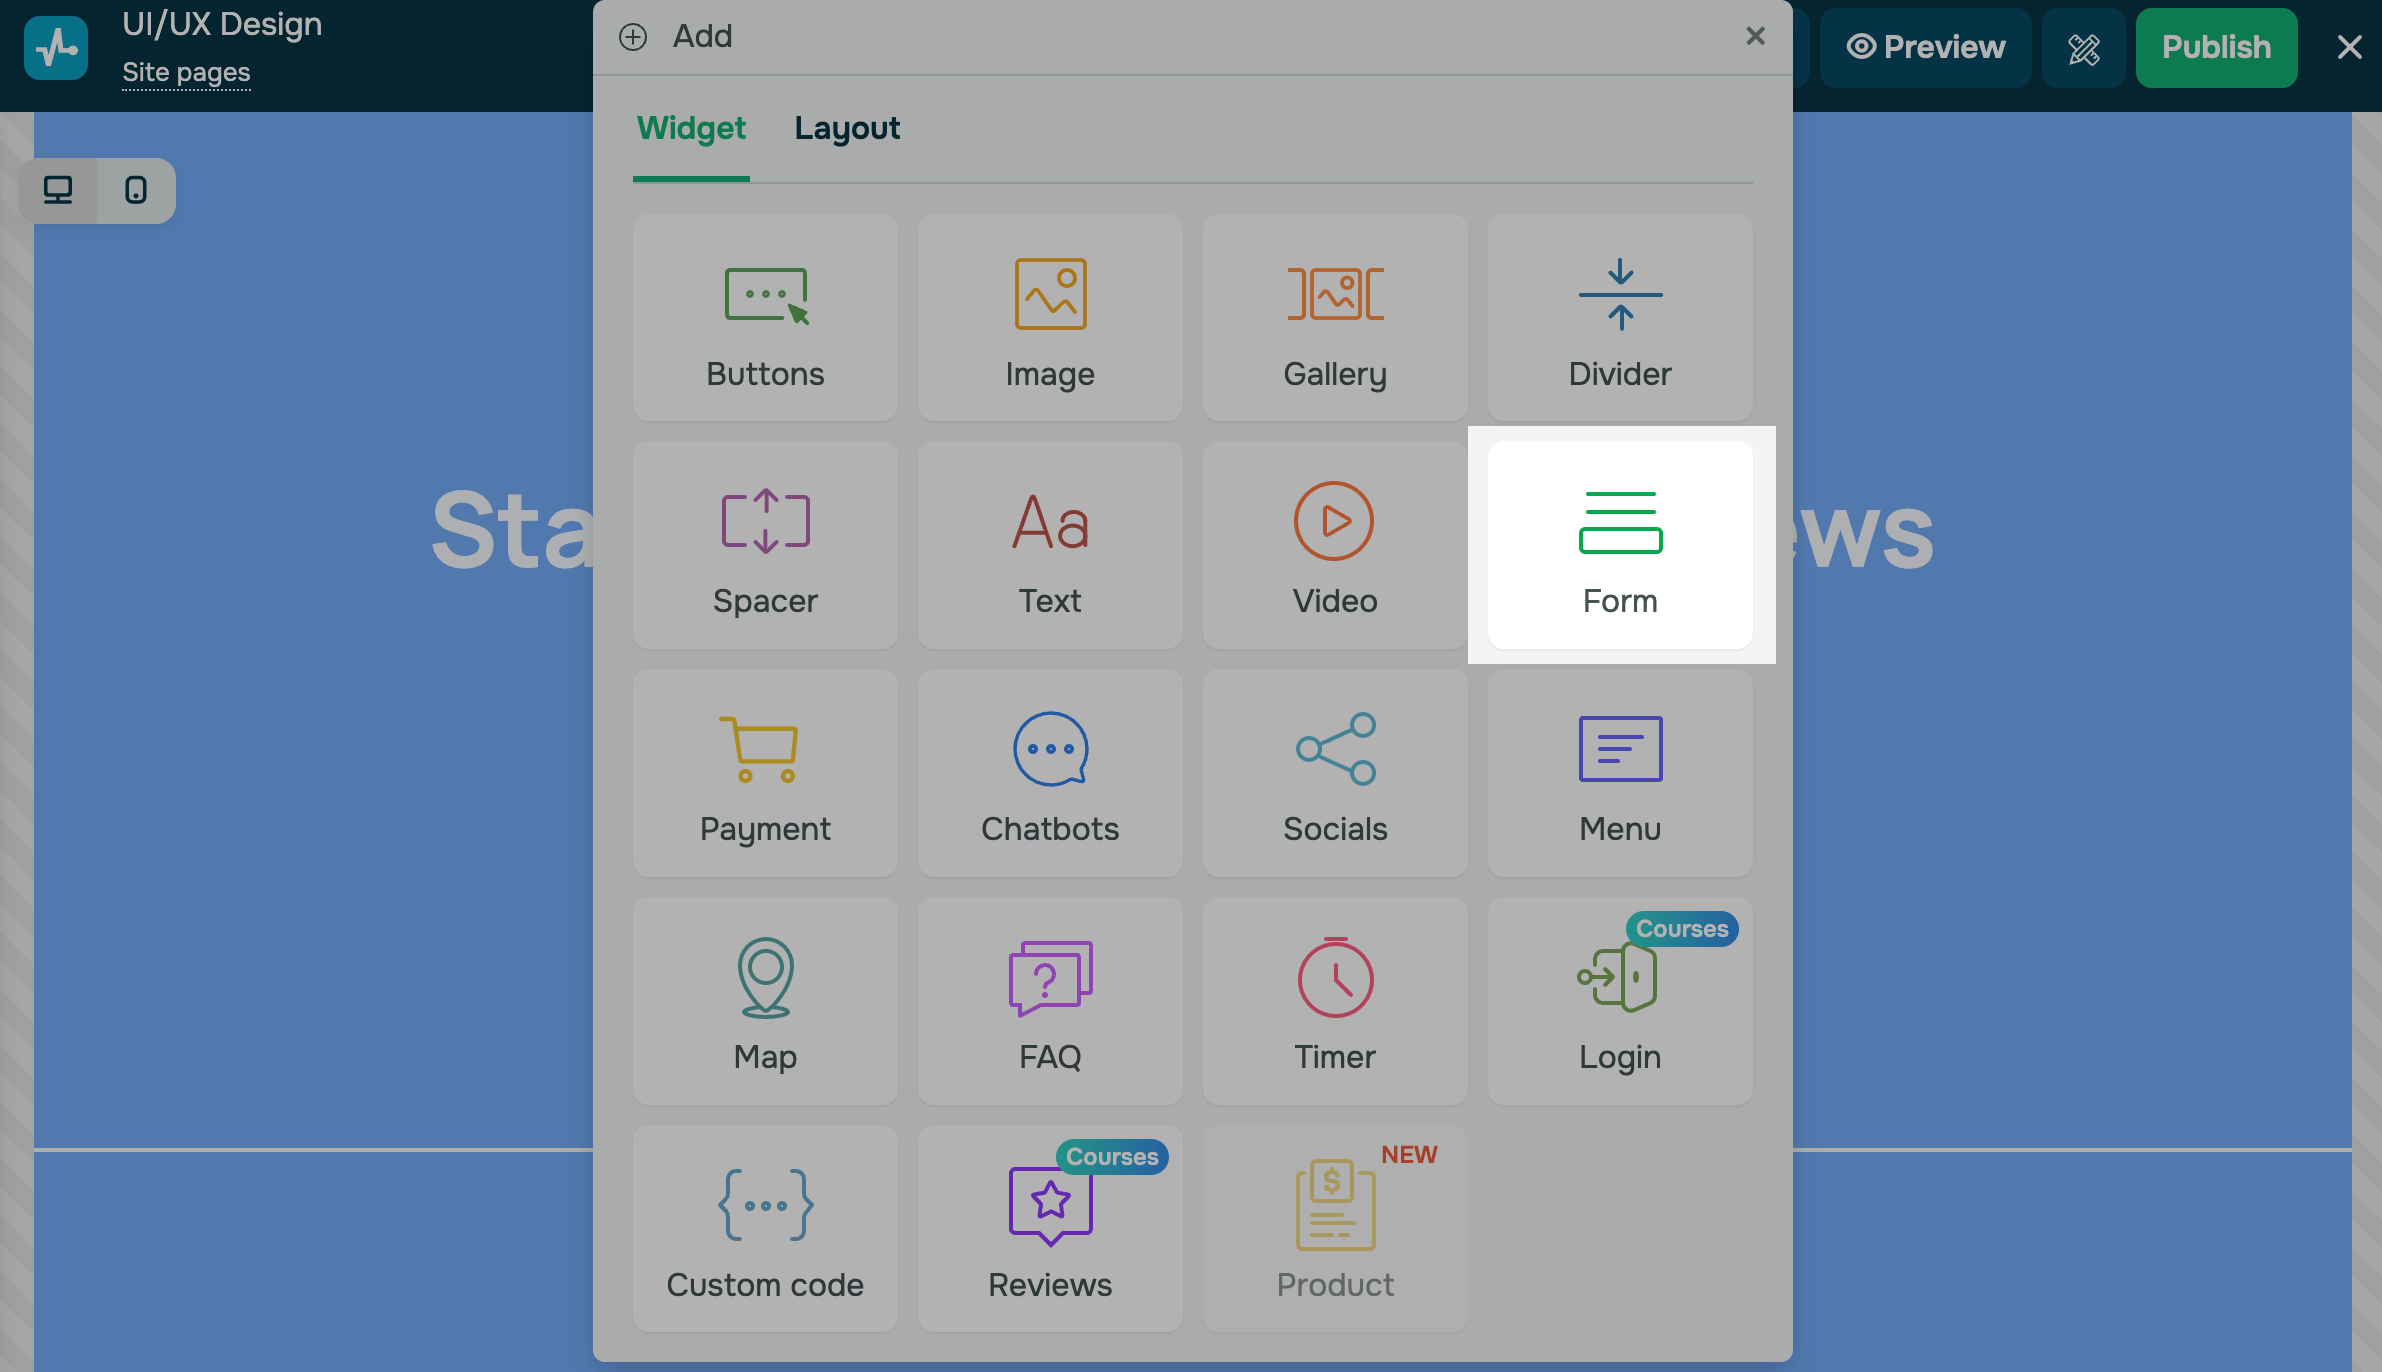
The widget settings will be opened on the left.
Select where to save contacts
You can select where to add your new subscribers.
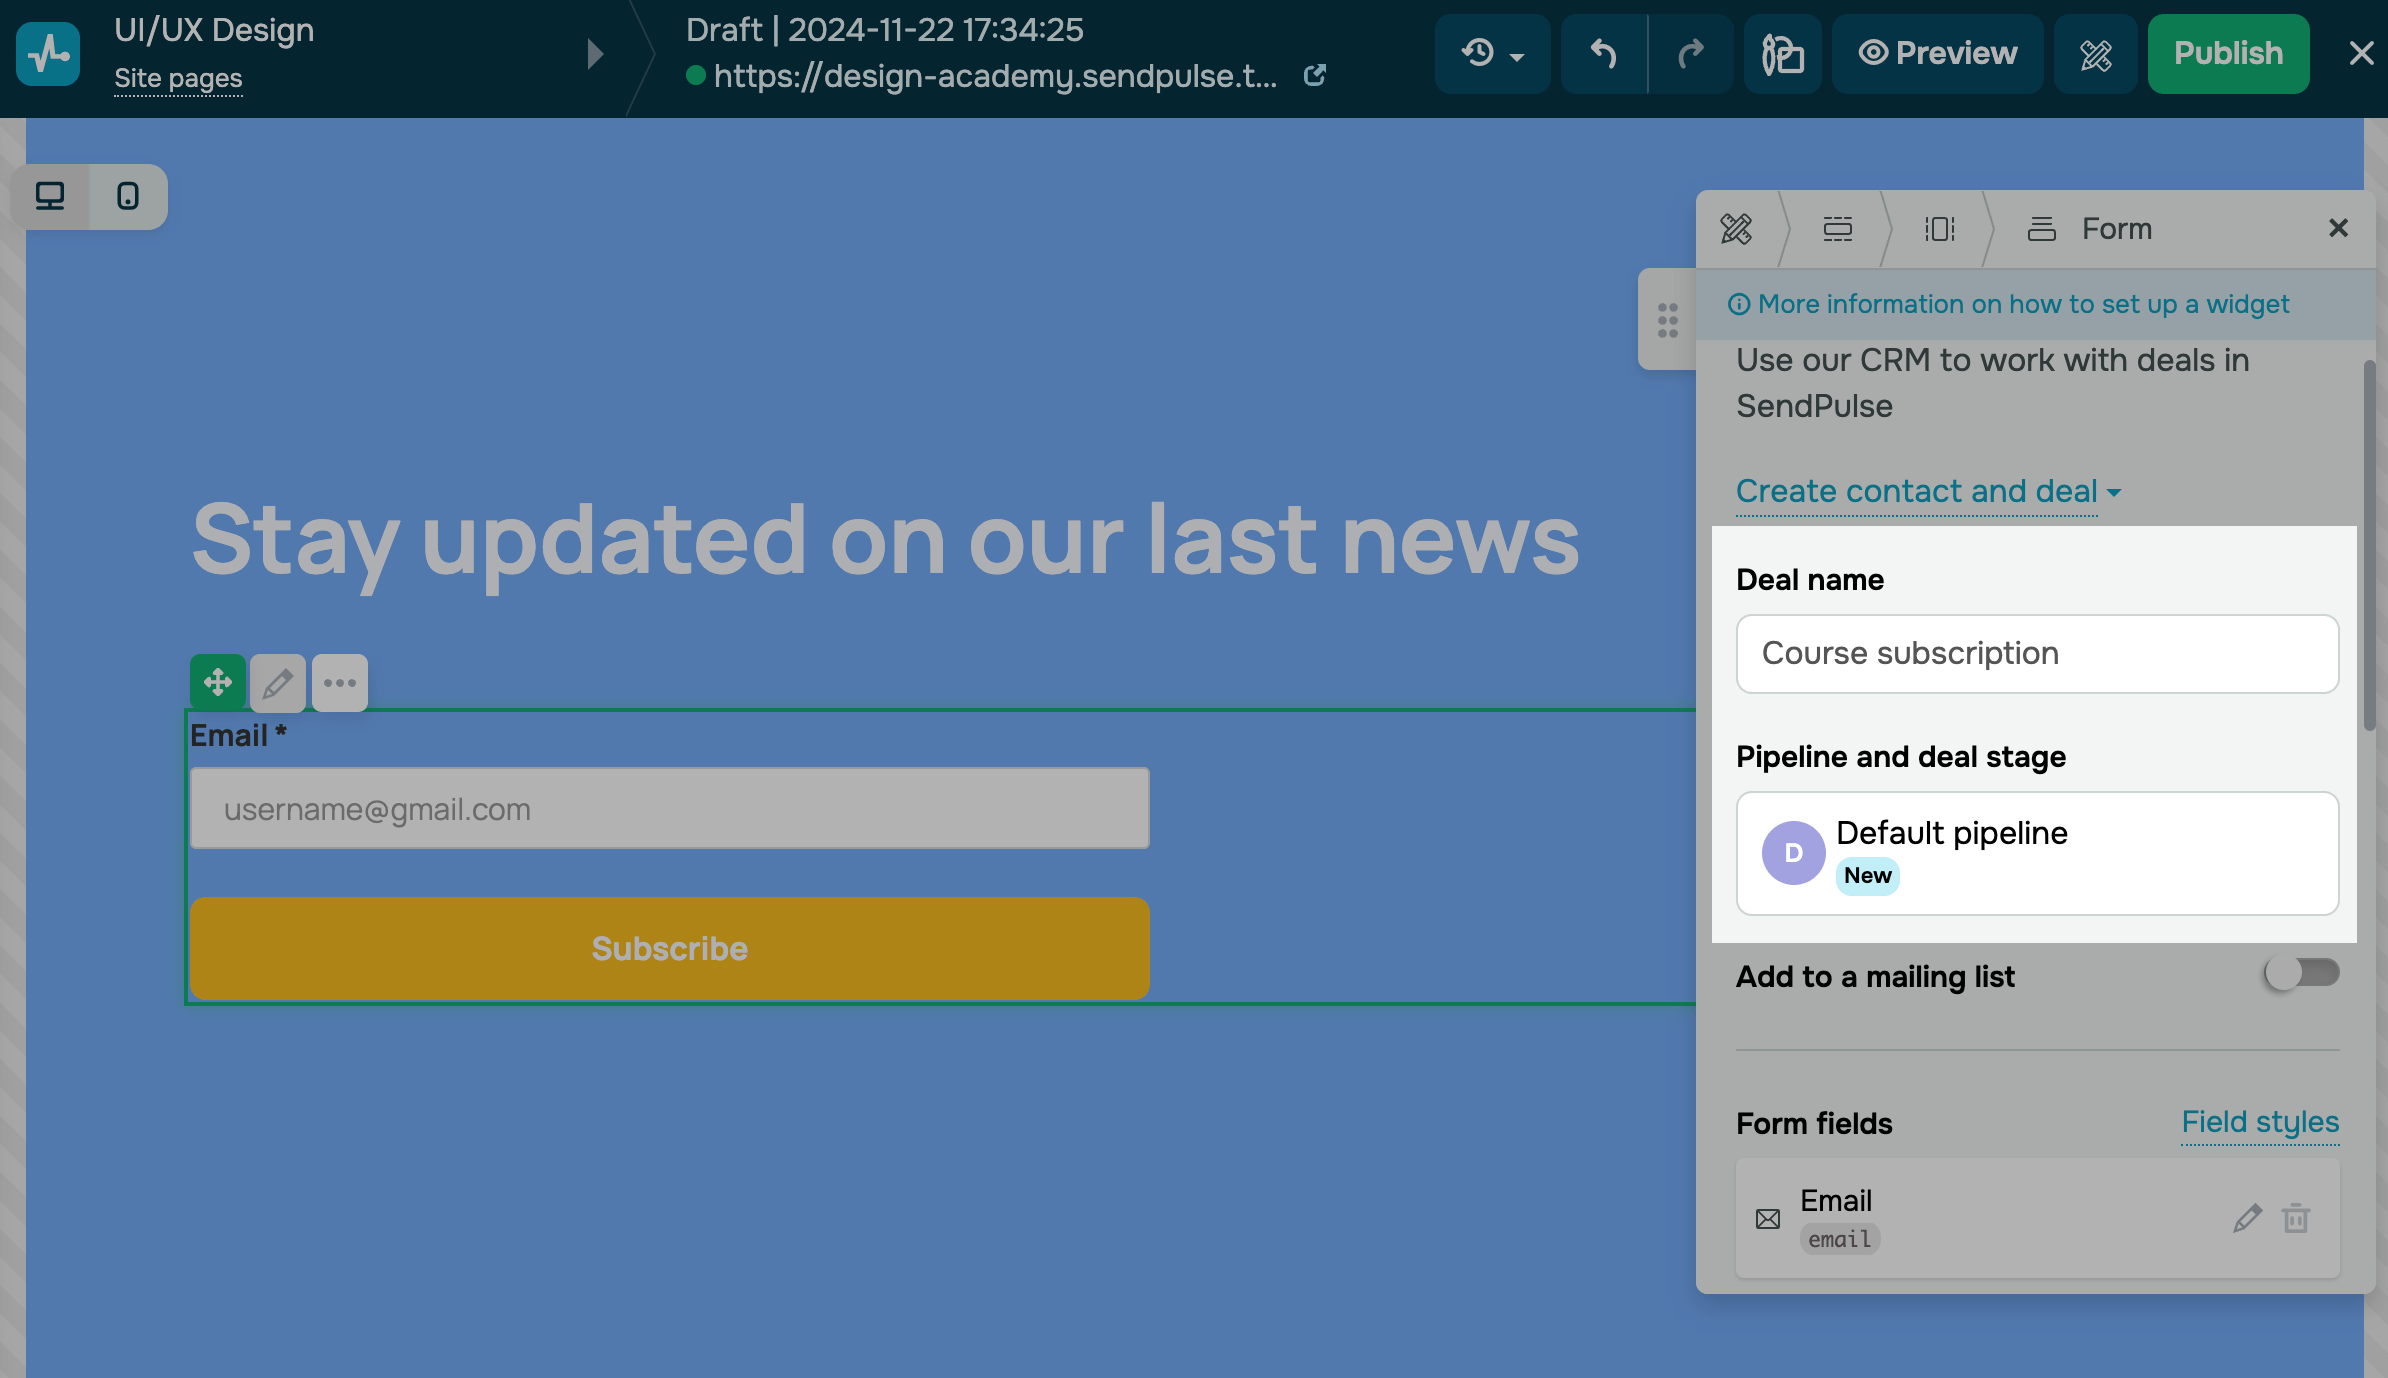
Creating deals and contacts in CRM
Select the action to take in the CRM system when a form is submitted:
| Create contact only | A contact card* will be added to the Contacts tab. |
| Create contact and deal |
A deal card* will be added to the Deals tab, and a contact card will be added to the Contacts tab. Configure how to save these deals:
You can configure field mapping in your form field settings. |
*A comment with your visitor’s source, location, device, and browser details appears in both contact and deal cards.
To save contacts with specific CRM tags, turn on the Assign tag to a contact toggle and select the tags. The list includes all tags created across all pipelines and CRM sections.
You can also transfer UTM tags to your CRM contact cards if a visitor clicks a UTM link and fills out a subscription form on your website.
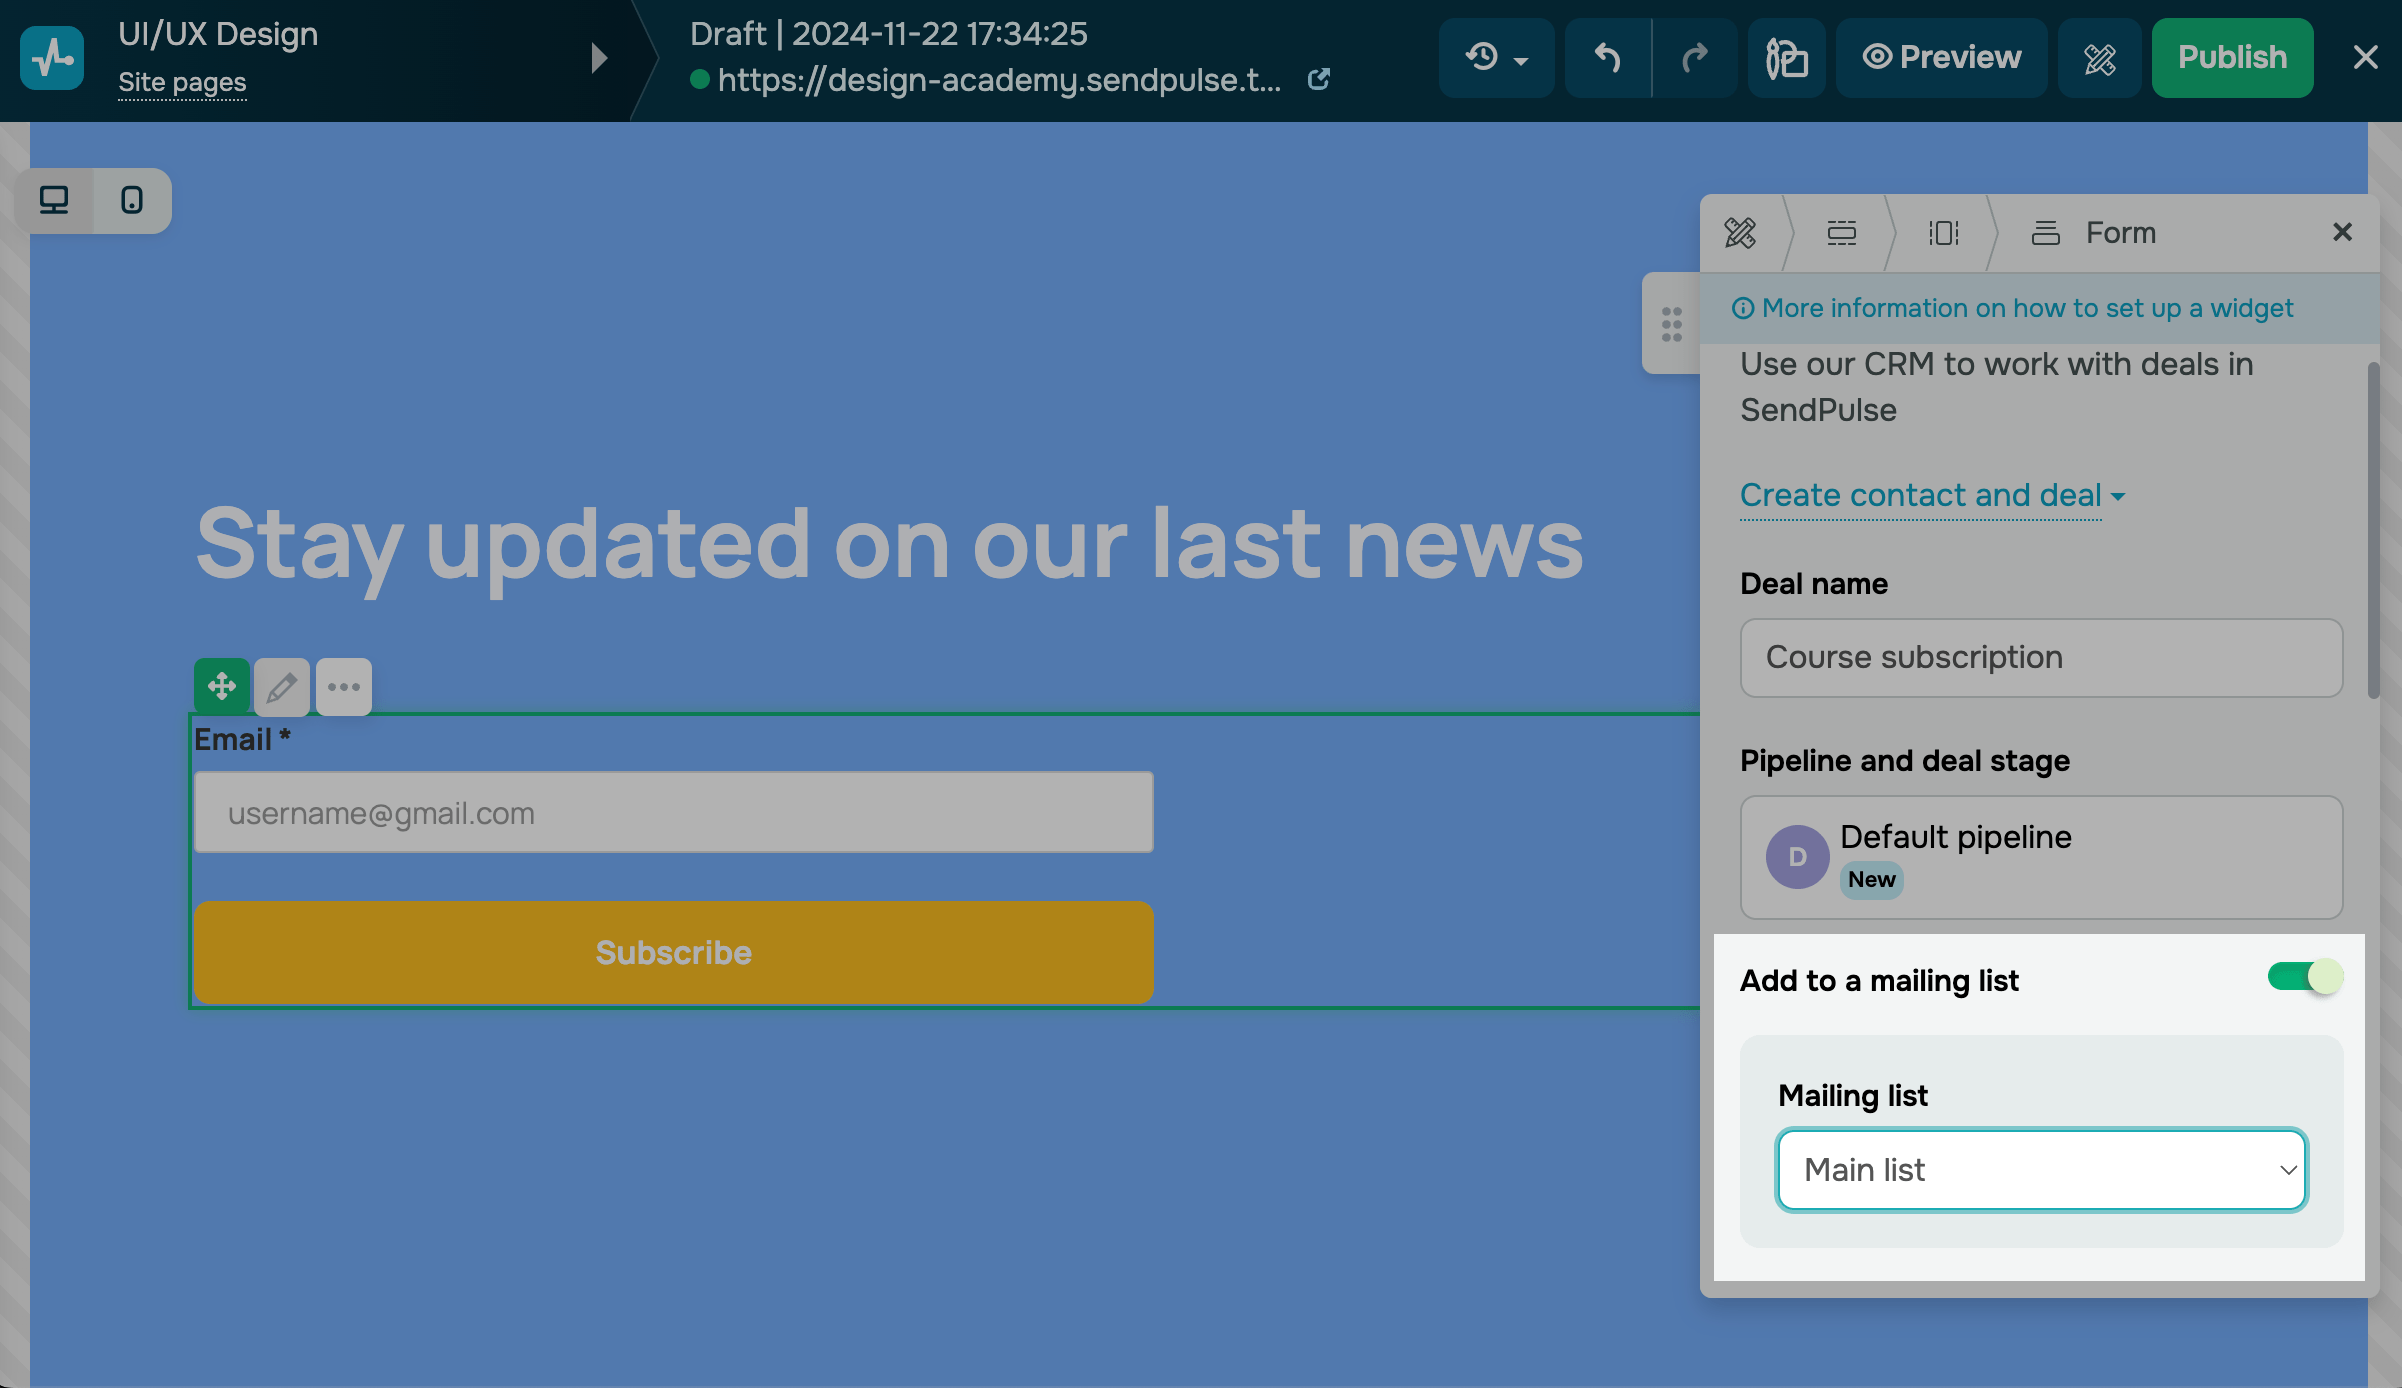
Adding contacts to your mailing list
Turn on the Save contacts to a mailing list toggle to save contacts to your mailing list. Choose the list where new contacts should be added. You can map fields in form field settings.
You can also attach tags to every contact submitted through the form. Turn on the Assign mailing list tags to a contact toggle and choose one or more tags. The list shows tags that already exist in your mailing lists.
Later, you can send campaigns to subscribers with specific tags.
To add mailing list tags through a form, you need a Pro or Enterprise email service plan. With other plans, contacts are added to the mailing list without tags.
Form submissions are always saved. Mailing list and tag actions are skipped only when the tag is deleted, the plan is downgraded to Free, the mailing list is removed, or the Save contacts to a mailing list toggle is turned off.
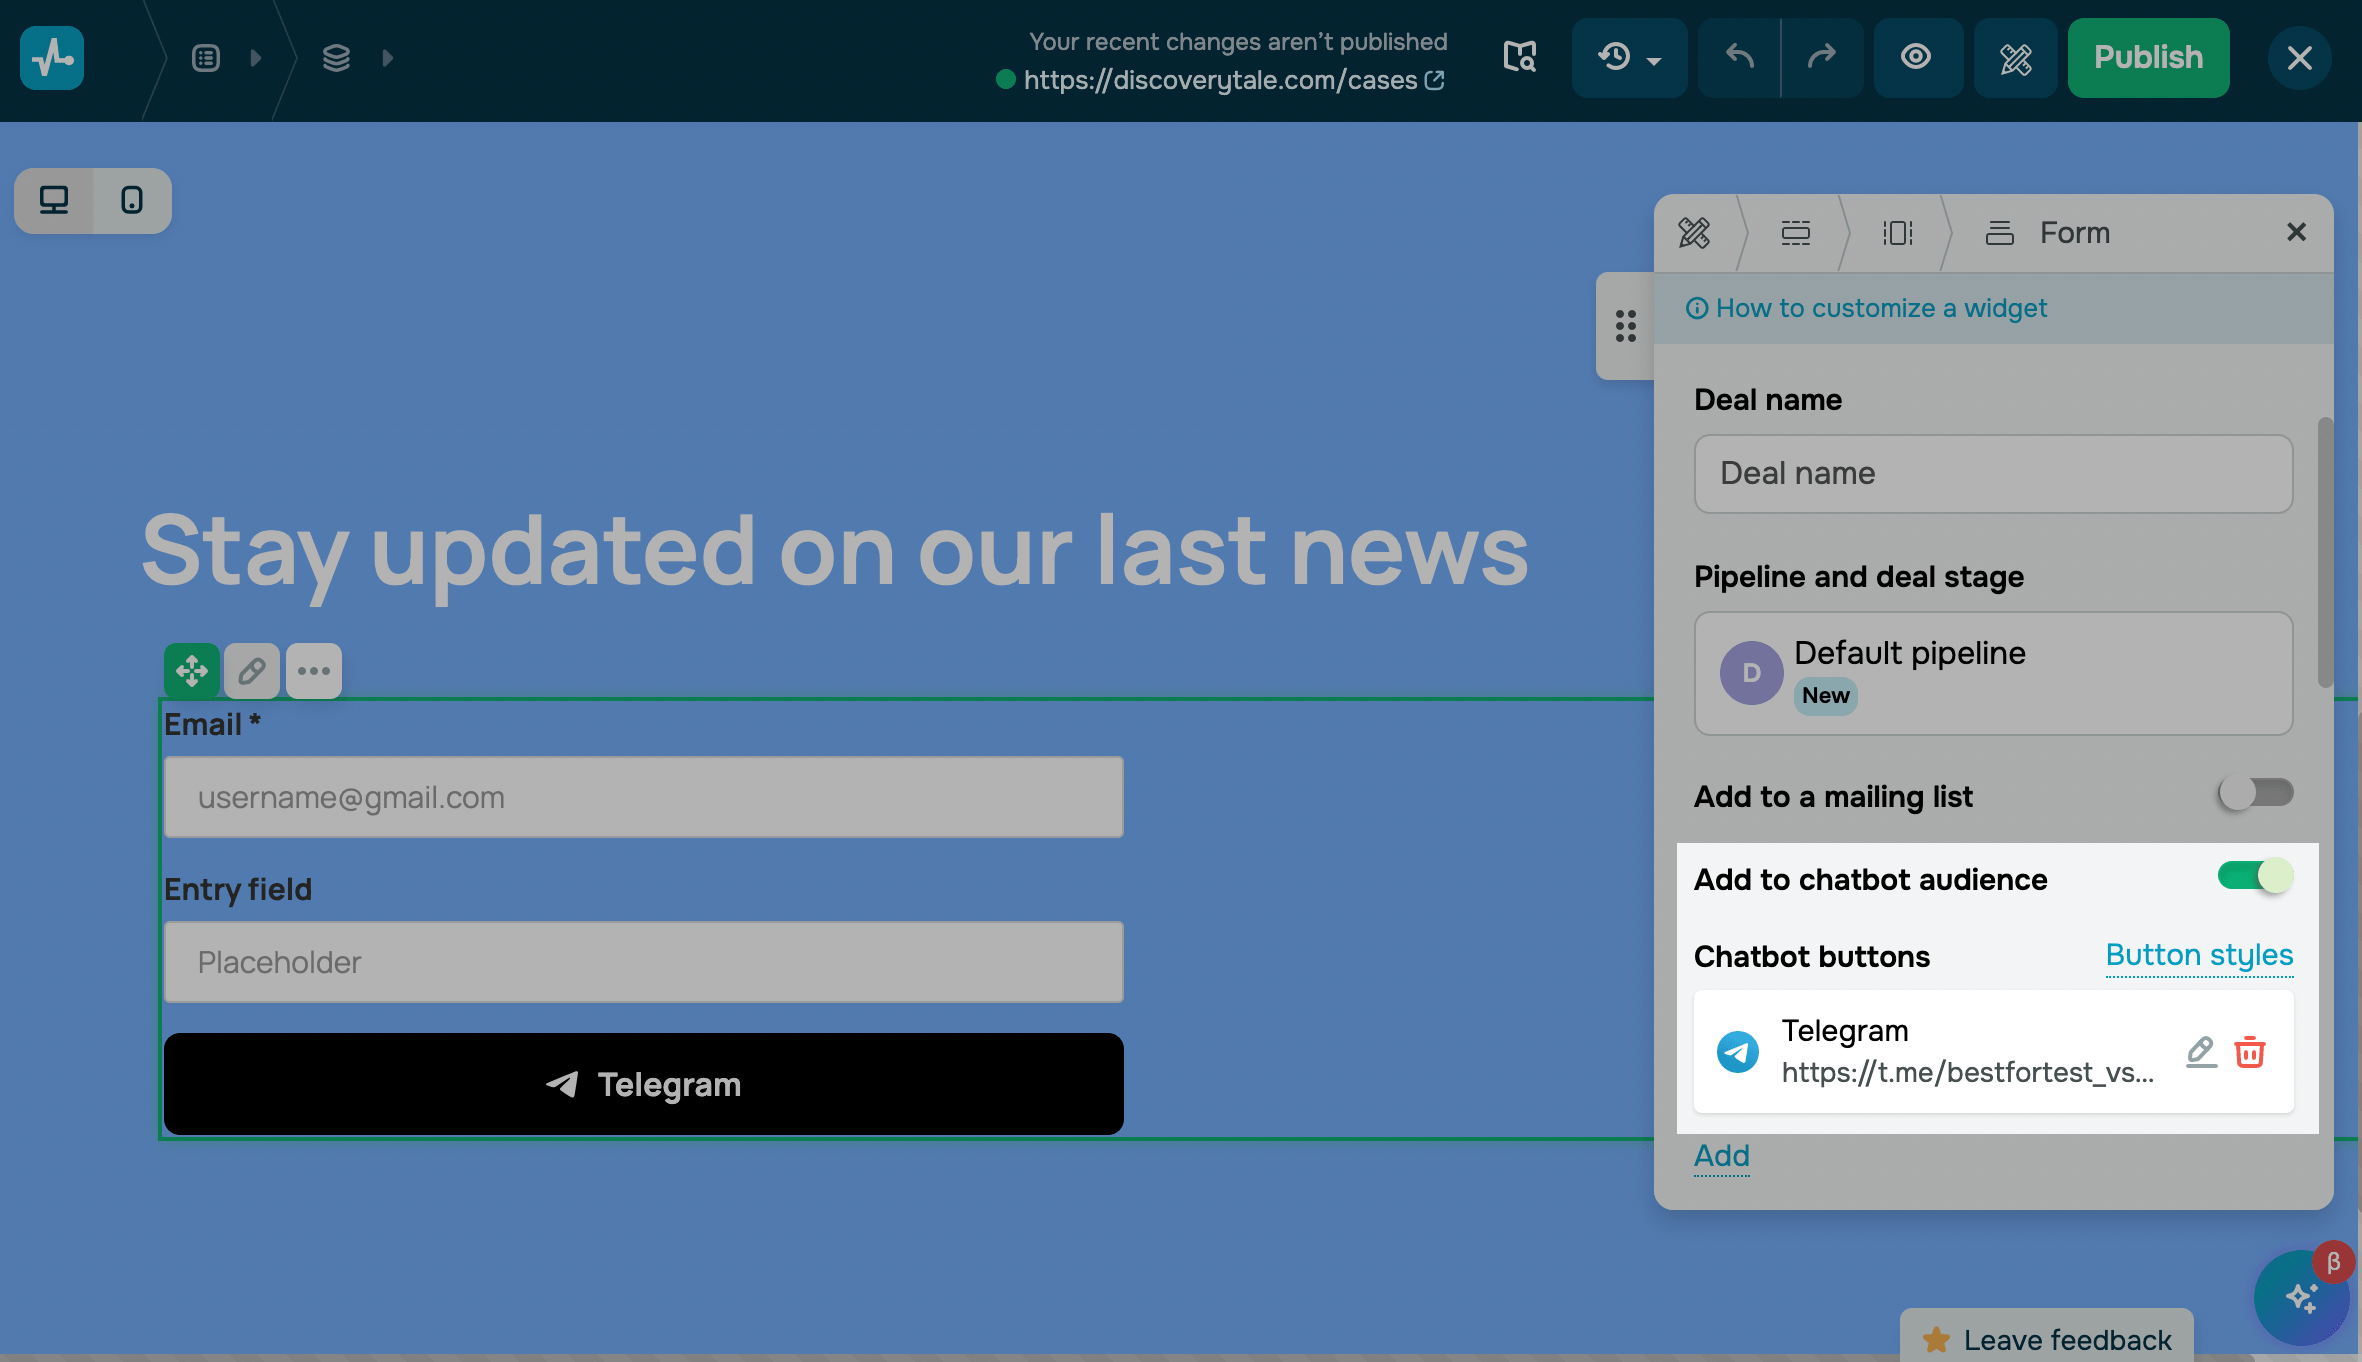
Adding subscribers to your chatbot
Turn on the Add to a chatbot audience toggle to save contacts to your chatbot audience. Select a messaging app (WhatsApp, Instagram, Messenger, and more) and enter a button name. In the Subscribe to field, choose what users will subscribe to and the flow to run on subscription.
You can add up to 4 buttons for different chatbots.
You can map fields in form field settings.
Once you have added the widget, click the pencil icon, and go to the widget settings in its upper left corner.
Customize the form fields
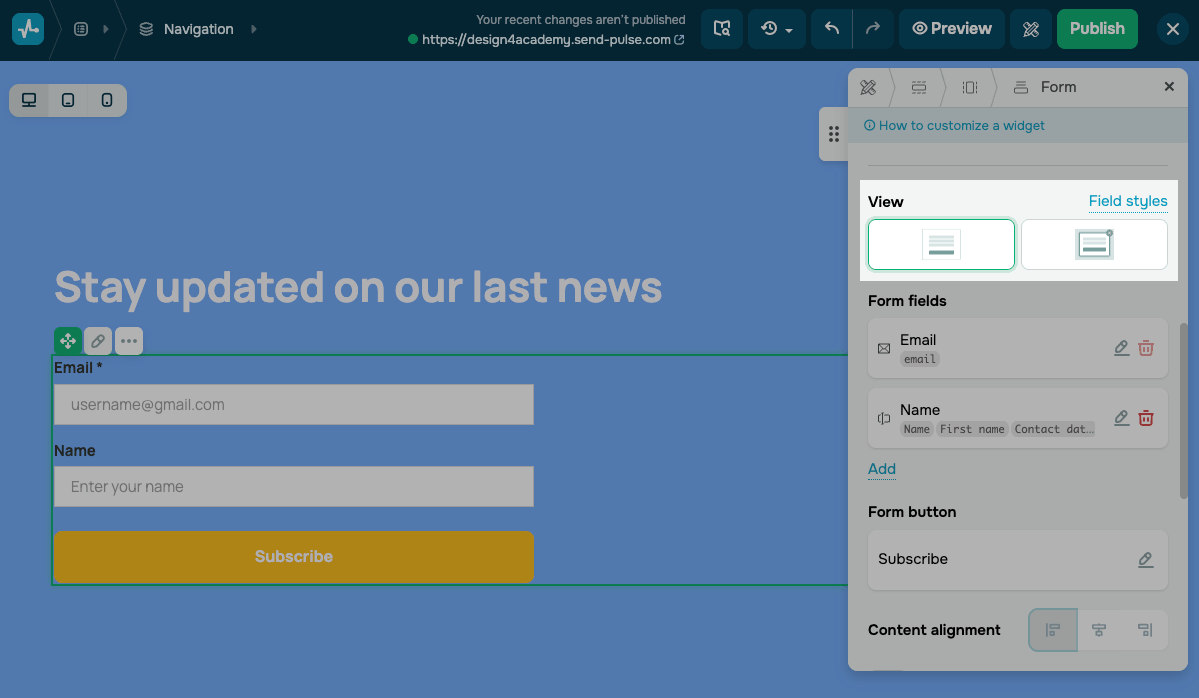
Set a form view
You can choose how your form appears on the page. In the form widget settings, select a view in the View section.
You can choose the following options:
| Static form | All form fields appear directly on the page in a single block. |
| Modal form | All form fields appear in a modal window.
Visitors click a button on the page to open the modal window with your form. |
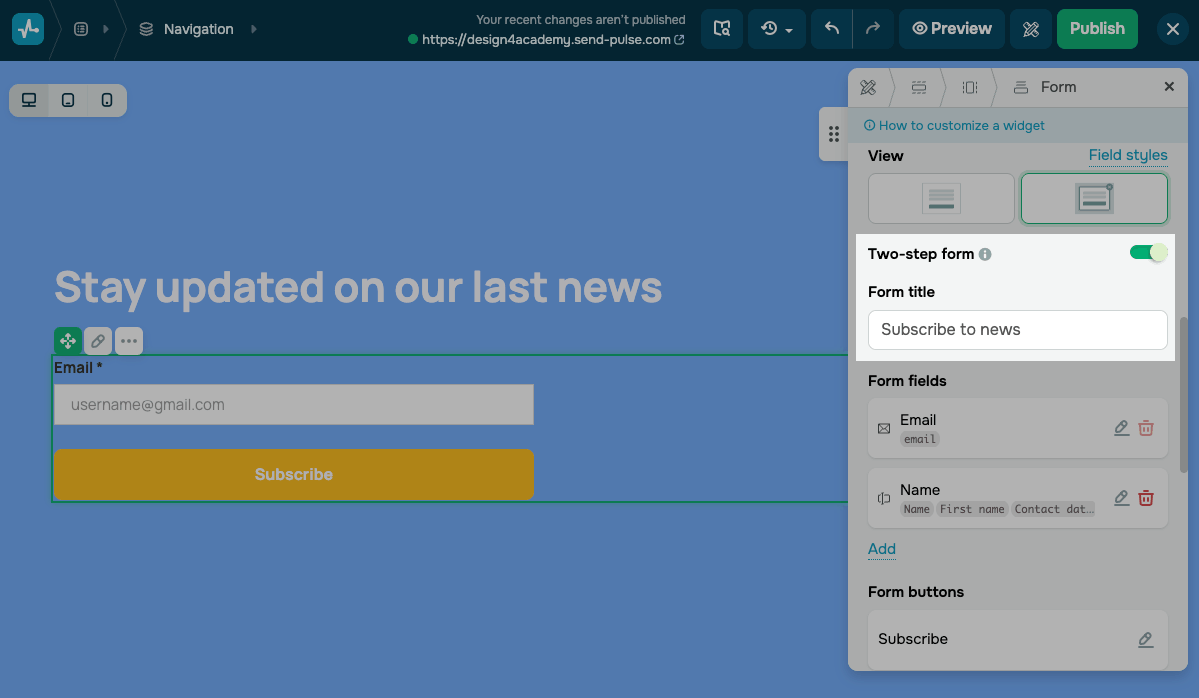
When you select the Modal form option, you can turn on the Two-step form toggle. The form will be split into two stages.
The first stage shows a compact block with a single input field and a button, for example, to enter an email address. The second stage opens a modal window with the remaining form fields.
Once the Two-step form is enabled, enter a modal window title in the Form title field.
A two-step form saves space and reduces the number of fields shown at once.
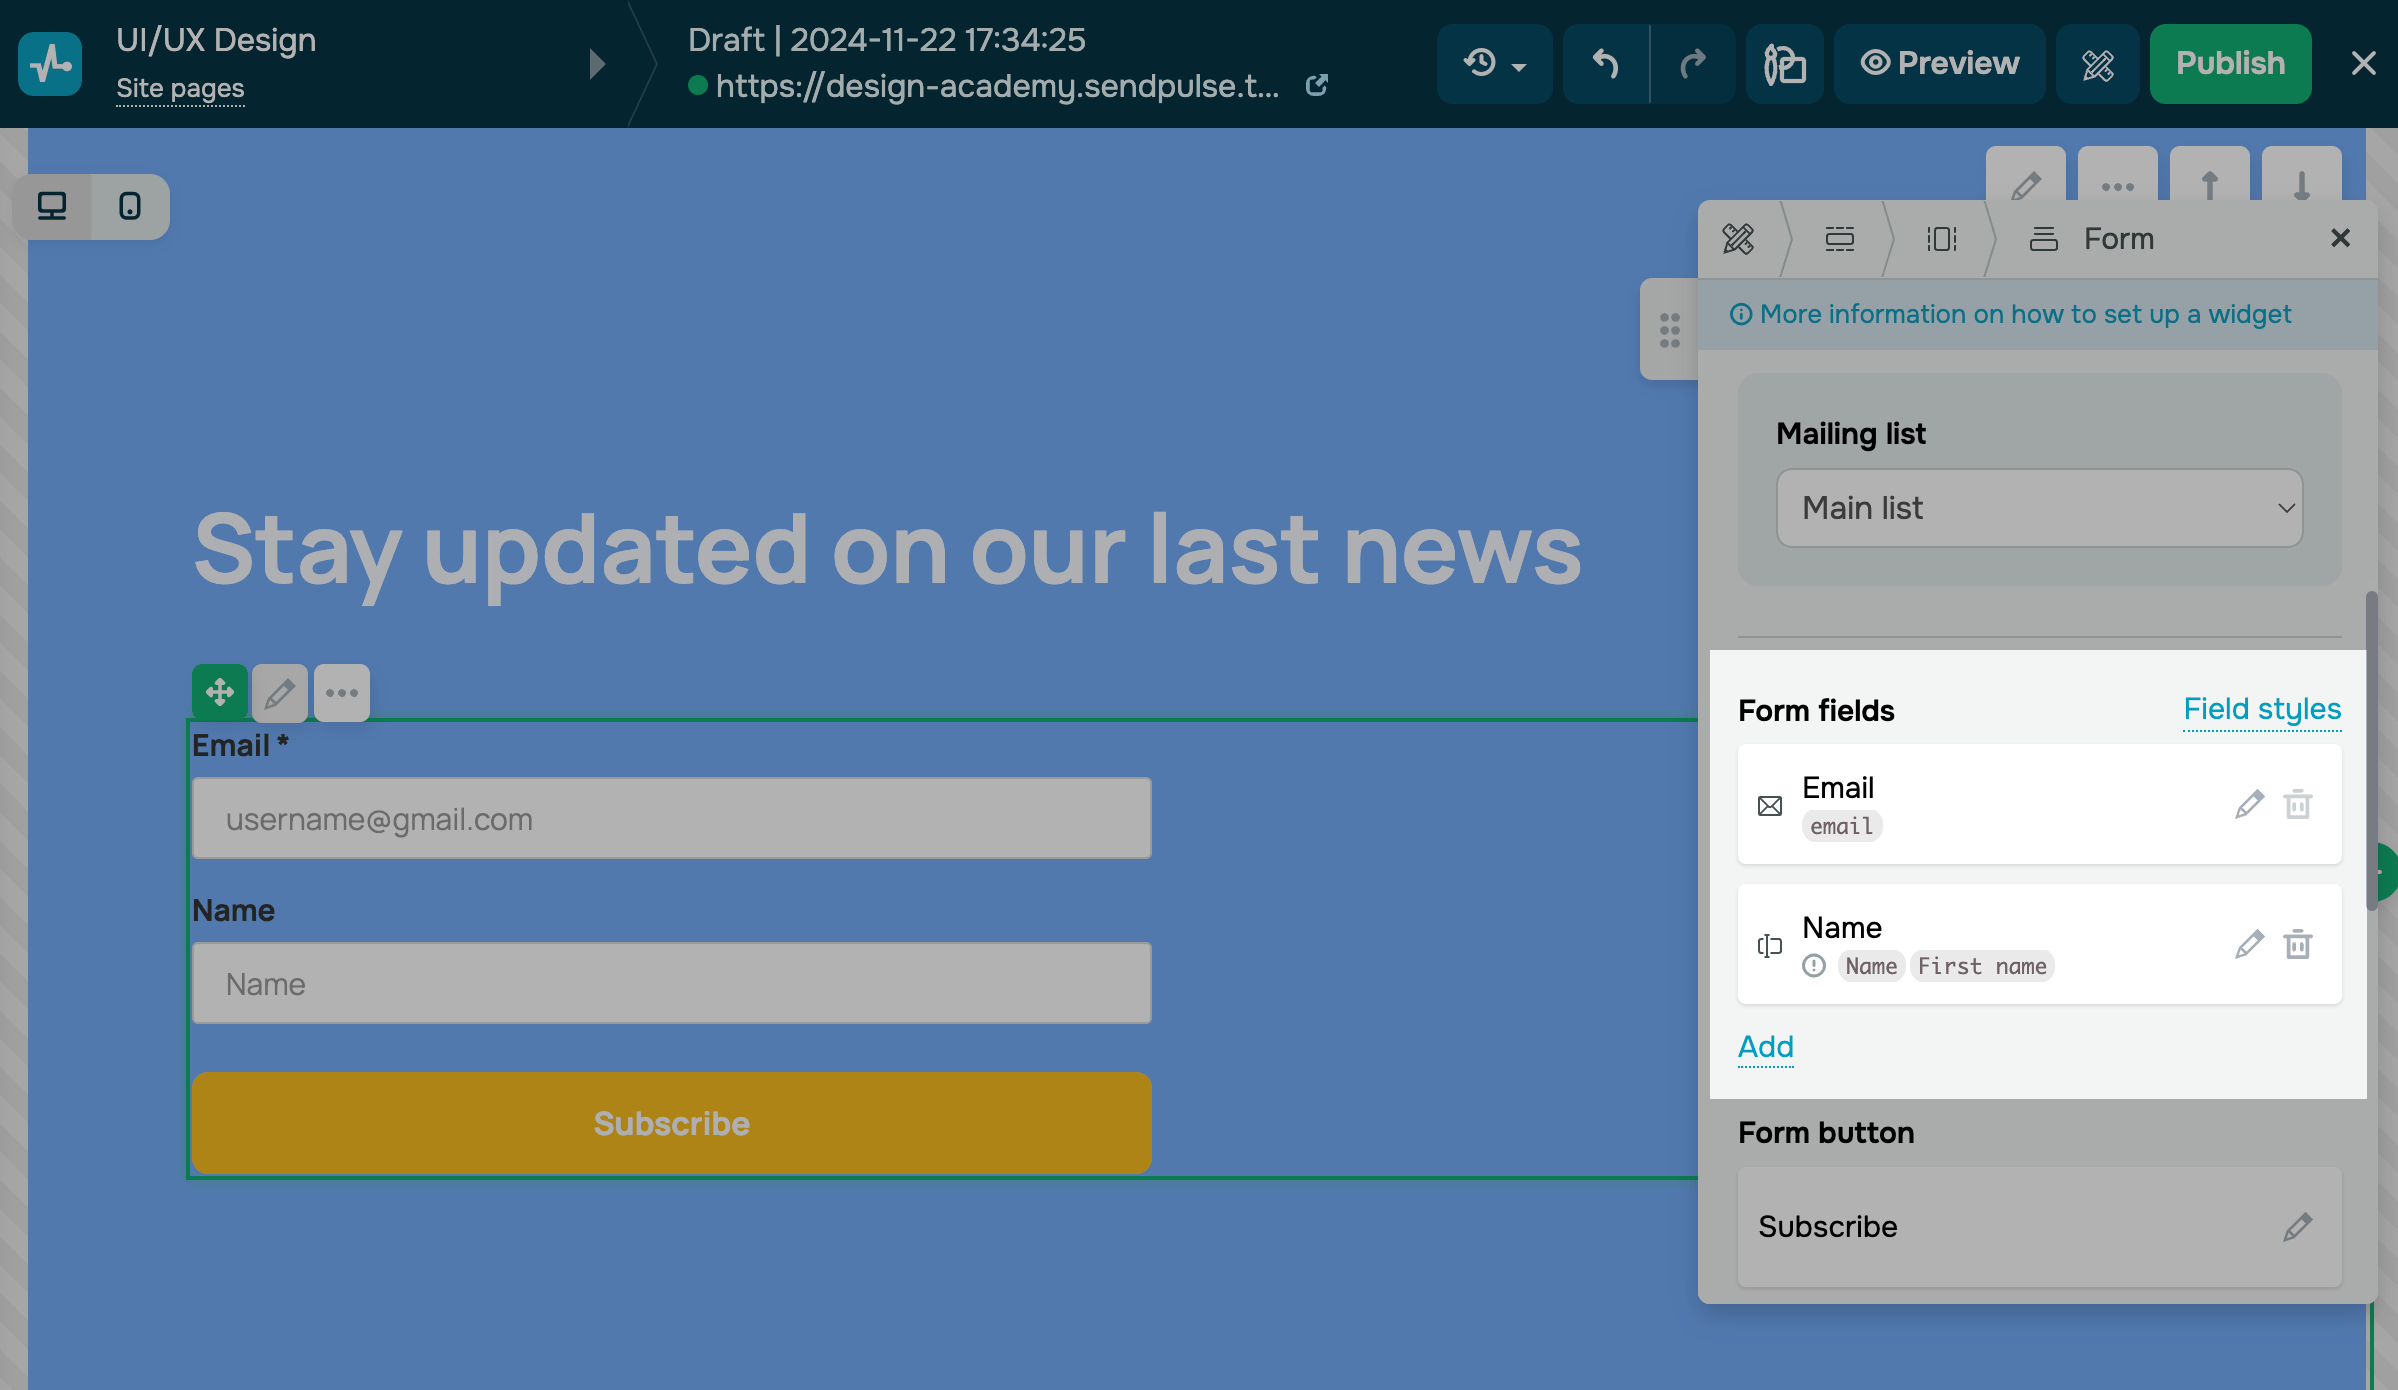
Adding fields
Add new form fields or customize existing ones by clicking on the pencil icon.
Please note that the Email field is required — it can not be deleted.
Select a field type and enter a name for the field.
You can hide the field names in the field styles.
You can also enter a hint for the field in the placeholder.

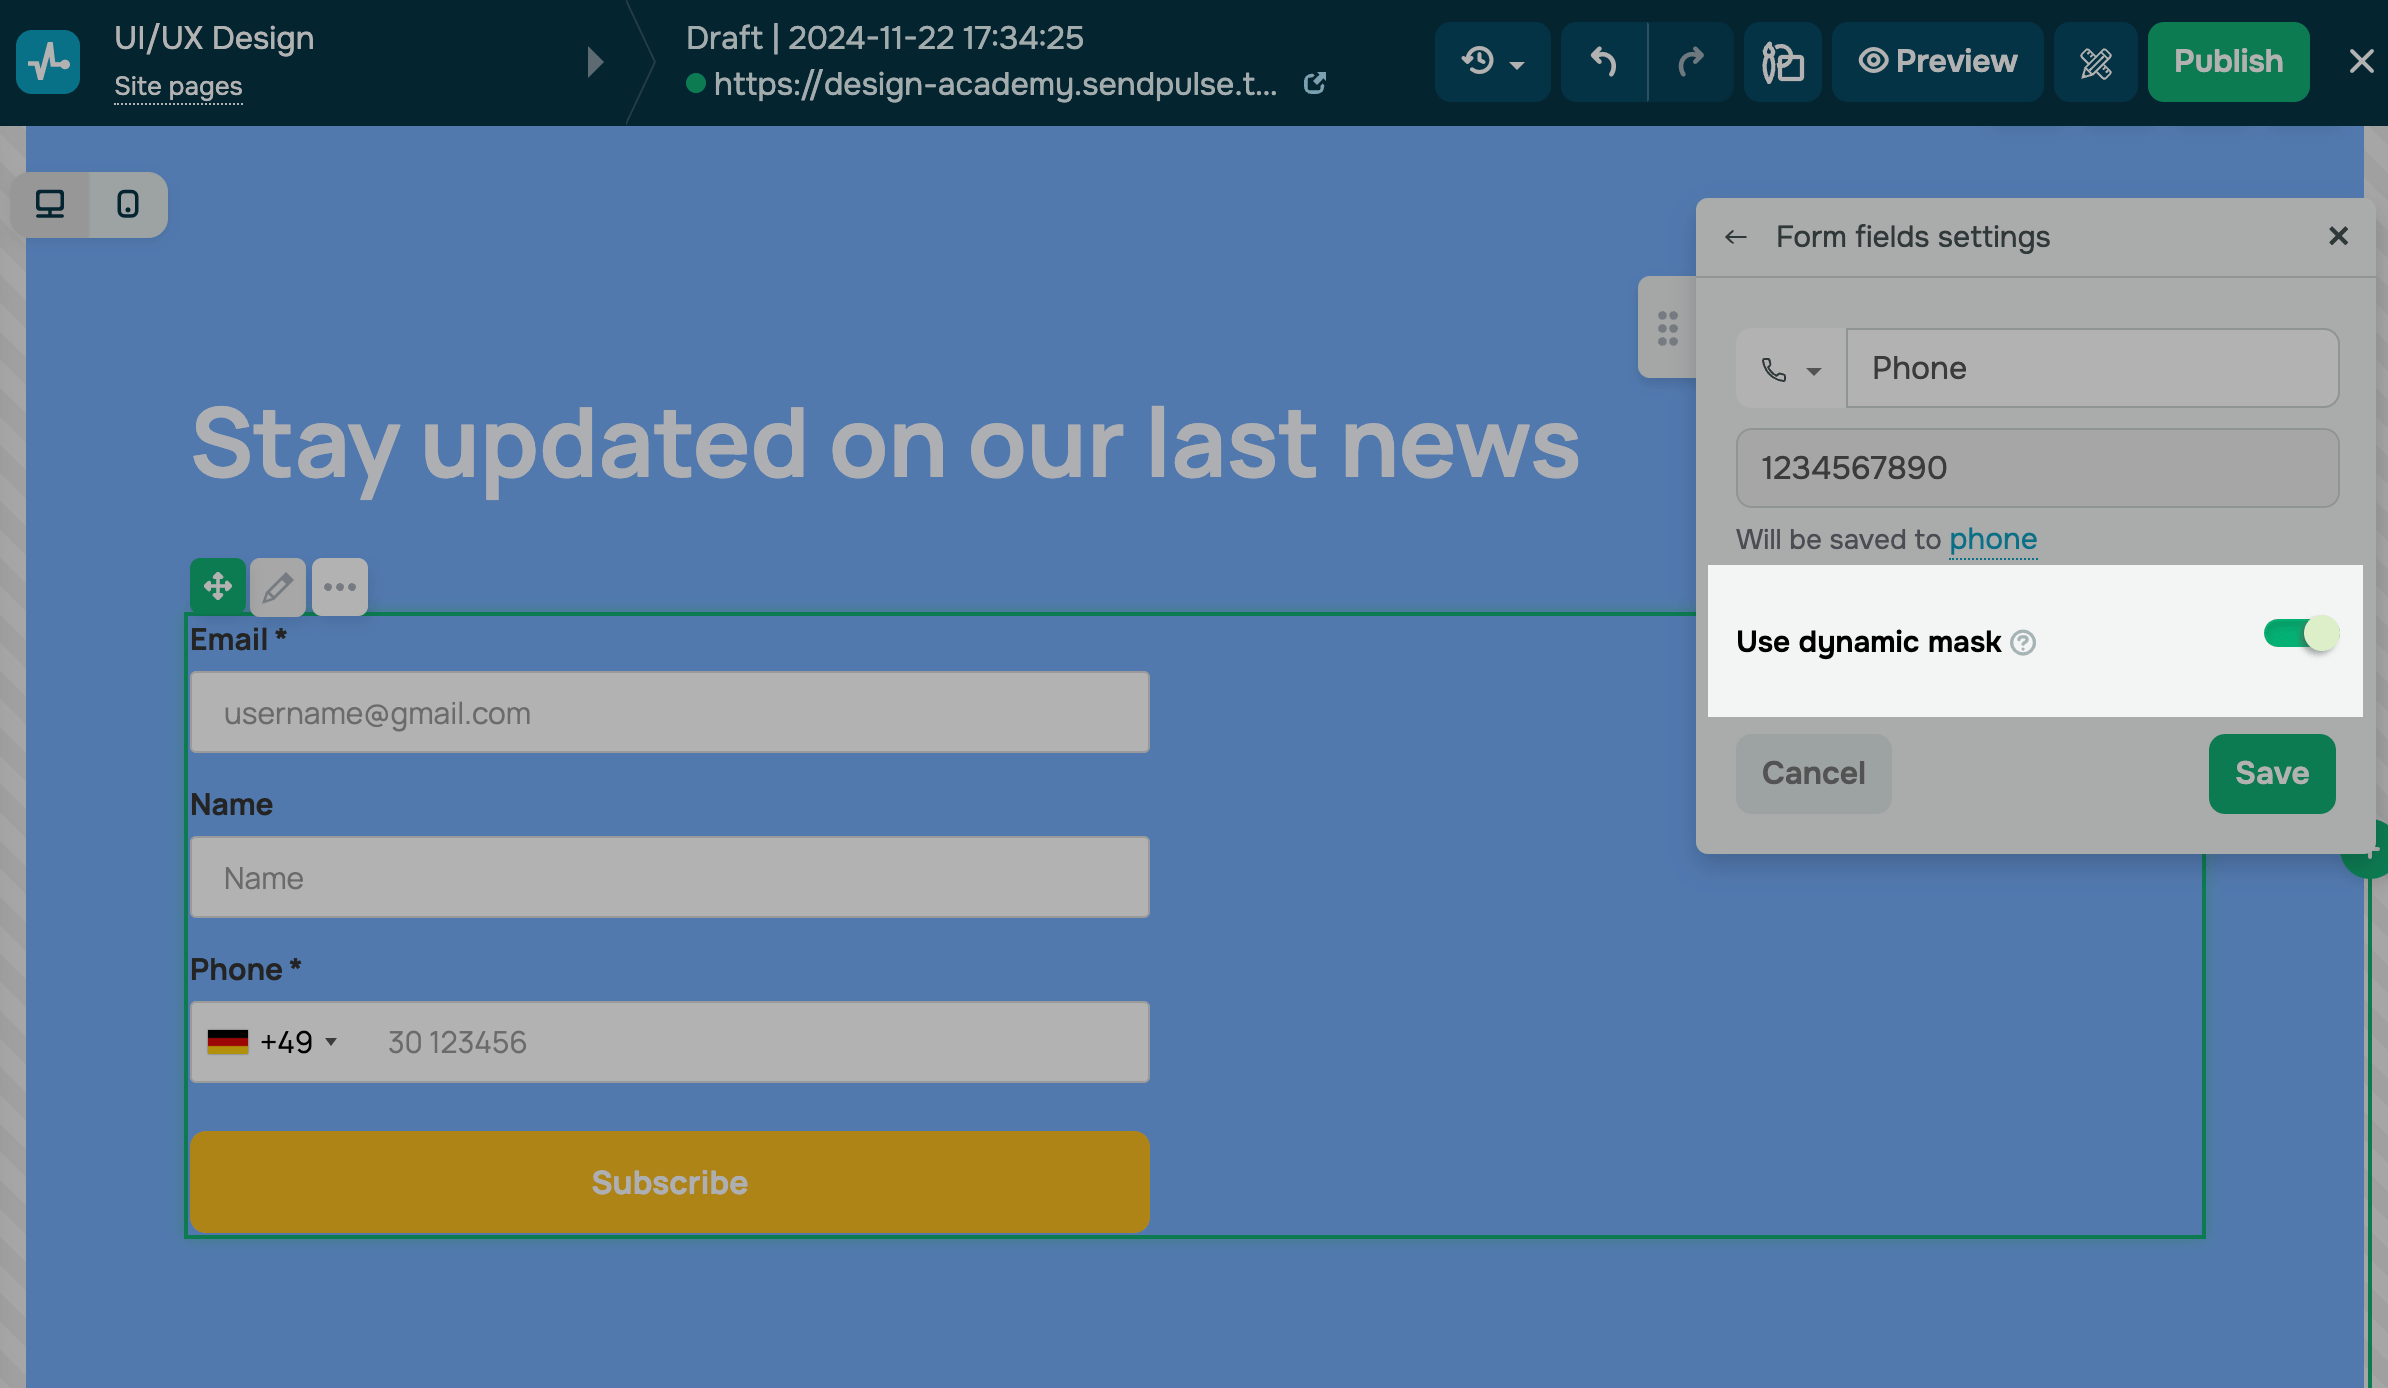
You can add a dynamic phone number mask in the Phone input field type. Your form will determine a user’s location based on their IP address and will add the corresponding country code. Users will be able to select another country code from the drop-down list.
Go to the field settings, and turn on the Use dynamic mask toggle.
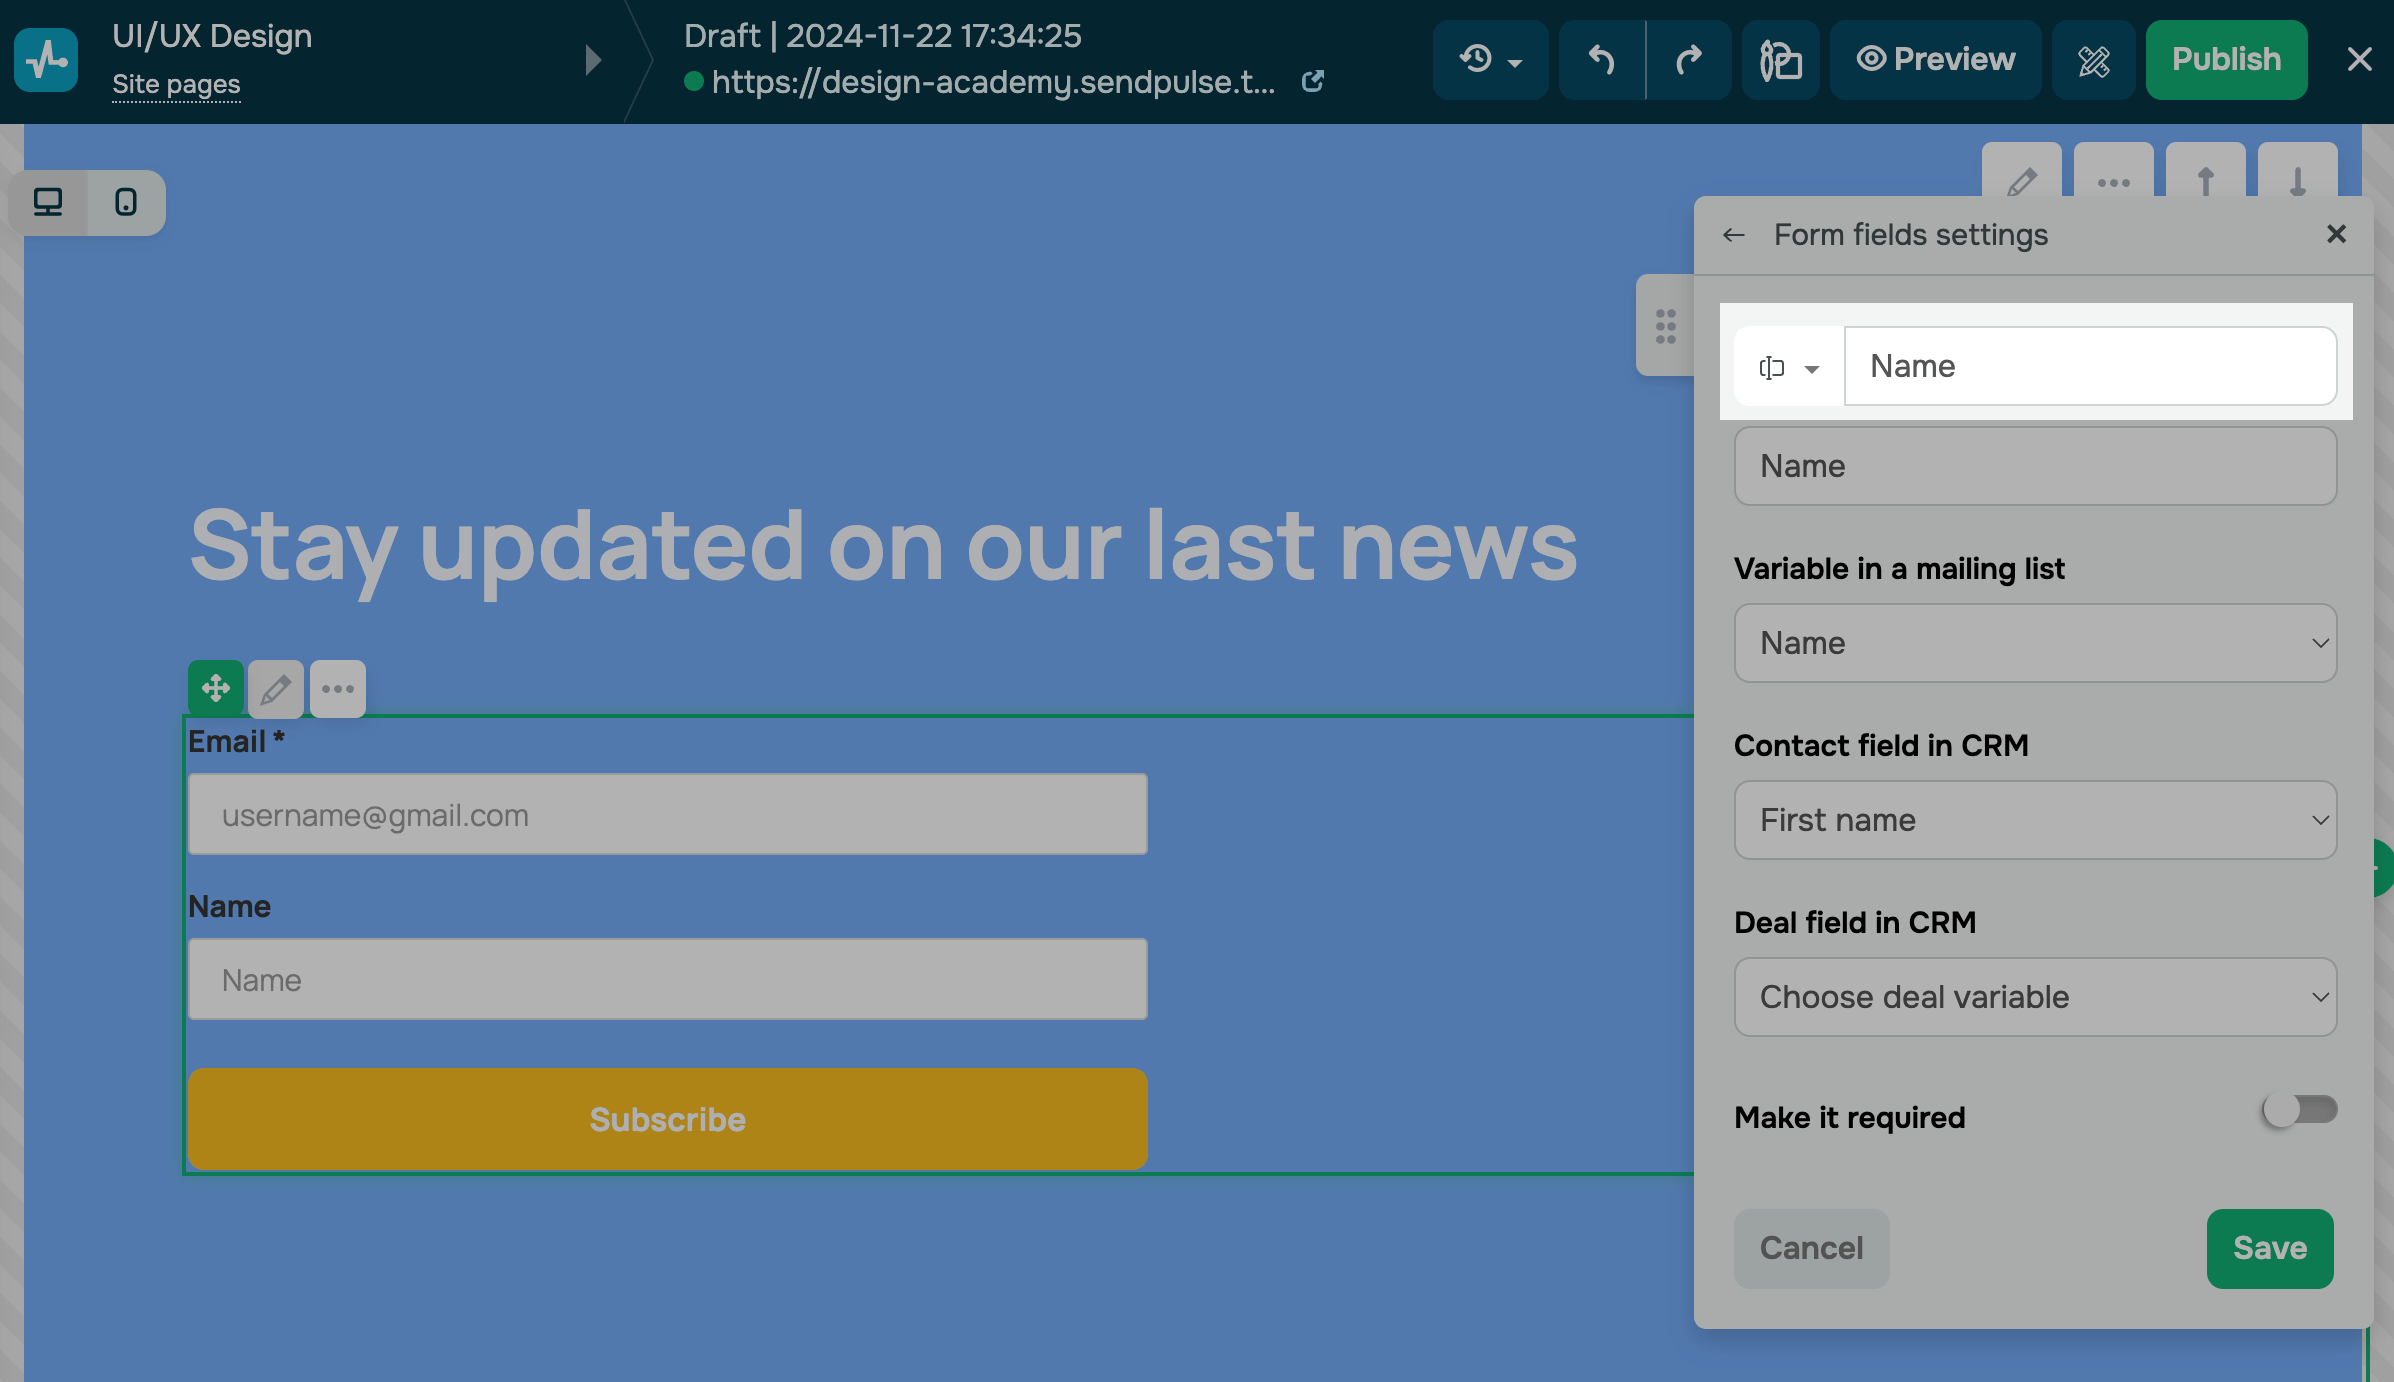
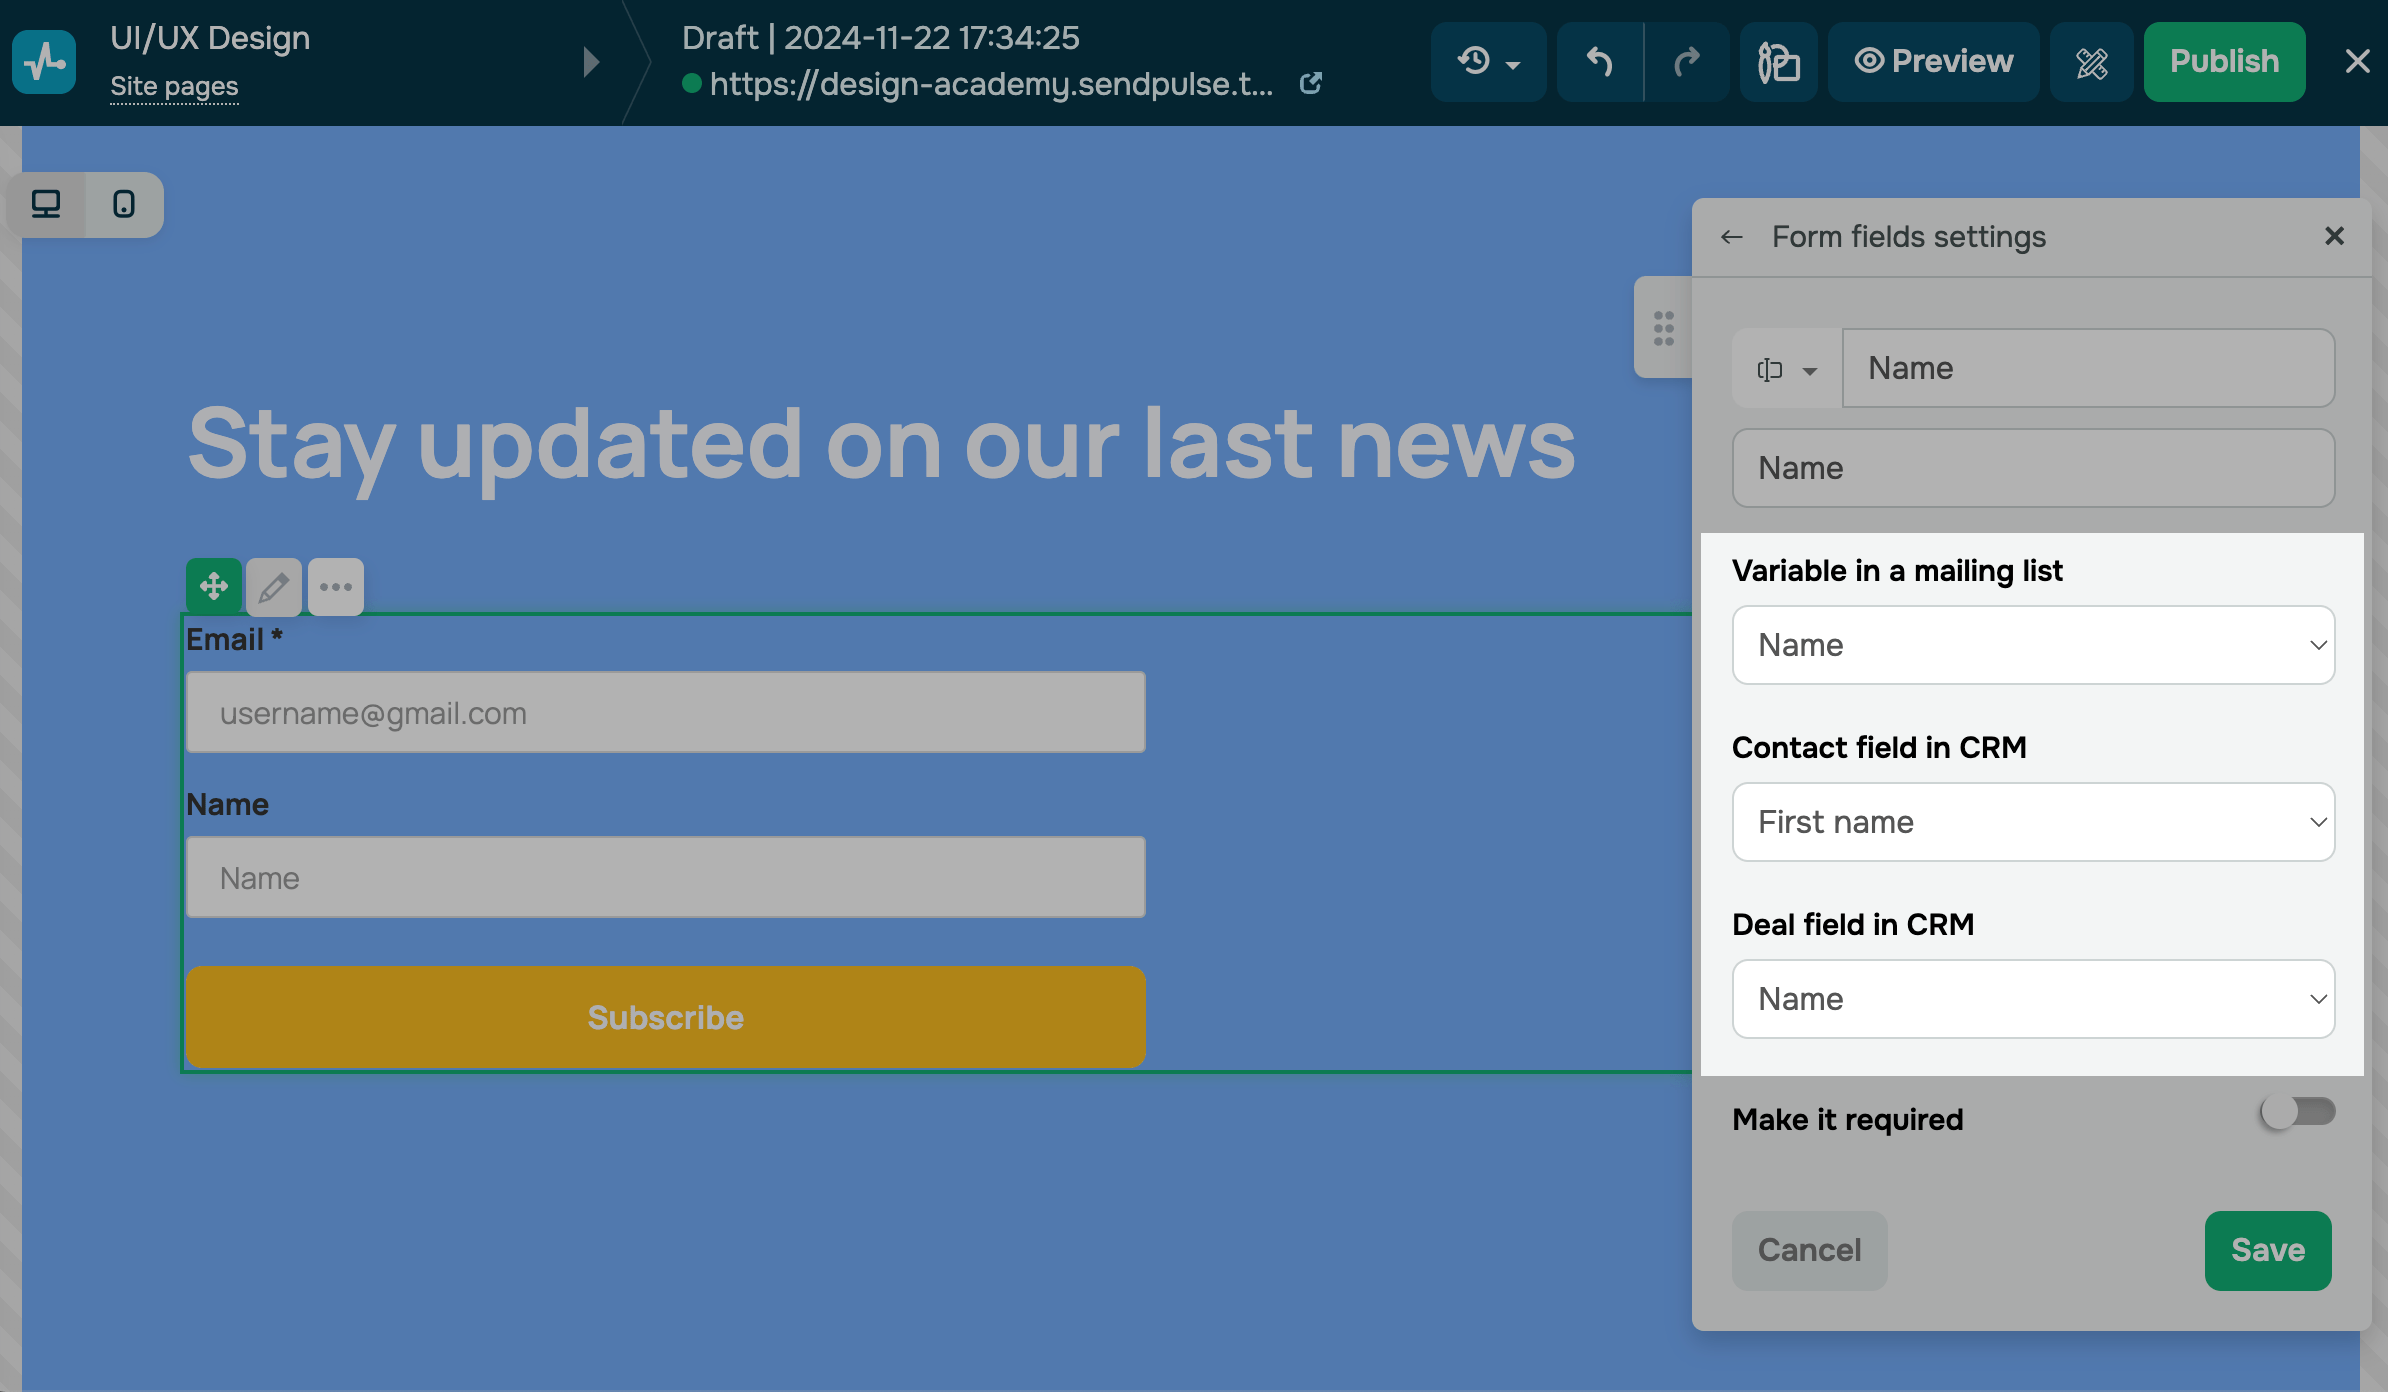
Mapping fields
Choose a mailing list or CRM contact/deal variable where you want to store the field value.
By default, all contacts are saved to the CRM system. To save data to a variable in another SendPulse tool, configure the relevant settings.
Choose the variable to save field values. You can use existing variables in the following tools:
- CRM (contact and deal data)
- Email (mailing list data)
- Chatbots (chatbot audience data)
If a specific variable is not on the list, create it in your mailing list. If a specific field is missing in the CRM system, create it in your pipeline and contact settings.
Email and Phone values are saved as standard variables, email and phone.
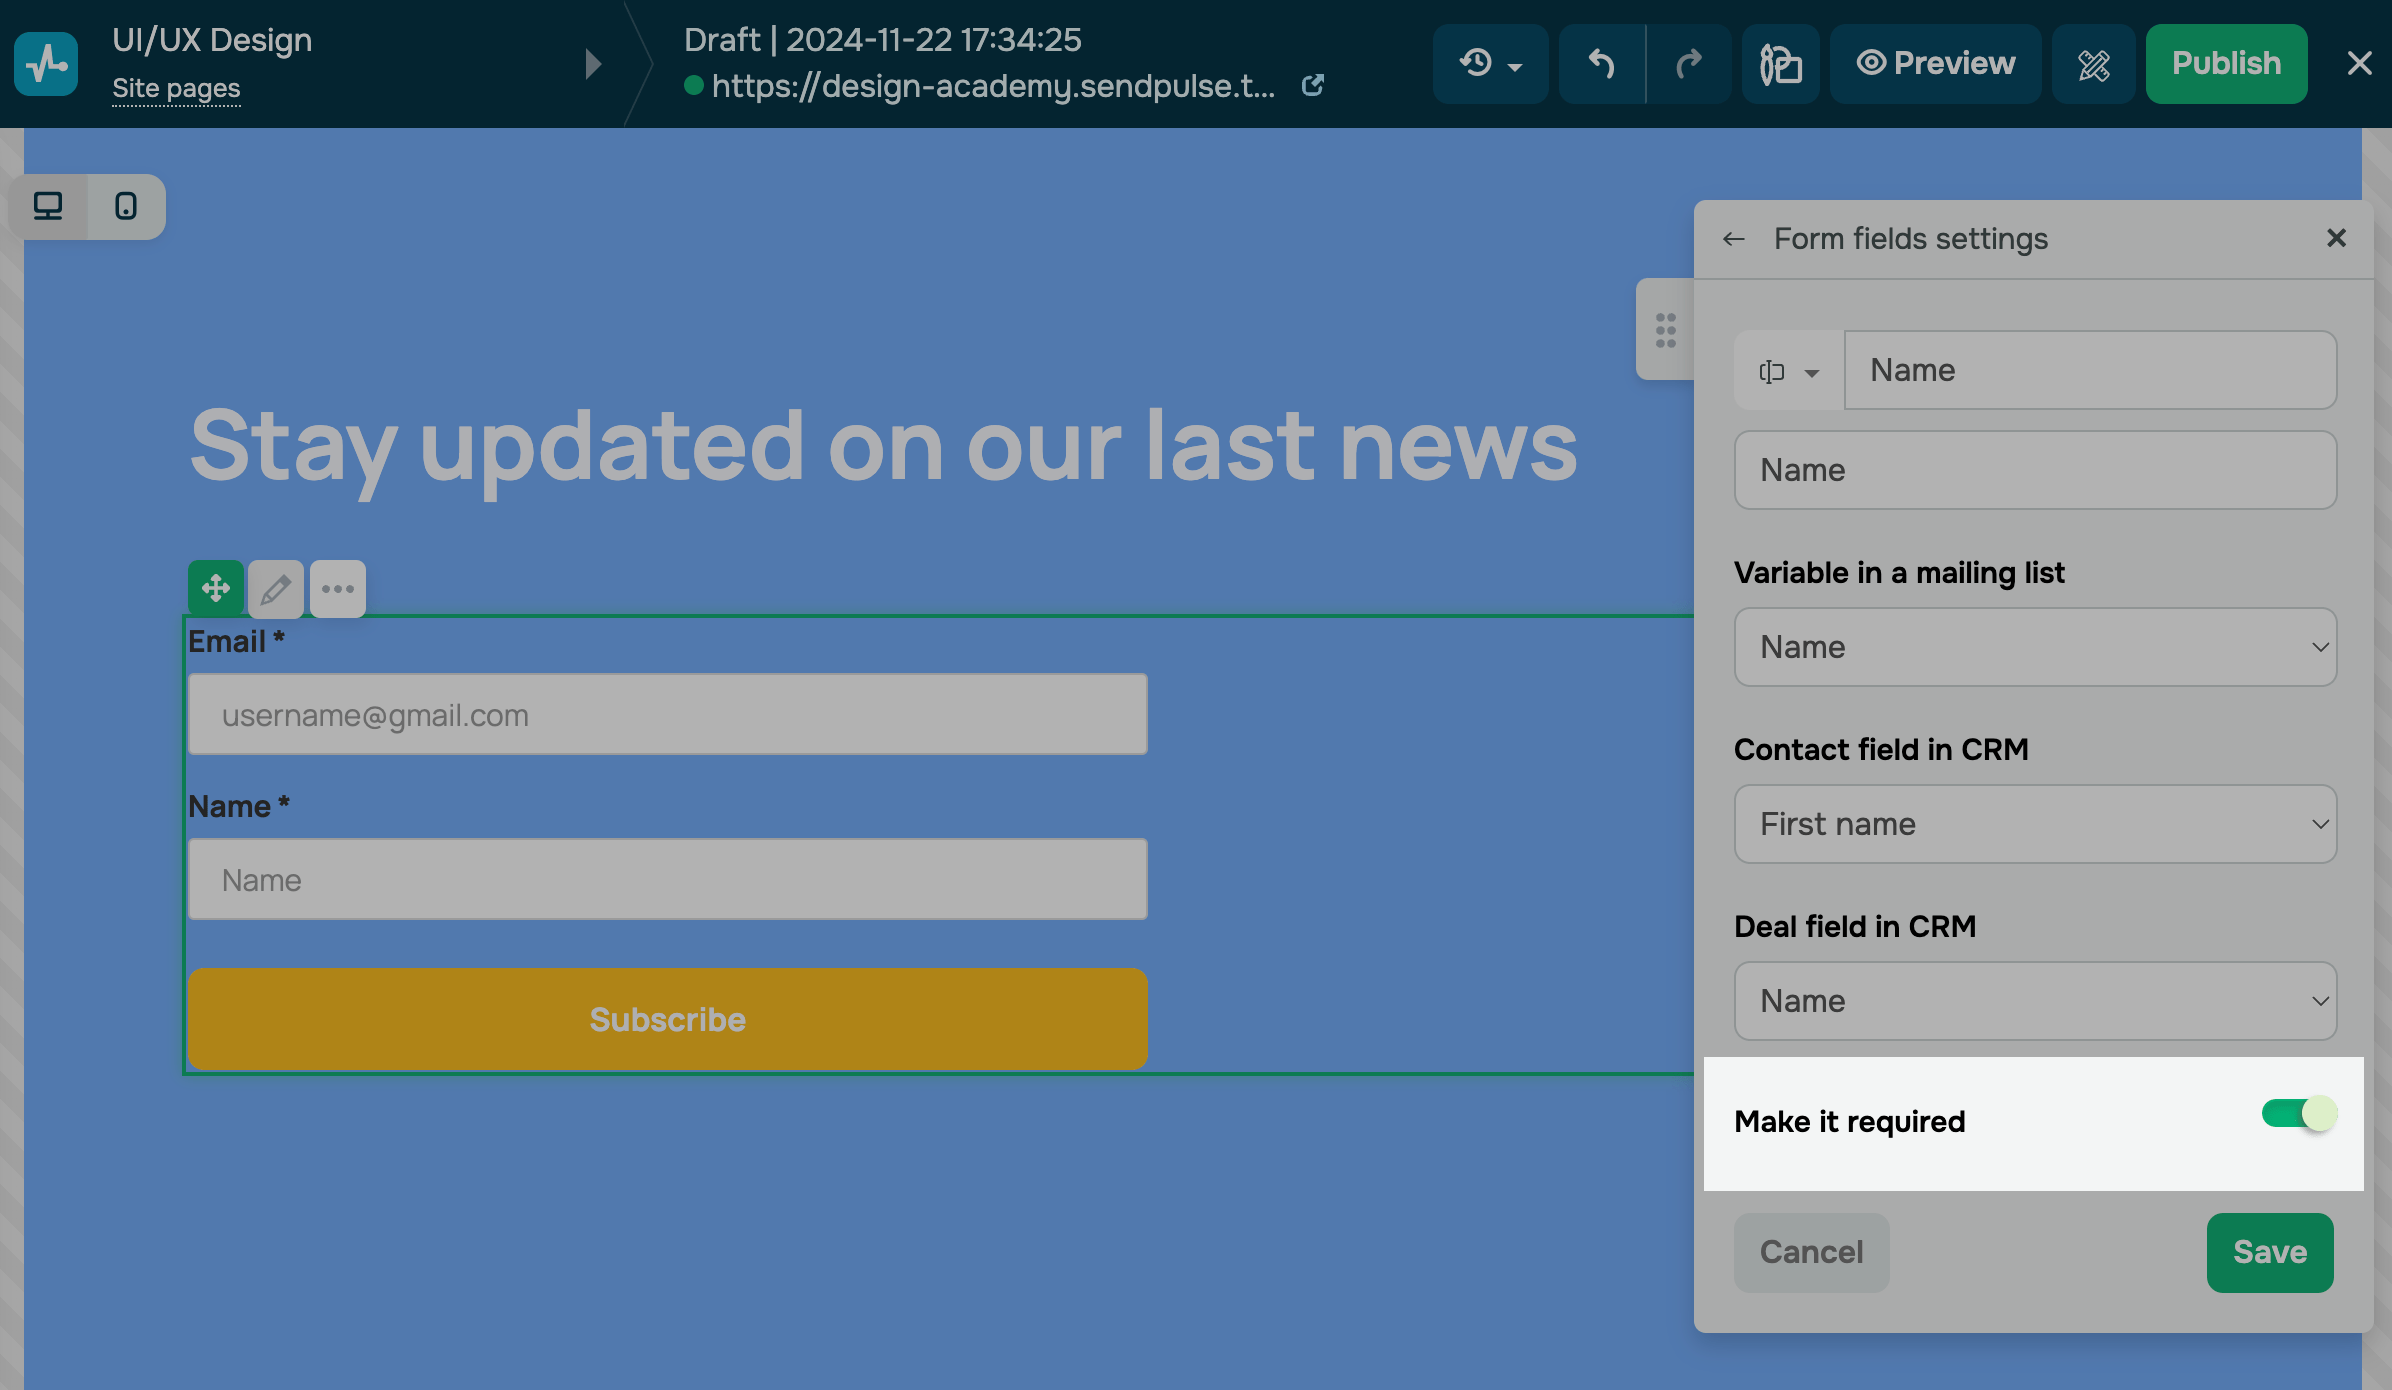
Check if the field is required. If the field is required, the users' data will not be sent until they fill in all the required fields.
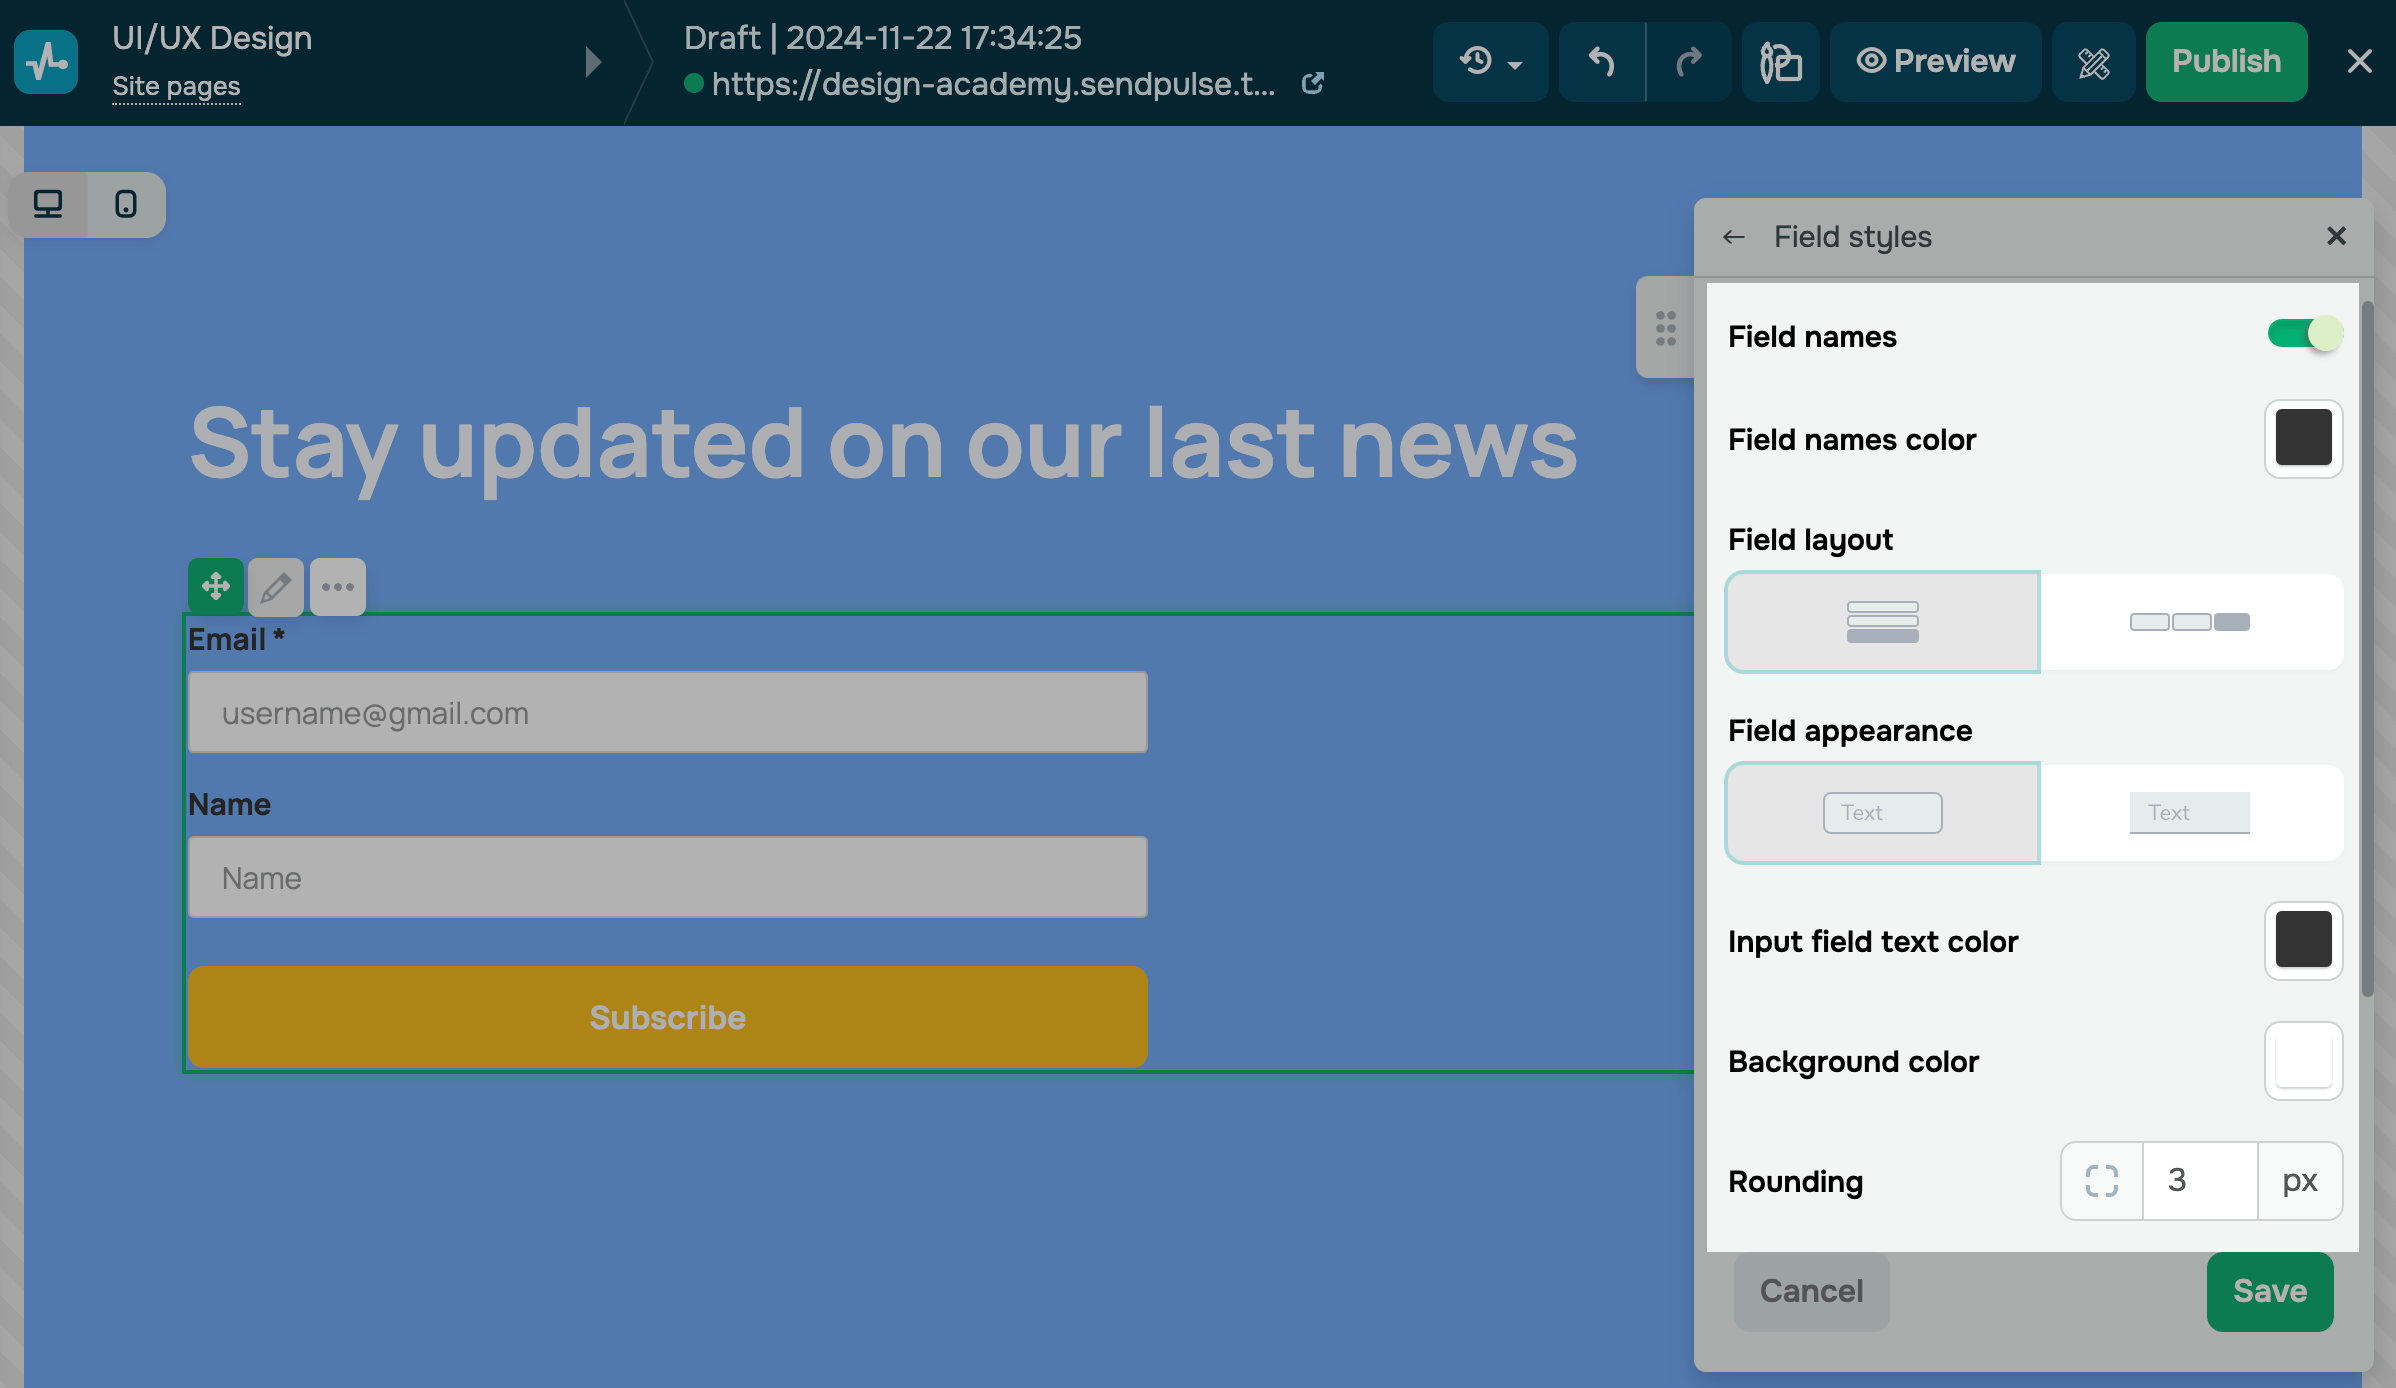
Customize the field style
To customize form fields, in the View section, click Field styles.
Static form
With the Static form view, you can customize form fields using the following options:
| Names | Turn on to show field names above input fields. |
| Name color | Select a field name color. |
| Alignment | Select a field alignment. |
| Appearance | Select a field style: filled or outlined. |
| Input field text color | Select the color of text that visitors enter in form fields. |
| Background color | Select a color to fill your fields. |
| Rounding | Set a rounding value in pixels.
Applicable to outlined fields. |
| Border color | Select a field border color. |
| Size | Select a field size: S, M, or L. |
Modal form
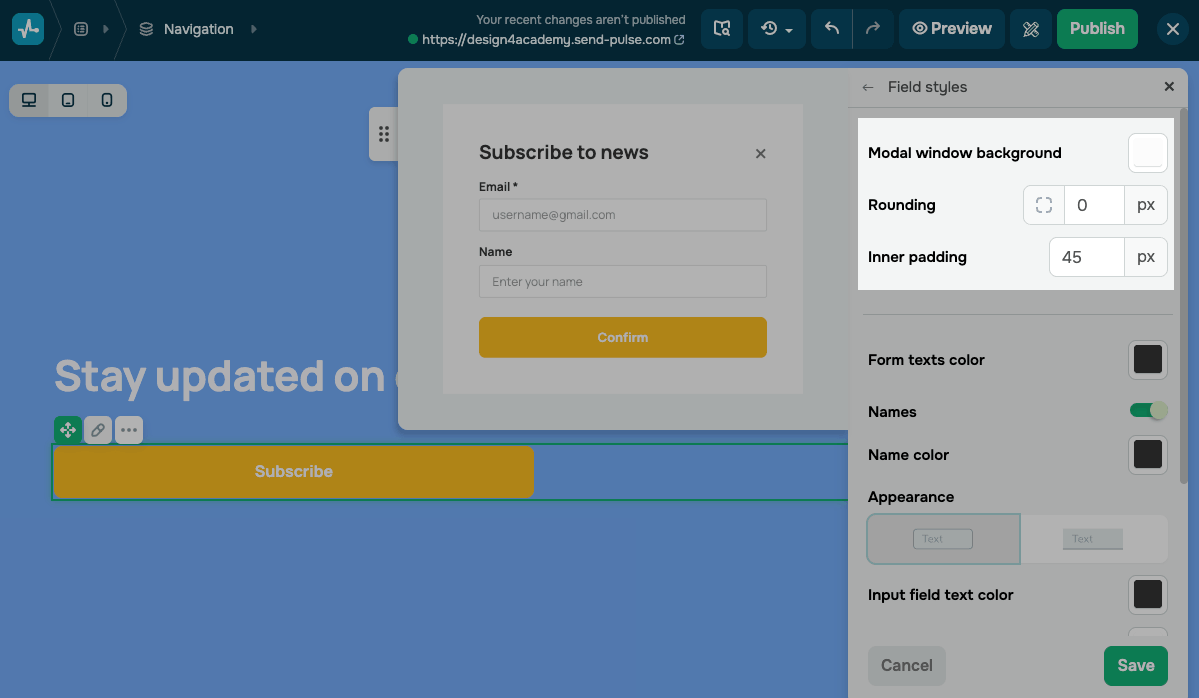
Field styles in the Modal form view include more settings for the modal window itself.
You can configure the following modal window settings:
| Modal window background | Select a background color for the modal window. |
| Rounding | Set a rounding value for modal window corners in pixels. |
| Inner padding | Set an inner padding value for the modal window in pixels. |
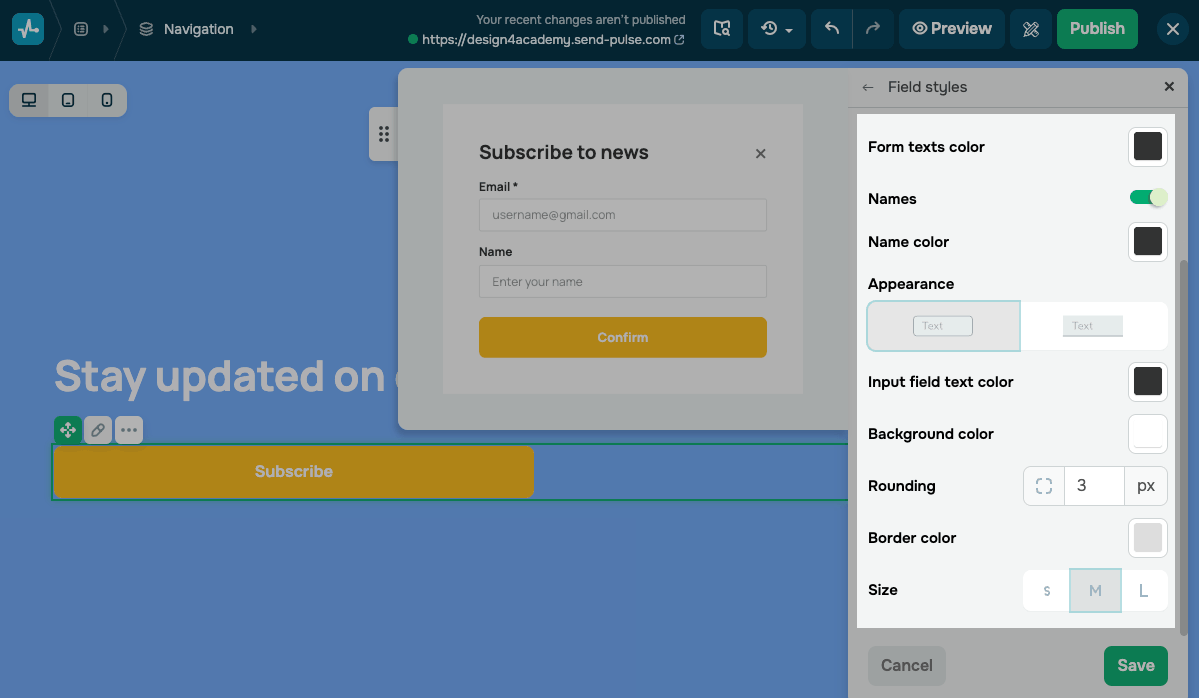
Customize the form fields in your modal window:
| Form texts color | Select the color of the form title and other text elements in the modal window. |
| Names | Turn on to show field names above input fields. |
| Name color | Select a field name color. |
| Appearance | Select a field style: filled or outlined. |
| Input field text color | Select the color of text that visitors enter in the form fields. |
| Background color | Select a color to fill your fields. |
| Rounding | Set a rounding value in pixels. |
| Border color | Select a field border color. |
| Size | Select a field size: S, M, or L. |
When the Two-step form toggle is turned on, field styles are split into two sections, including Static form for on-page fields and Modal form for fields in the modal window. This helps you style them independently.
Customize the button
With the Static form view, there is one form button. With the Modal form view, there are two buttons:
| Form button | Appears on the page and opens the modal window when clicked. |
| Modal window button | Appears in the modal window and submits the form when clicked. |
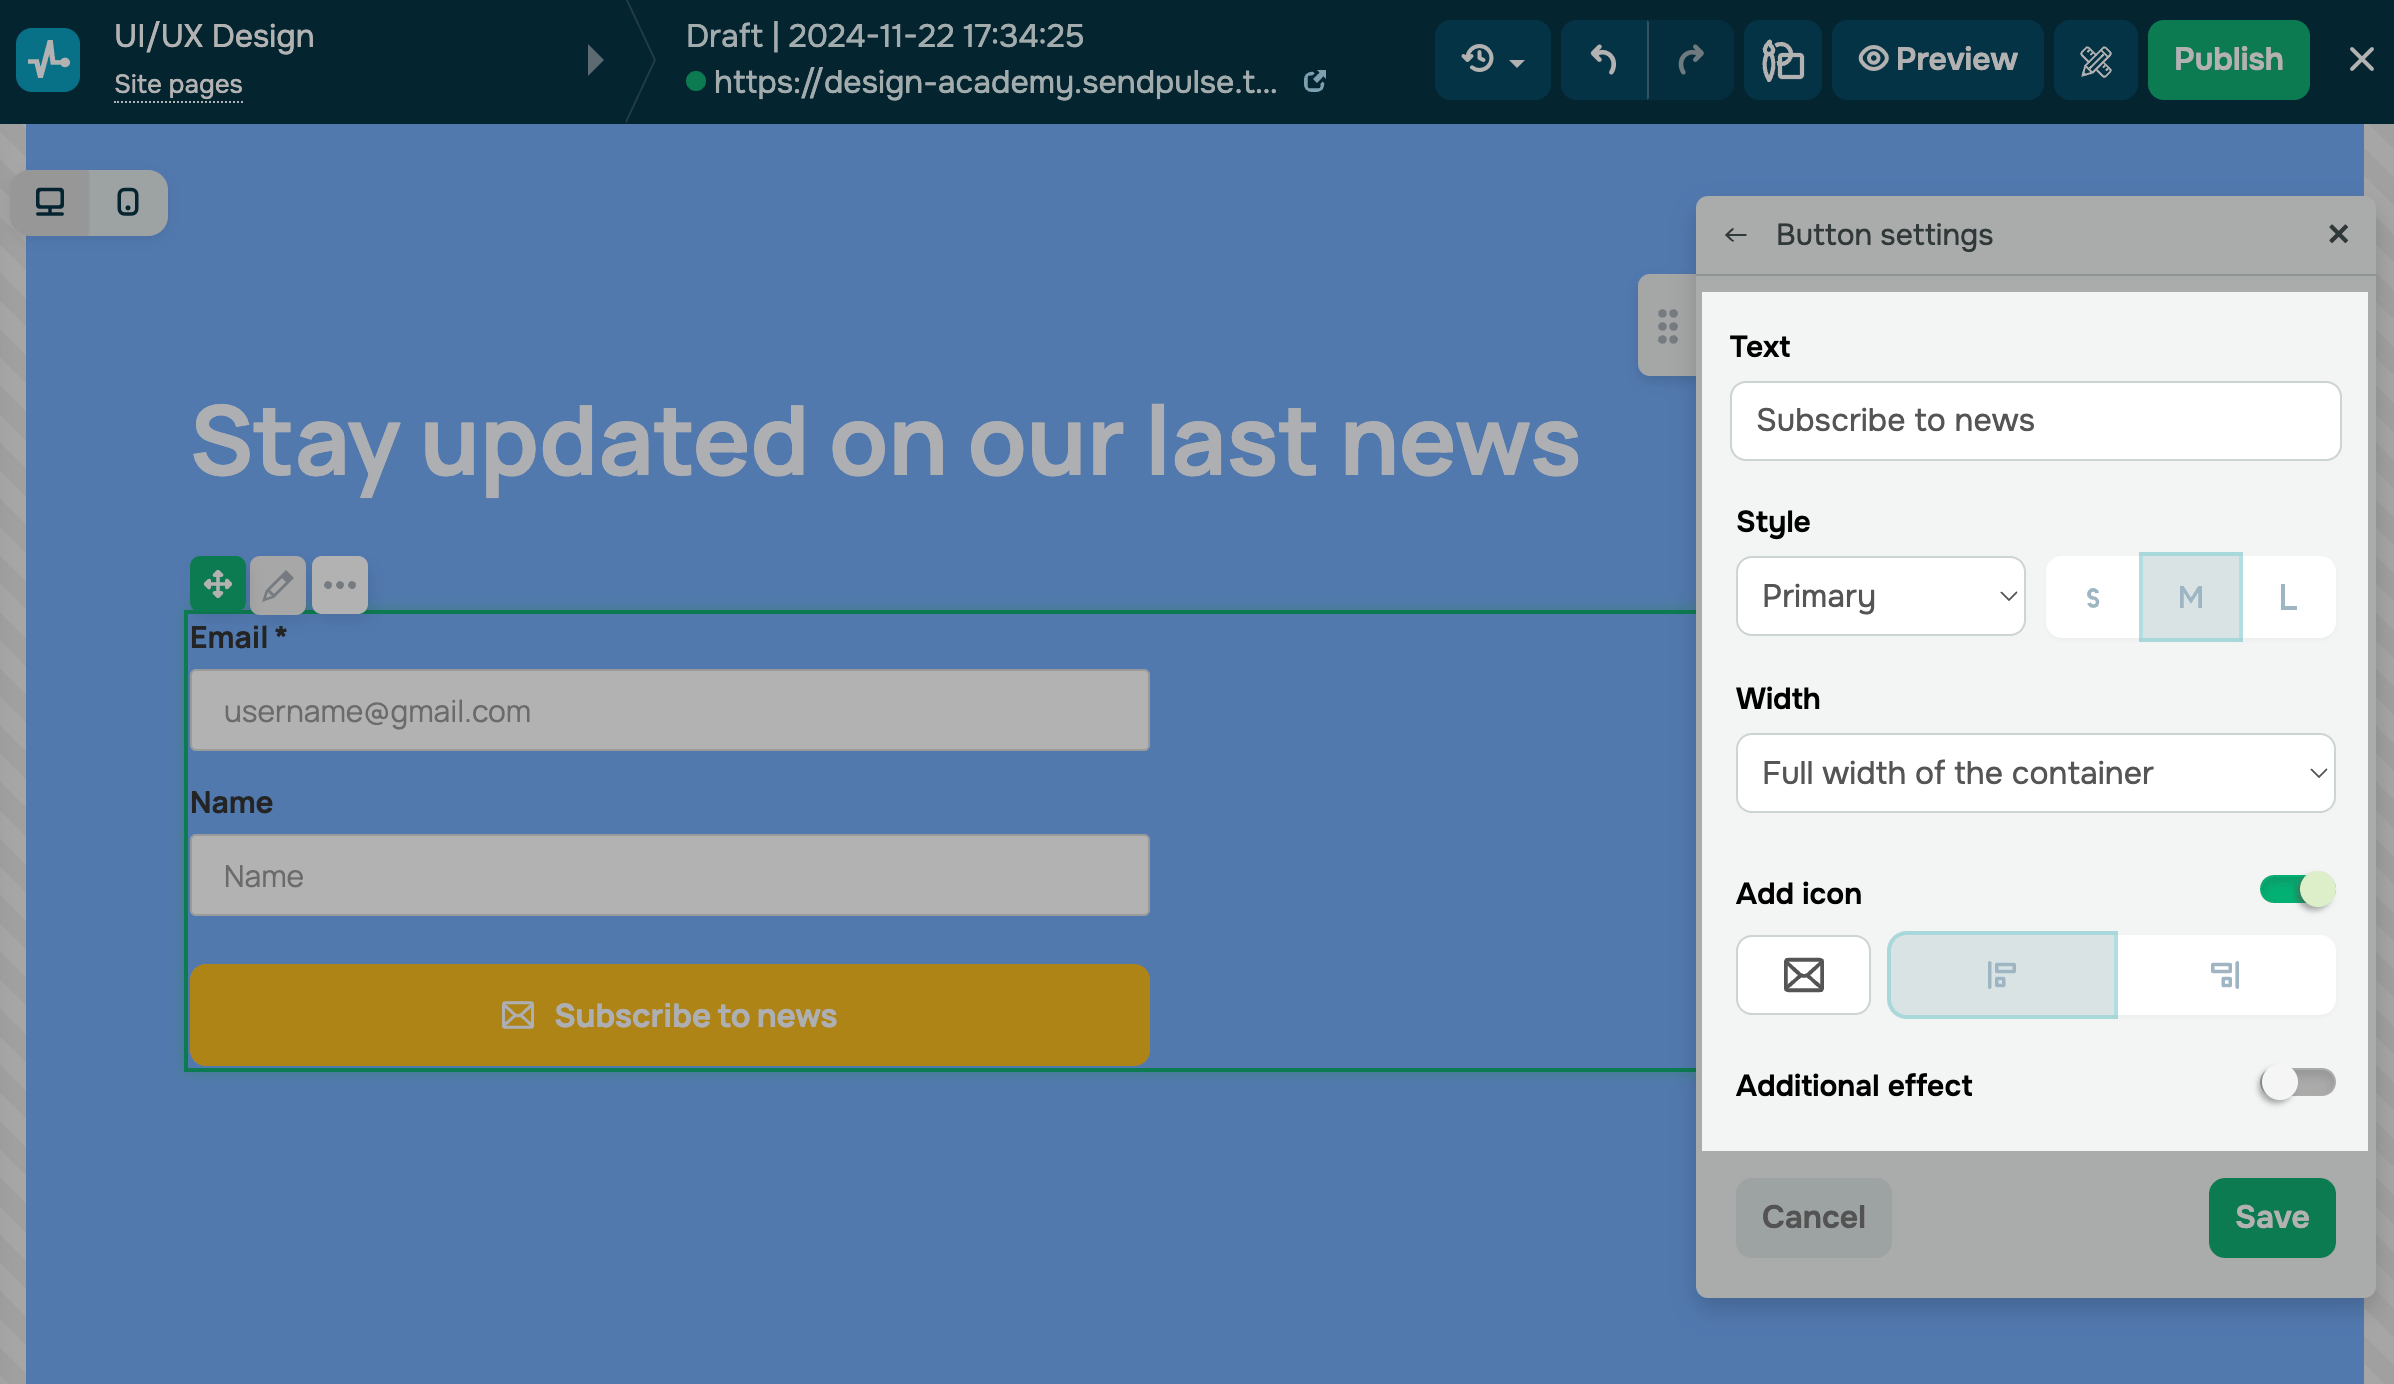
In the Form button field, click the pencil icon next to the button name to customize it. Options include:
| Text | Enter a button label. |
| Style | Select a button style: Primary, Secondary, or Custom.
Choose a button size: S, M, or L. |
| Width | Select a button width: Auto, Full width of the container, or Fixed. |
| Add icon | Turn on to add an icon to the button. Select an icon position: before the text, after the text, or centered above the text. |
| Additional effect | Turn on to add an animation effect to the button.
In the Condition field, select when the effect is triggered: Hover (on mouse hover) or Static (always active). In the Effect field, select an animation type: Bounce, Shake, Decrease, or Increase. |
| Shadow | Turn on to add a shadow to the button. Set shadow parameters: Offset X, Offset Y, Blur, Spread in pixels, and Color. |
Customize widget display
By default, styles are synced across all device versions. To customize each version separately, turn off Styles are synced.
To customize your widget placement use the following settings:
| Position | Customize your element position on the screen using the X, Y, Z-index, and Rot parameters. |
| Hide widget on | Hide the block devices. |
Configure additional form settings
You can manage what happens after submission, how contact information is processed, and anti-spam measures. These options help you customize how visitors interact with your website, keep CRM data up to date, and enhance form security. To do this, go to the Additional form settings.
Let’s go over advanced form settings and how to use them.
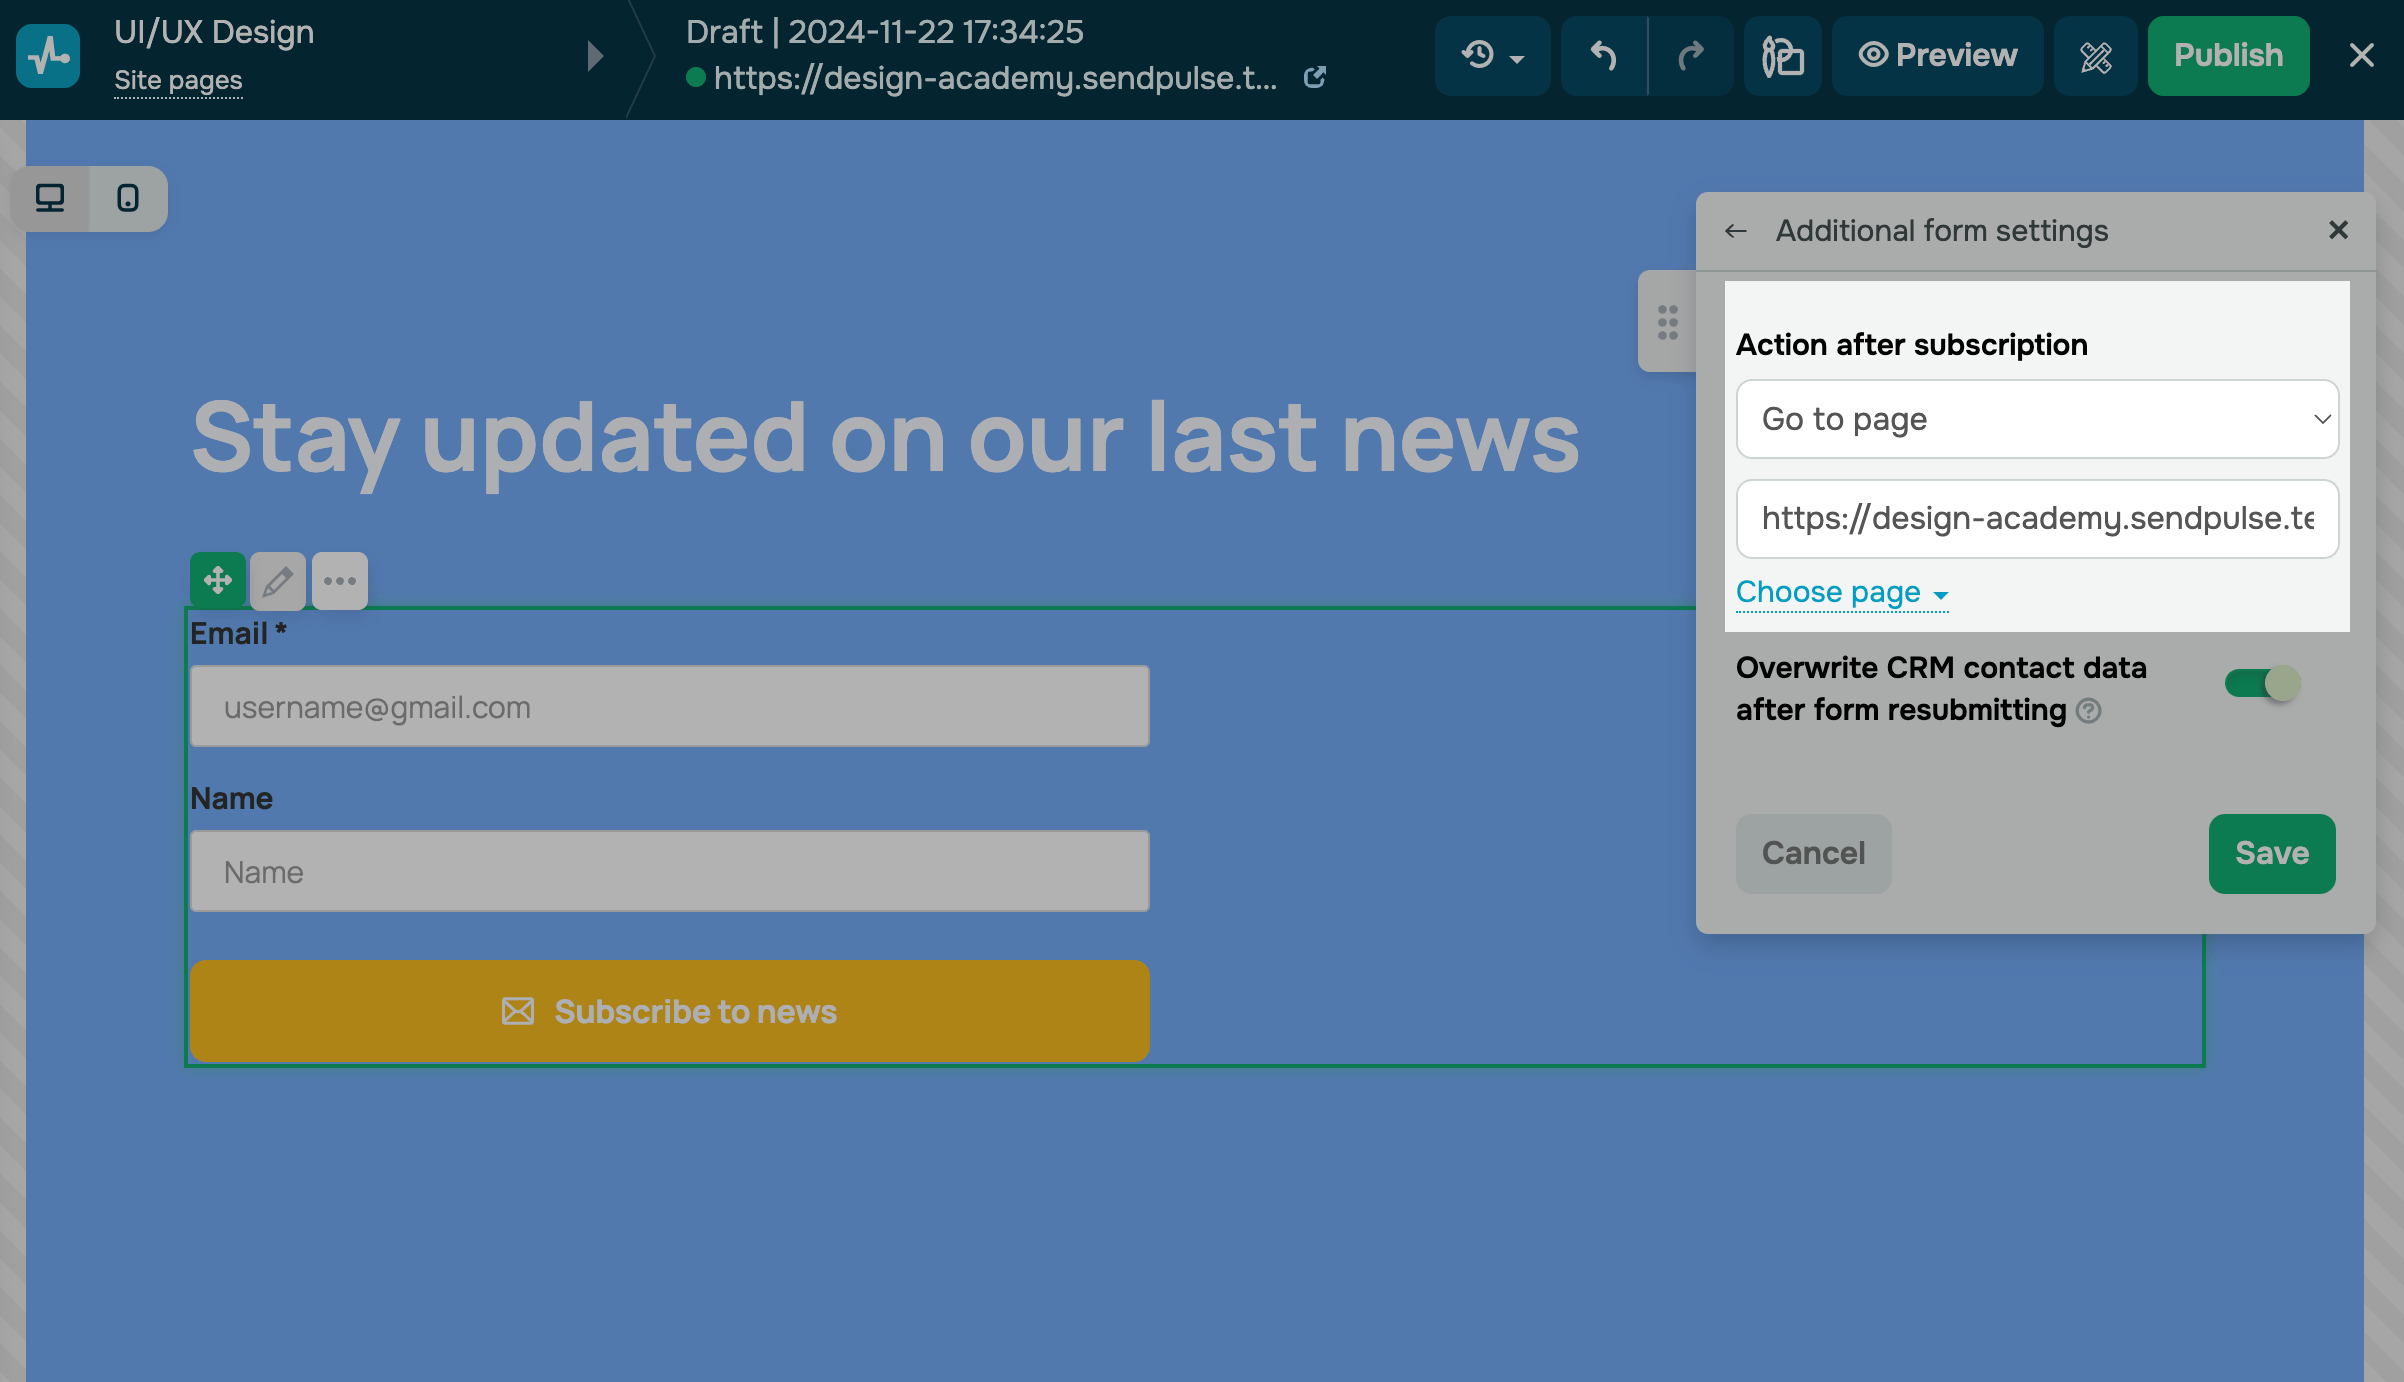
| Action after submitting |
Used to set up the page shown after form submission. You can display a message or redirect visitors to another page on your website. Read more: Customize the page after submitting the form. |
| Overwrite CRM contact data after form resubmitting |
Used for existing contacts in SendPulse’s CRM system. If a contact submits a form, their data will be overwritten. Turn on the toggle. |
| Require visitors to enter corporate email addresses only |
Used to restrict email address input to corporate domains only. Turn on the toggle. Once you turn on the toggle, email addresses from public providers, such as gmail.com, yahoo.com, hotmail.com, and outlook.com, will not be validated or submitted. |
| Show CAPTCHA |
Used to protect your website and prevent bots from automatically filling out forms. Choose a limit: 10, 100, or 1000. By default, this limit is set to 100. This means that the CAPTCHA will appear if a visitor submits your form 100 times using the same IP address within 10 minutes. Read more: How to add CAPTCHA to your subscription form. |
Configure analytics
You can transfer your goals from your form to Google Analytics and Facebook Pixel events. Click Analytics settings.
If you haven't activated analytics yet, follow the How to set it up link.
To complete your data transfer, add the Facebook pixel and Google Analytics code to your website settings.
Read more: How to connect Google Analytics to your Site and How to connect Facebook Pixel to your site.
If your analytics are already activated, you will see two toggles.
Turn on the Transfer the goal to Google Analytics or Transfer the goal to the Facebook pixel toggle.
If you have turned on the Transfer the goal to Google Analytics toggle, enter your data in the Category, Action, and Label fields — these parameters will be transferred to Google Analytics in the Events section.
If you have turned on the Transfer the goal to the Facebook pixel toggle, the Complete Registration event will be generated automatically. You will be able to see it in Events Manager in your Facebook Business Account.
Last Updated: 22.12.2025
or