The Header block in website builder
With the SendPulse website builder, you can add the Header element to highlight key points and ensure seamless navigation.
In this article, we'll talk about how to add a website header using the SendPulse website builder.
Add the element
Click Add block, and in the Header section, select a template.
Header is a sitewide block, meaning that it appears on all website pages. All changes you make to it are automatically synchronized. You can hide this block on specific pages using their settings.
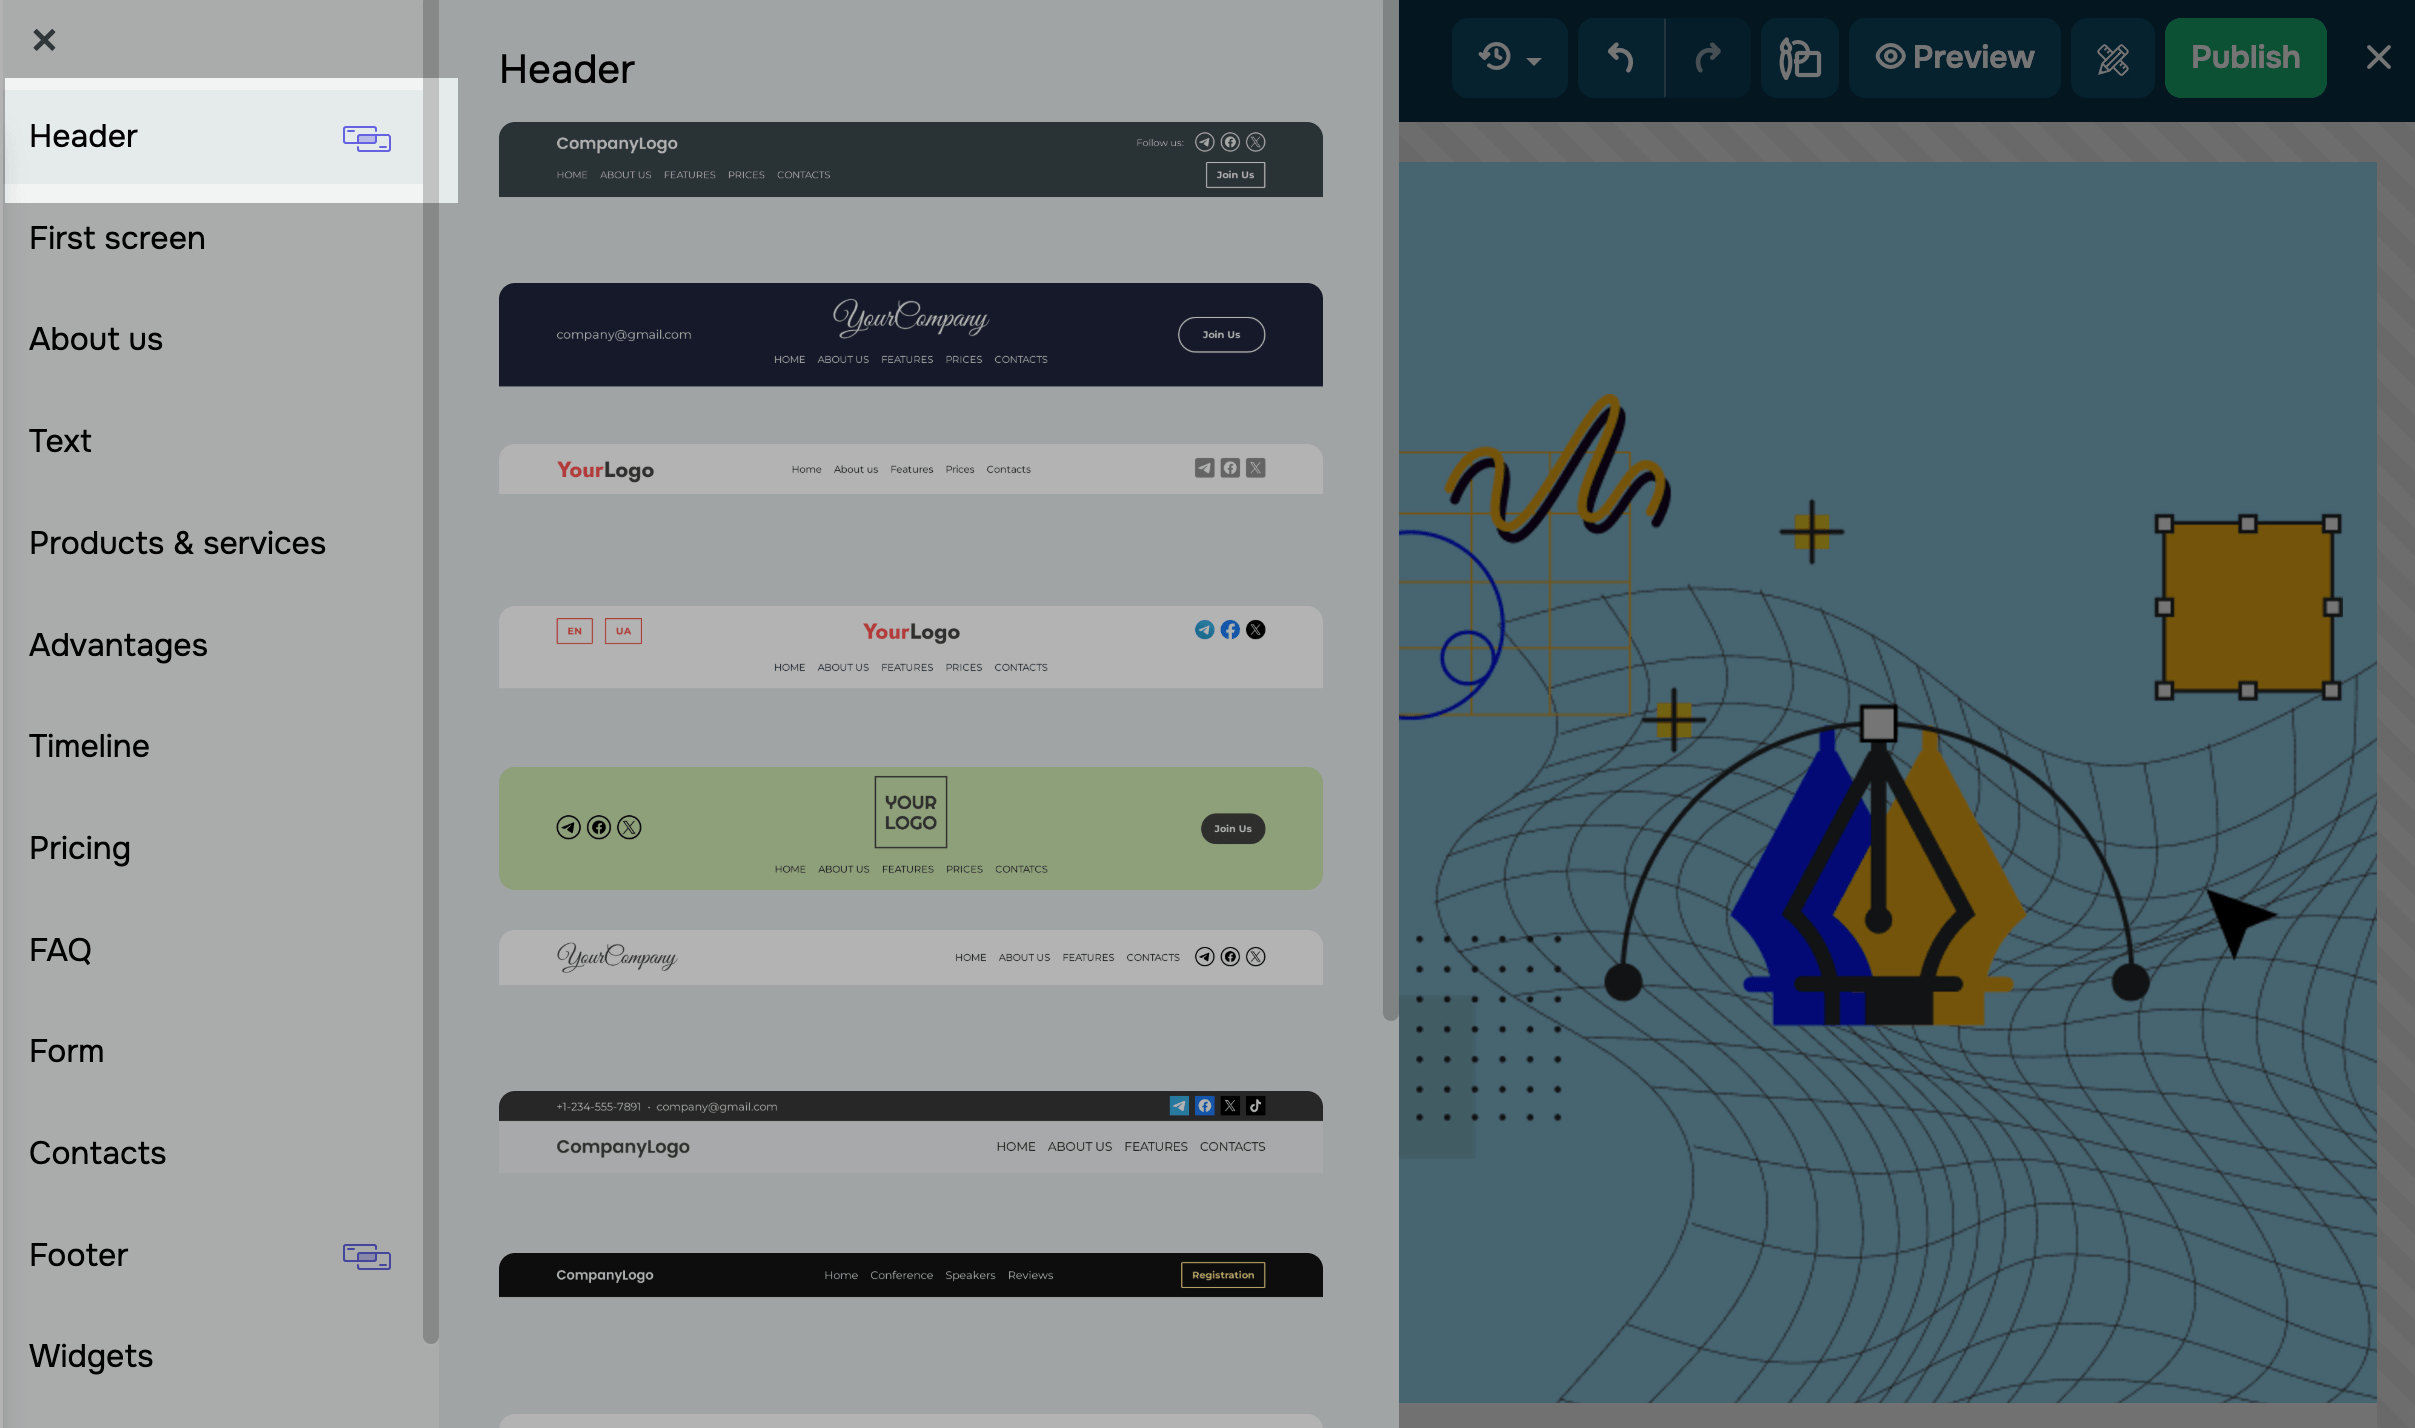
Your header widgets may vary depending on the template. By default, it includes one or two rows and the Logo, Menu, Socials, and Button widgets.
Set up the layout
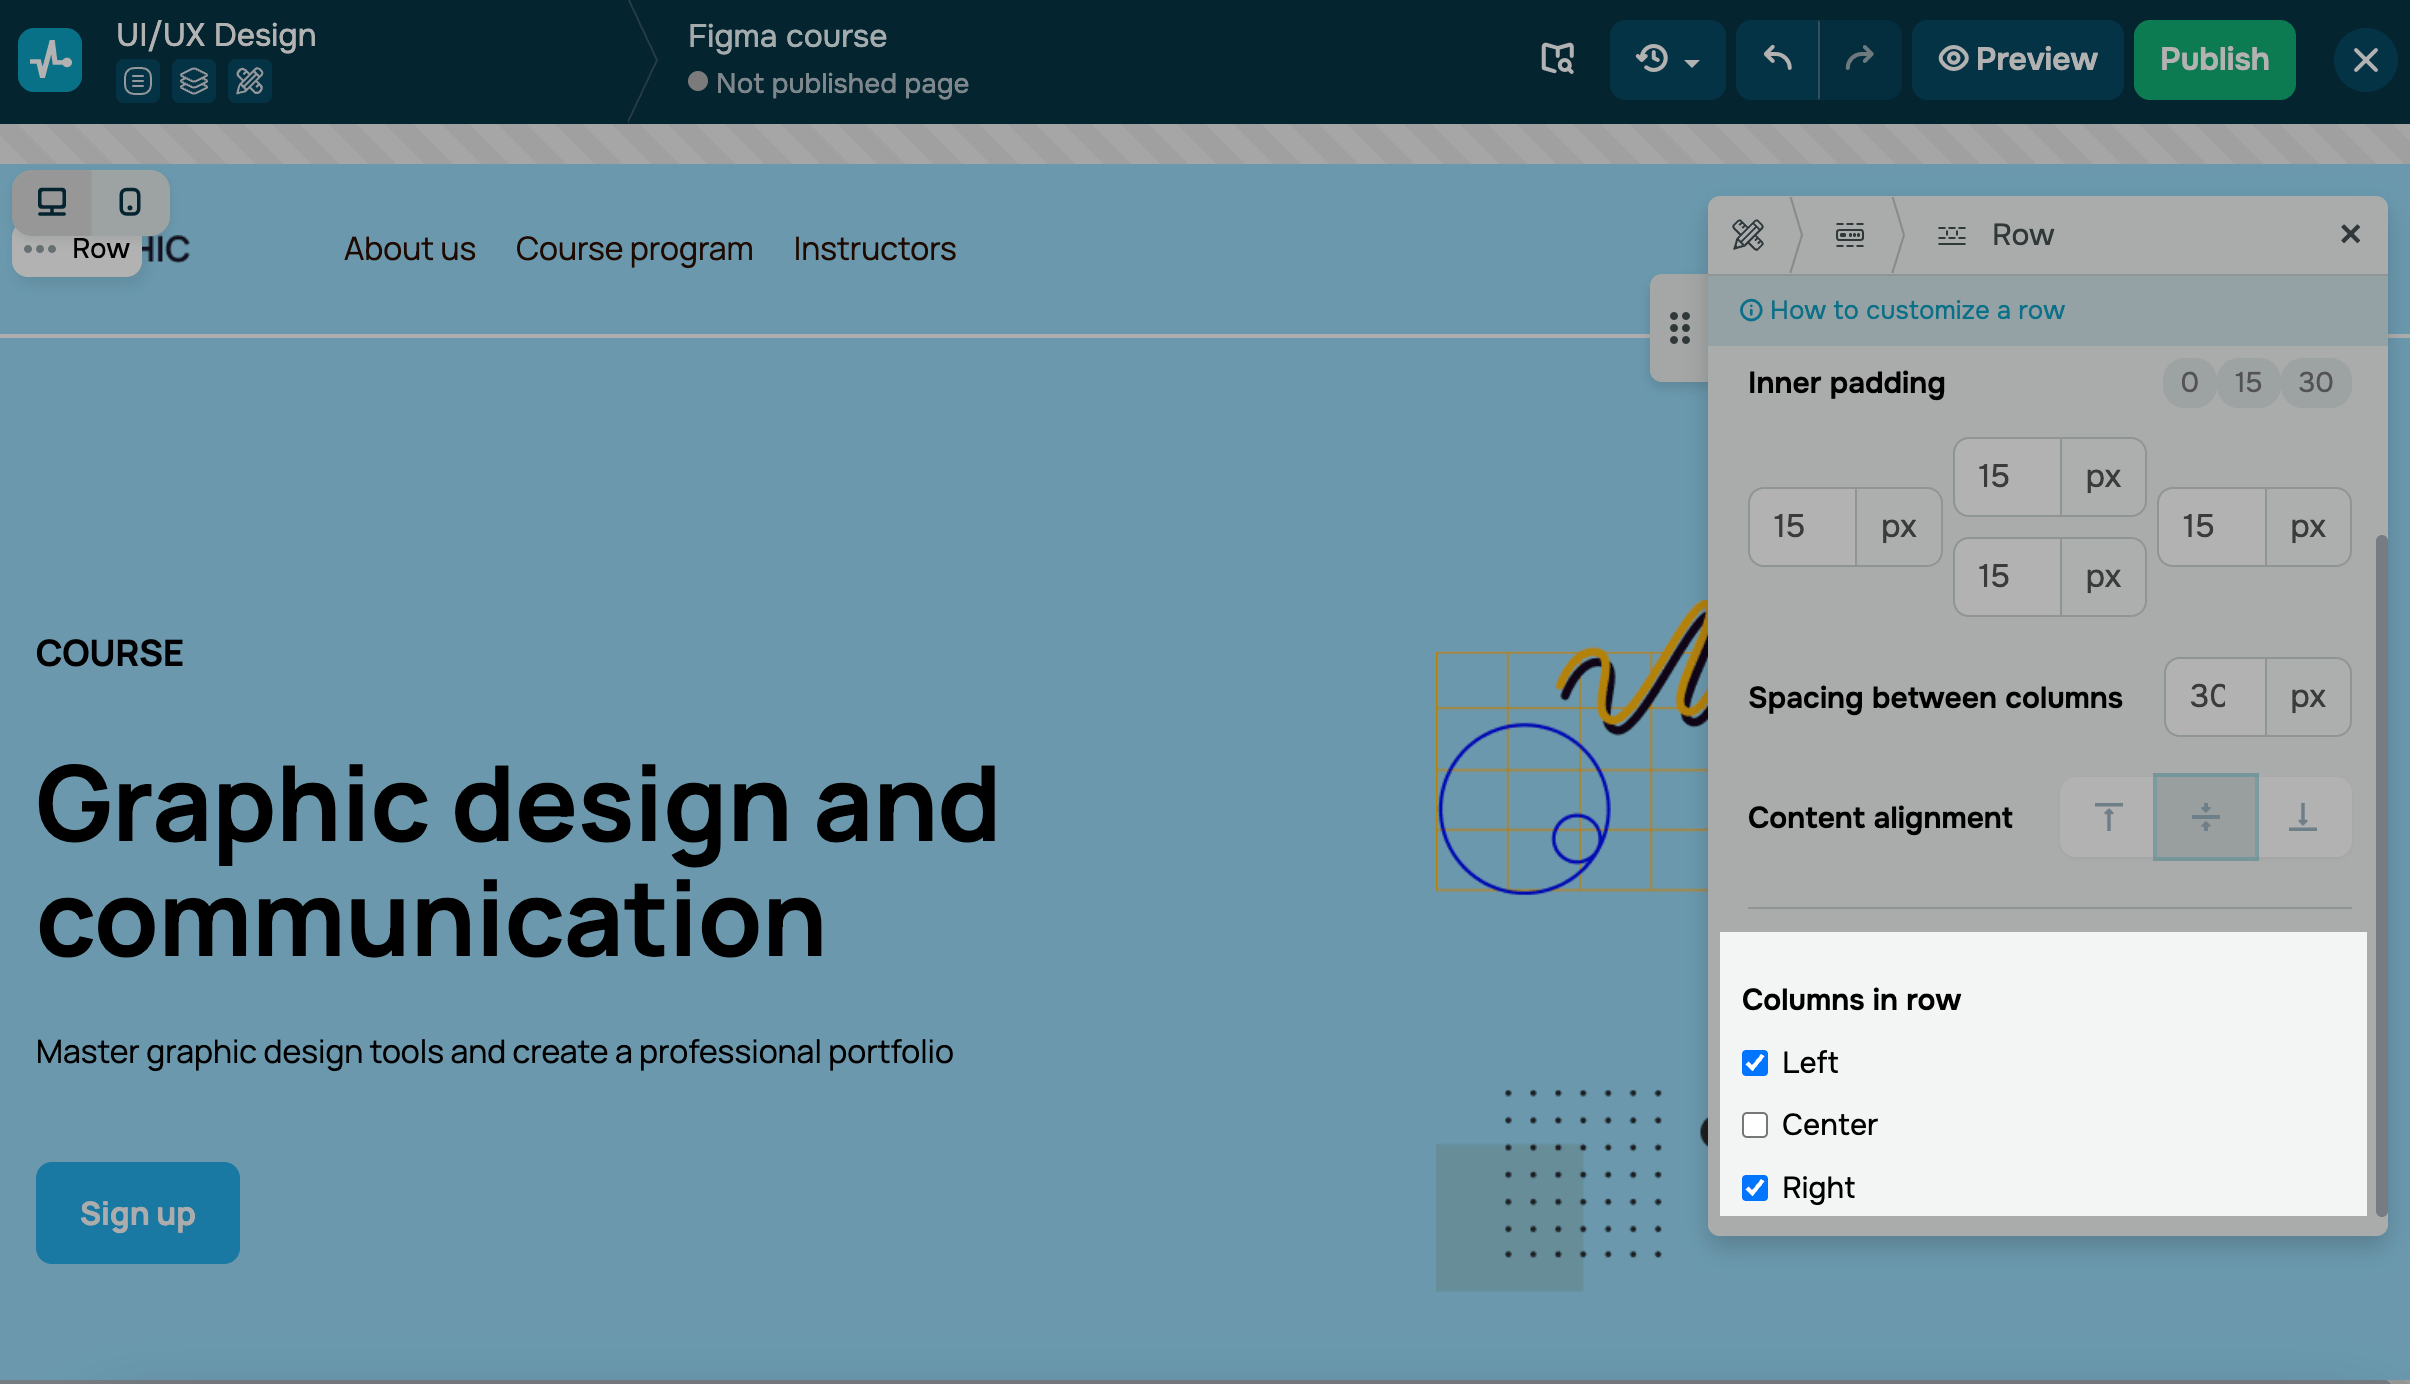
A row is a customizable section with preset parameters. To modify a row, hover over it, and select Edit from the Row dropdown menu.
You can edit, add, move up and down, delete, and customize rows to your preferences. To customize a row, click Edit, and adjust its background color, background image, inner padding, column spacing, and content alignment.
By default, a row includes three columns. To remove specific columns, clear their checkboxes in Columns in row. Row content will automatically adjust to fill the block width.
Customize the content
Widgets
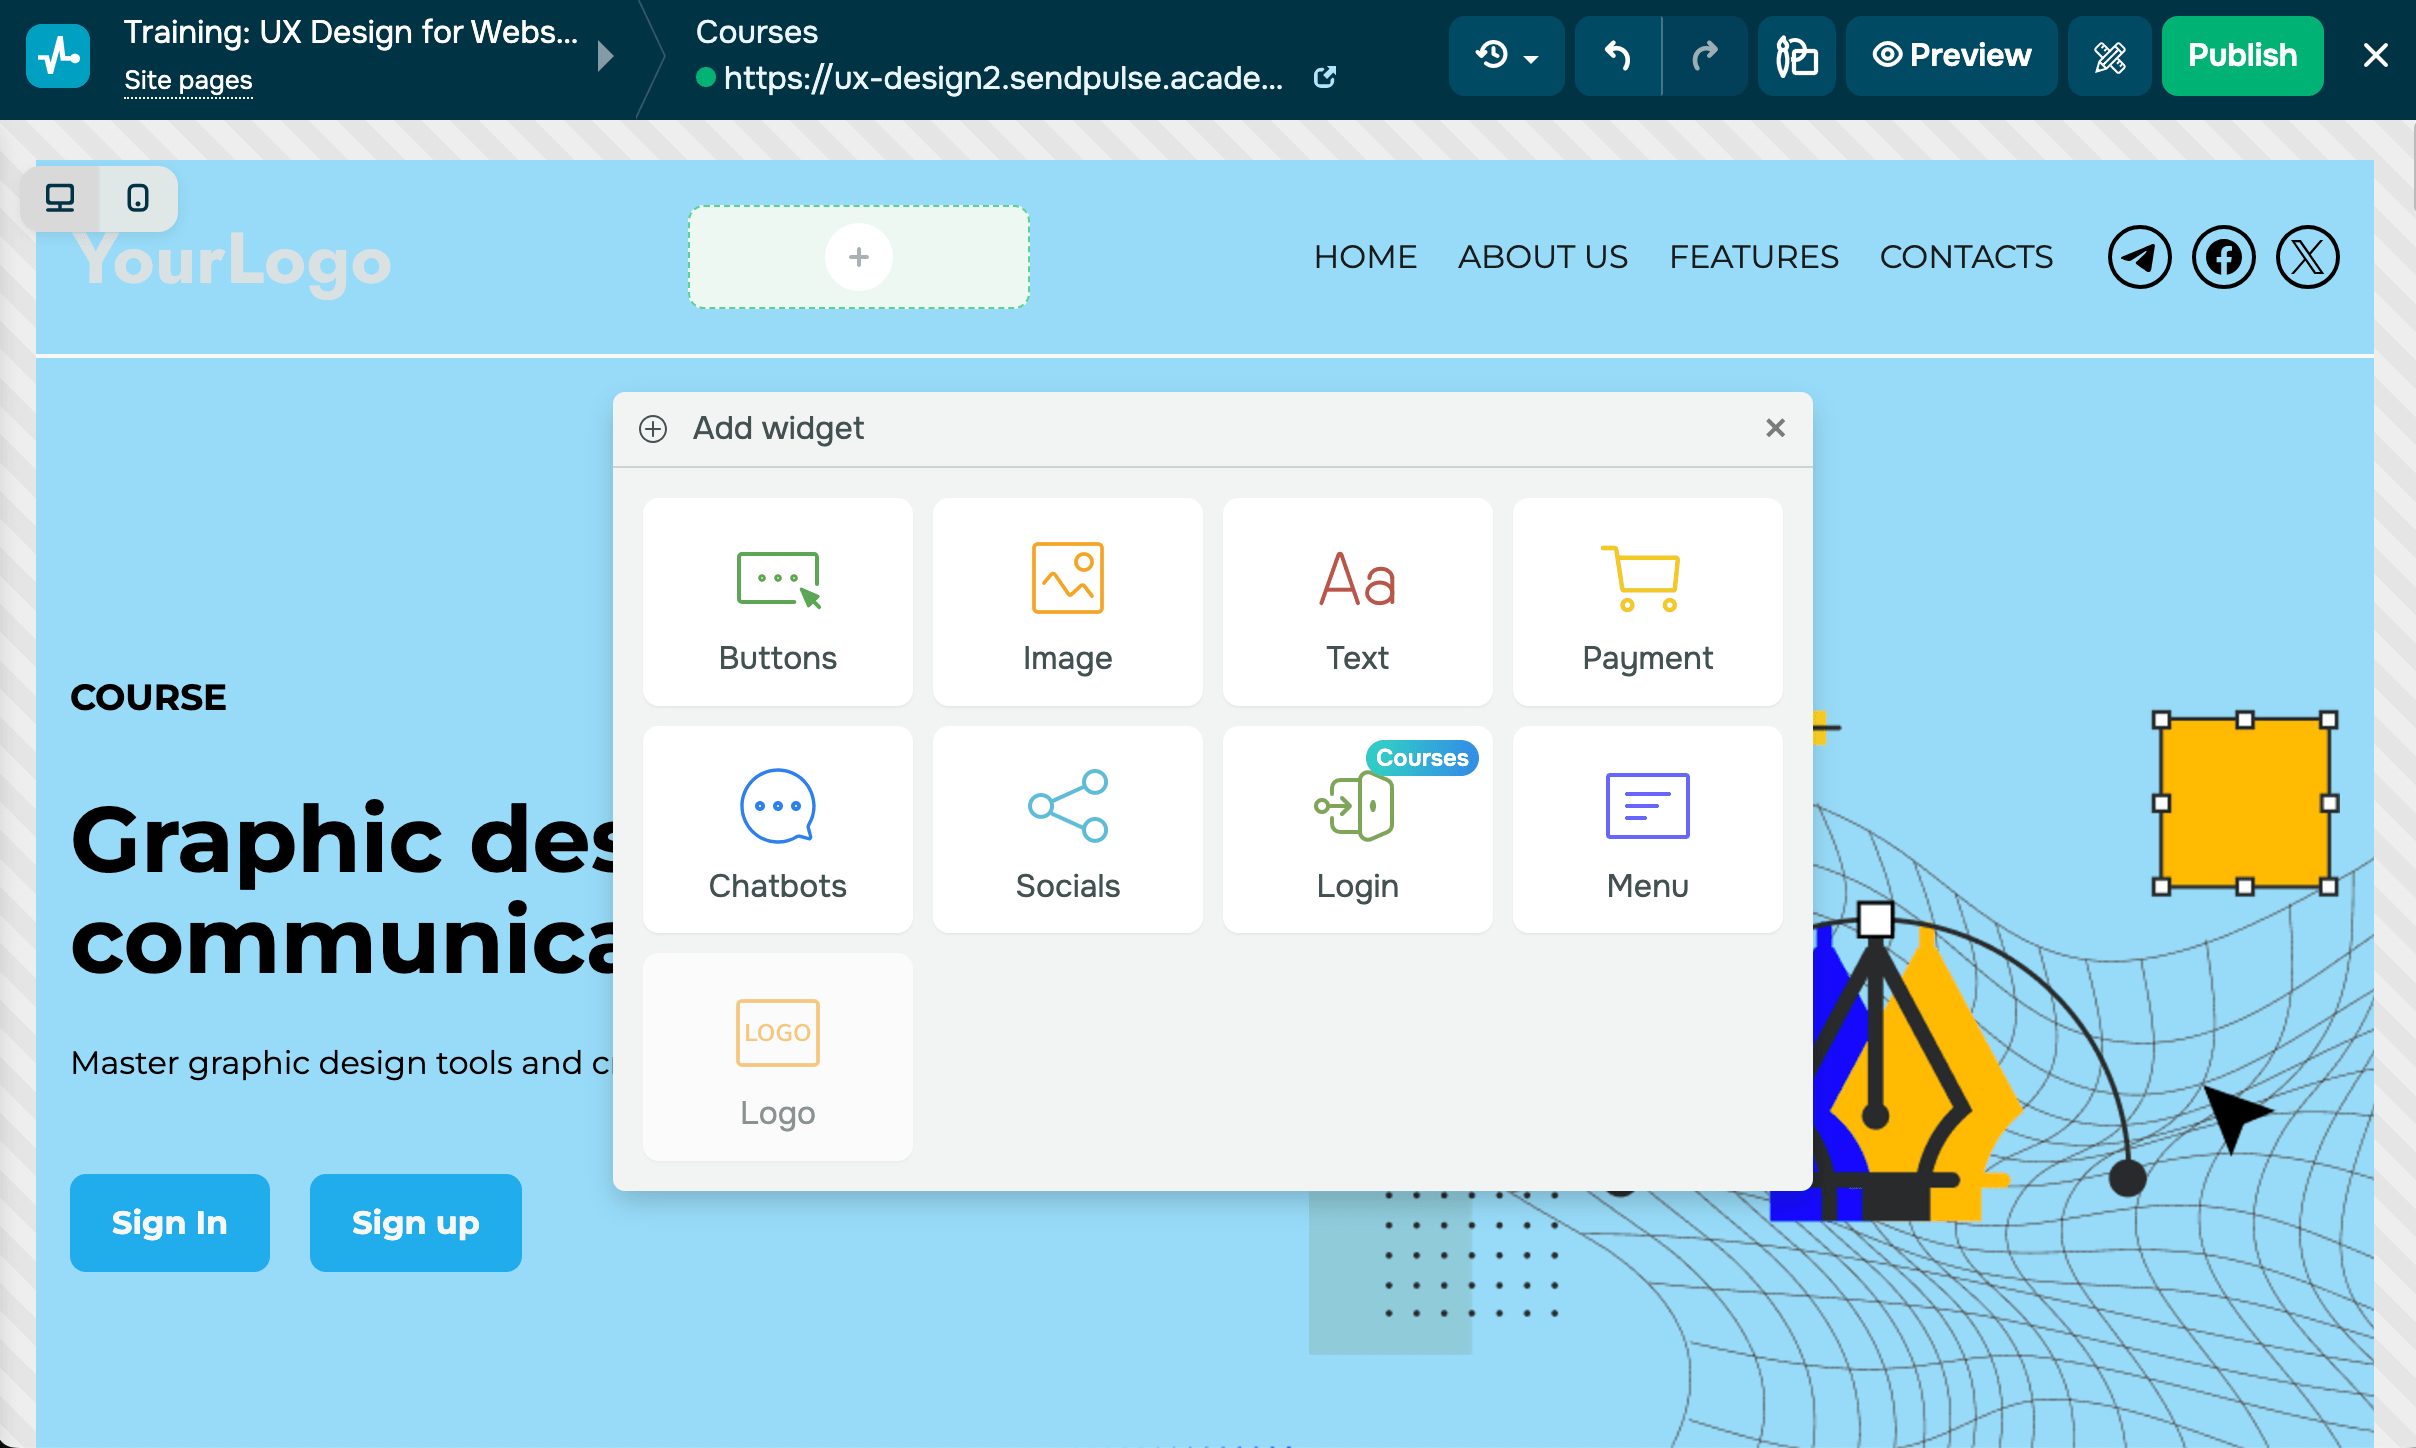
You can edit your current template widgets or add new ones to improve your header. Hover over a widget, and click + Add widget.
You can add the Buttons, Text, Payment, Chatbots, Socials, Login, Menu, and Logo widgets.
The Login widget is exclusive to course websites. You can only add the Logo widget to your website header once. Read more: How to create a website: Add widgets.
Menu items
You can customize your header menu items. Click the pencil icon to edit a name and link, and select how your links will be opened when clicked (in the current tab or a new one).
To duplicate, delete, or add submenus, click the dropdown menu. Submenus have the same settings, including the name, link, and opening option.
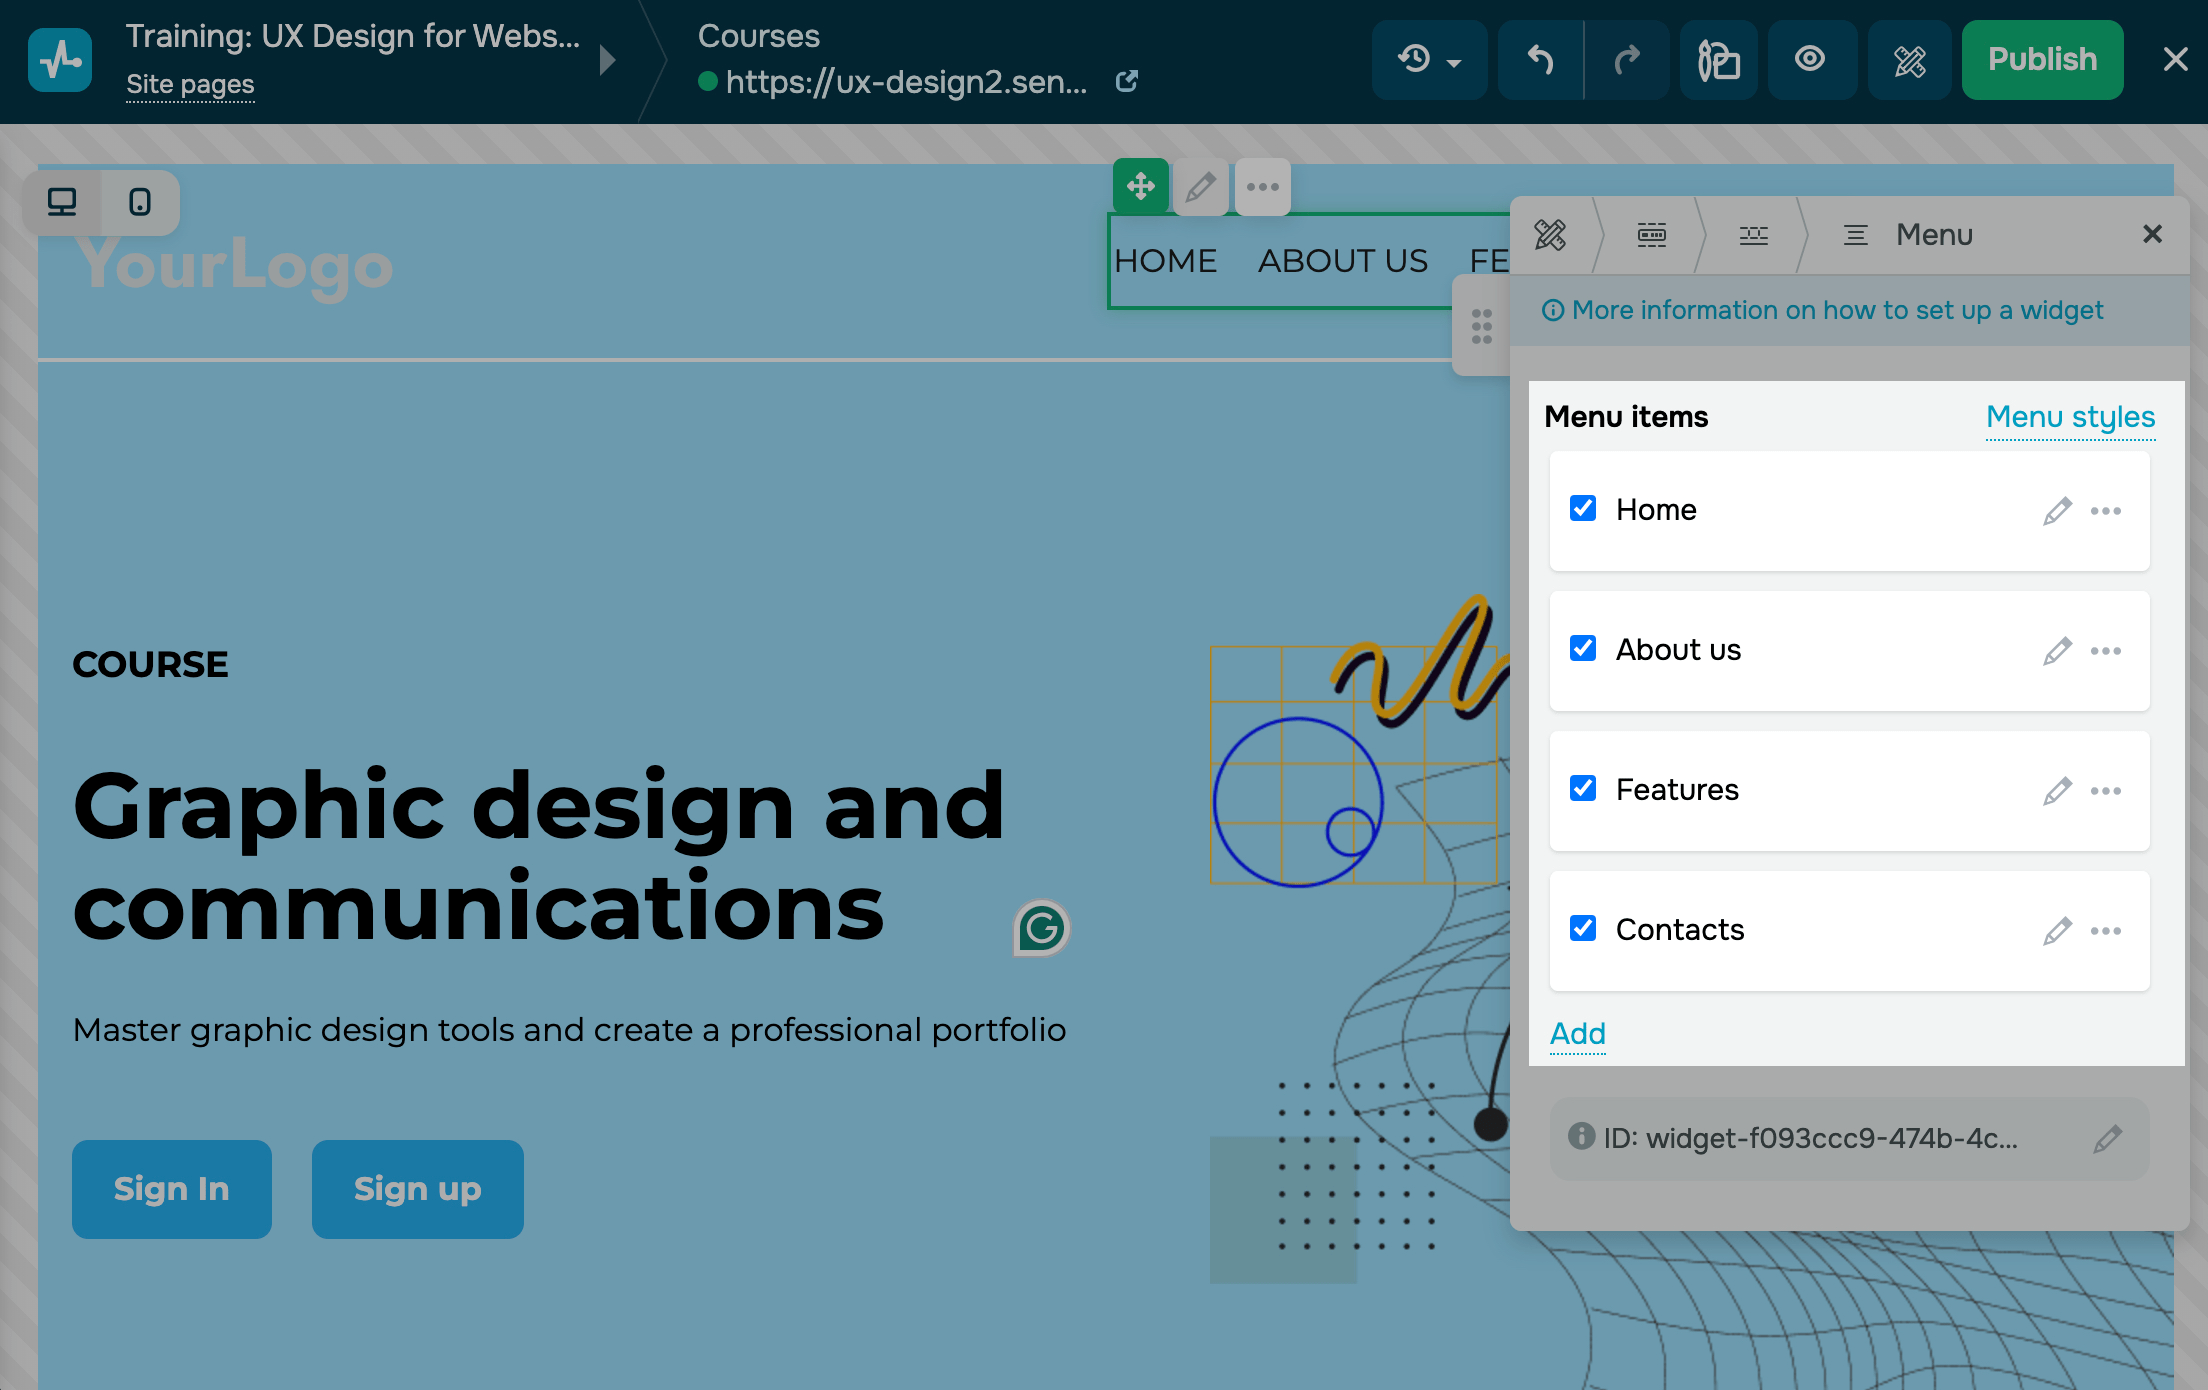
Click Add to add a new menu item to your website header.
Read more: How to add a site menu.
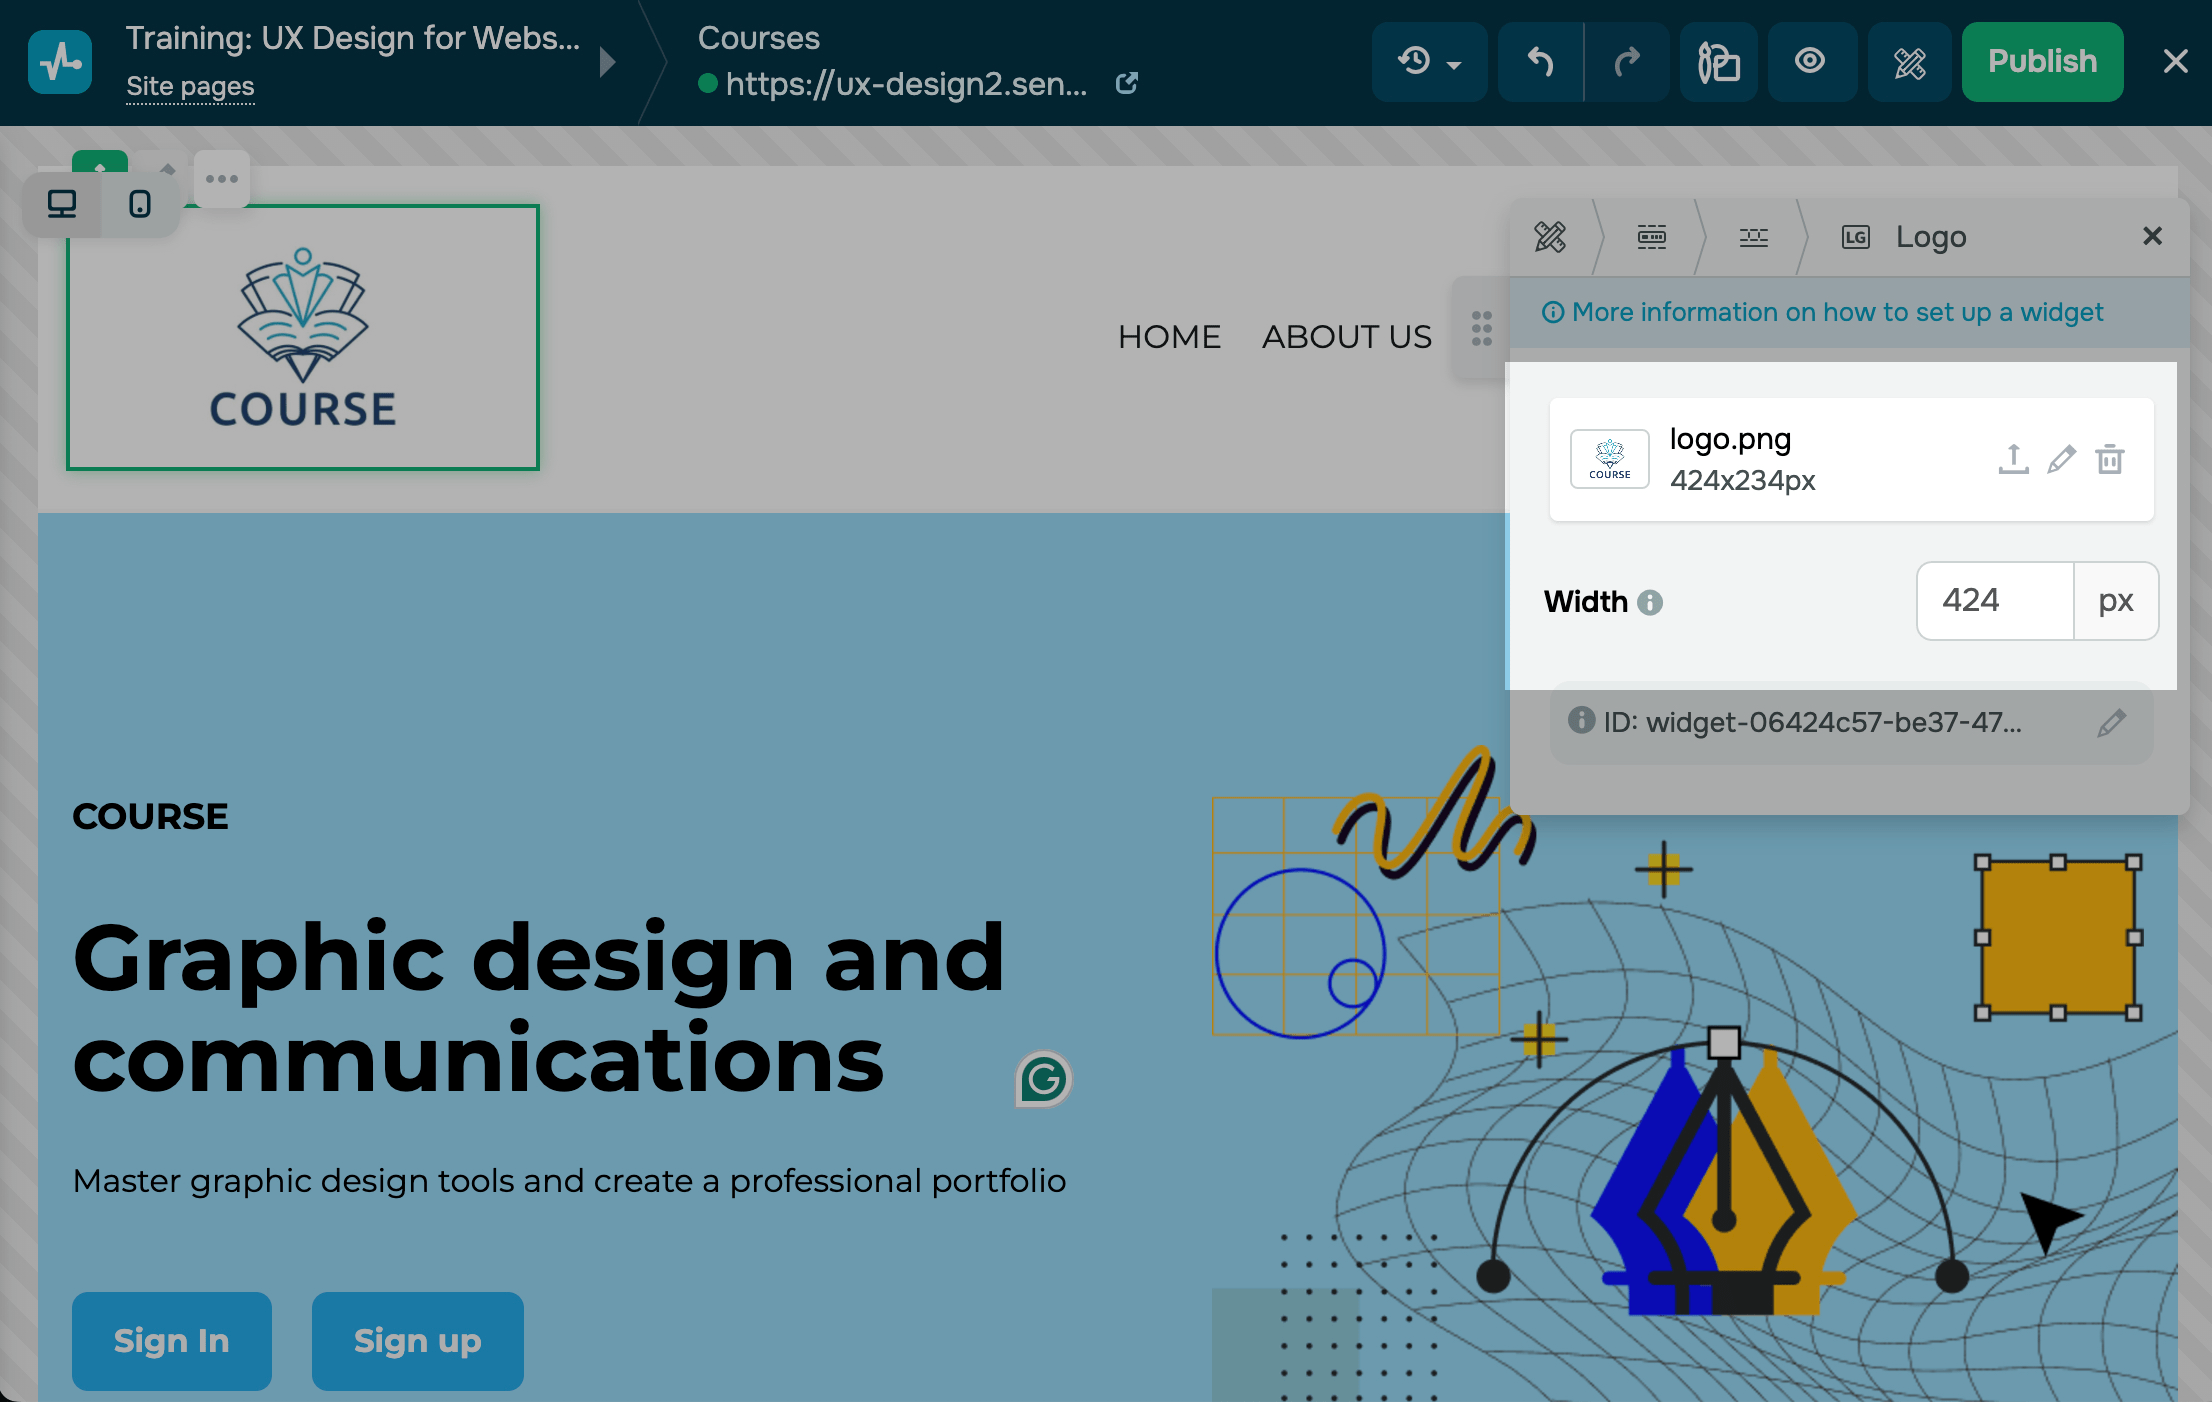
Logo
You can place your brand logo in your website header. To do this, add a new widget with your logo, or select an existing one.
Click the upload icon to upload a new logo. Click the pencil icon to edit your image or add text and links to it. If you need to remove your logo, click the trash can icon.
Customize the appearance
Block parameters
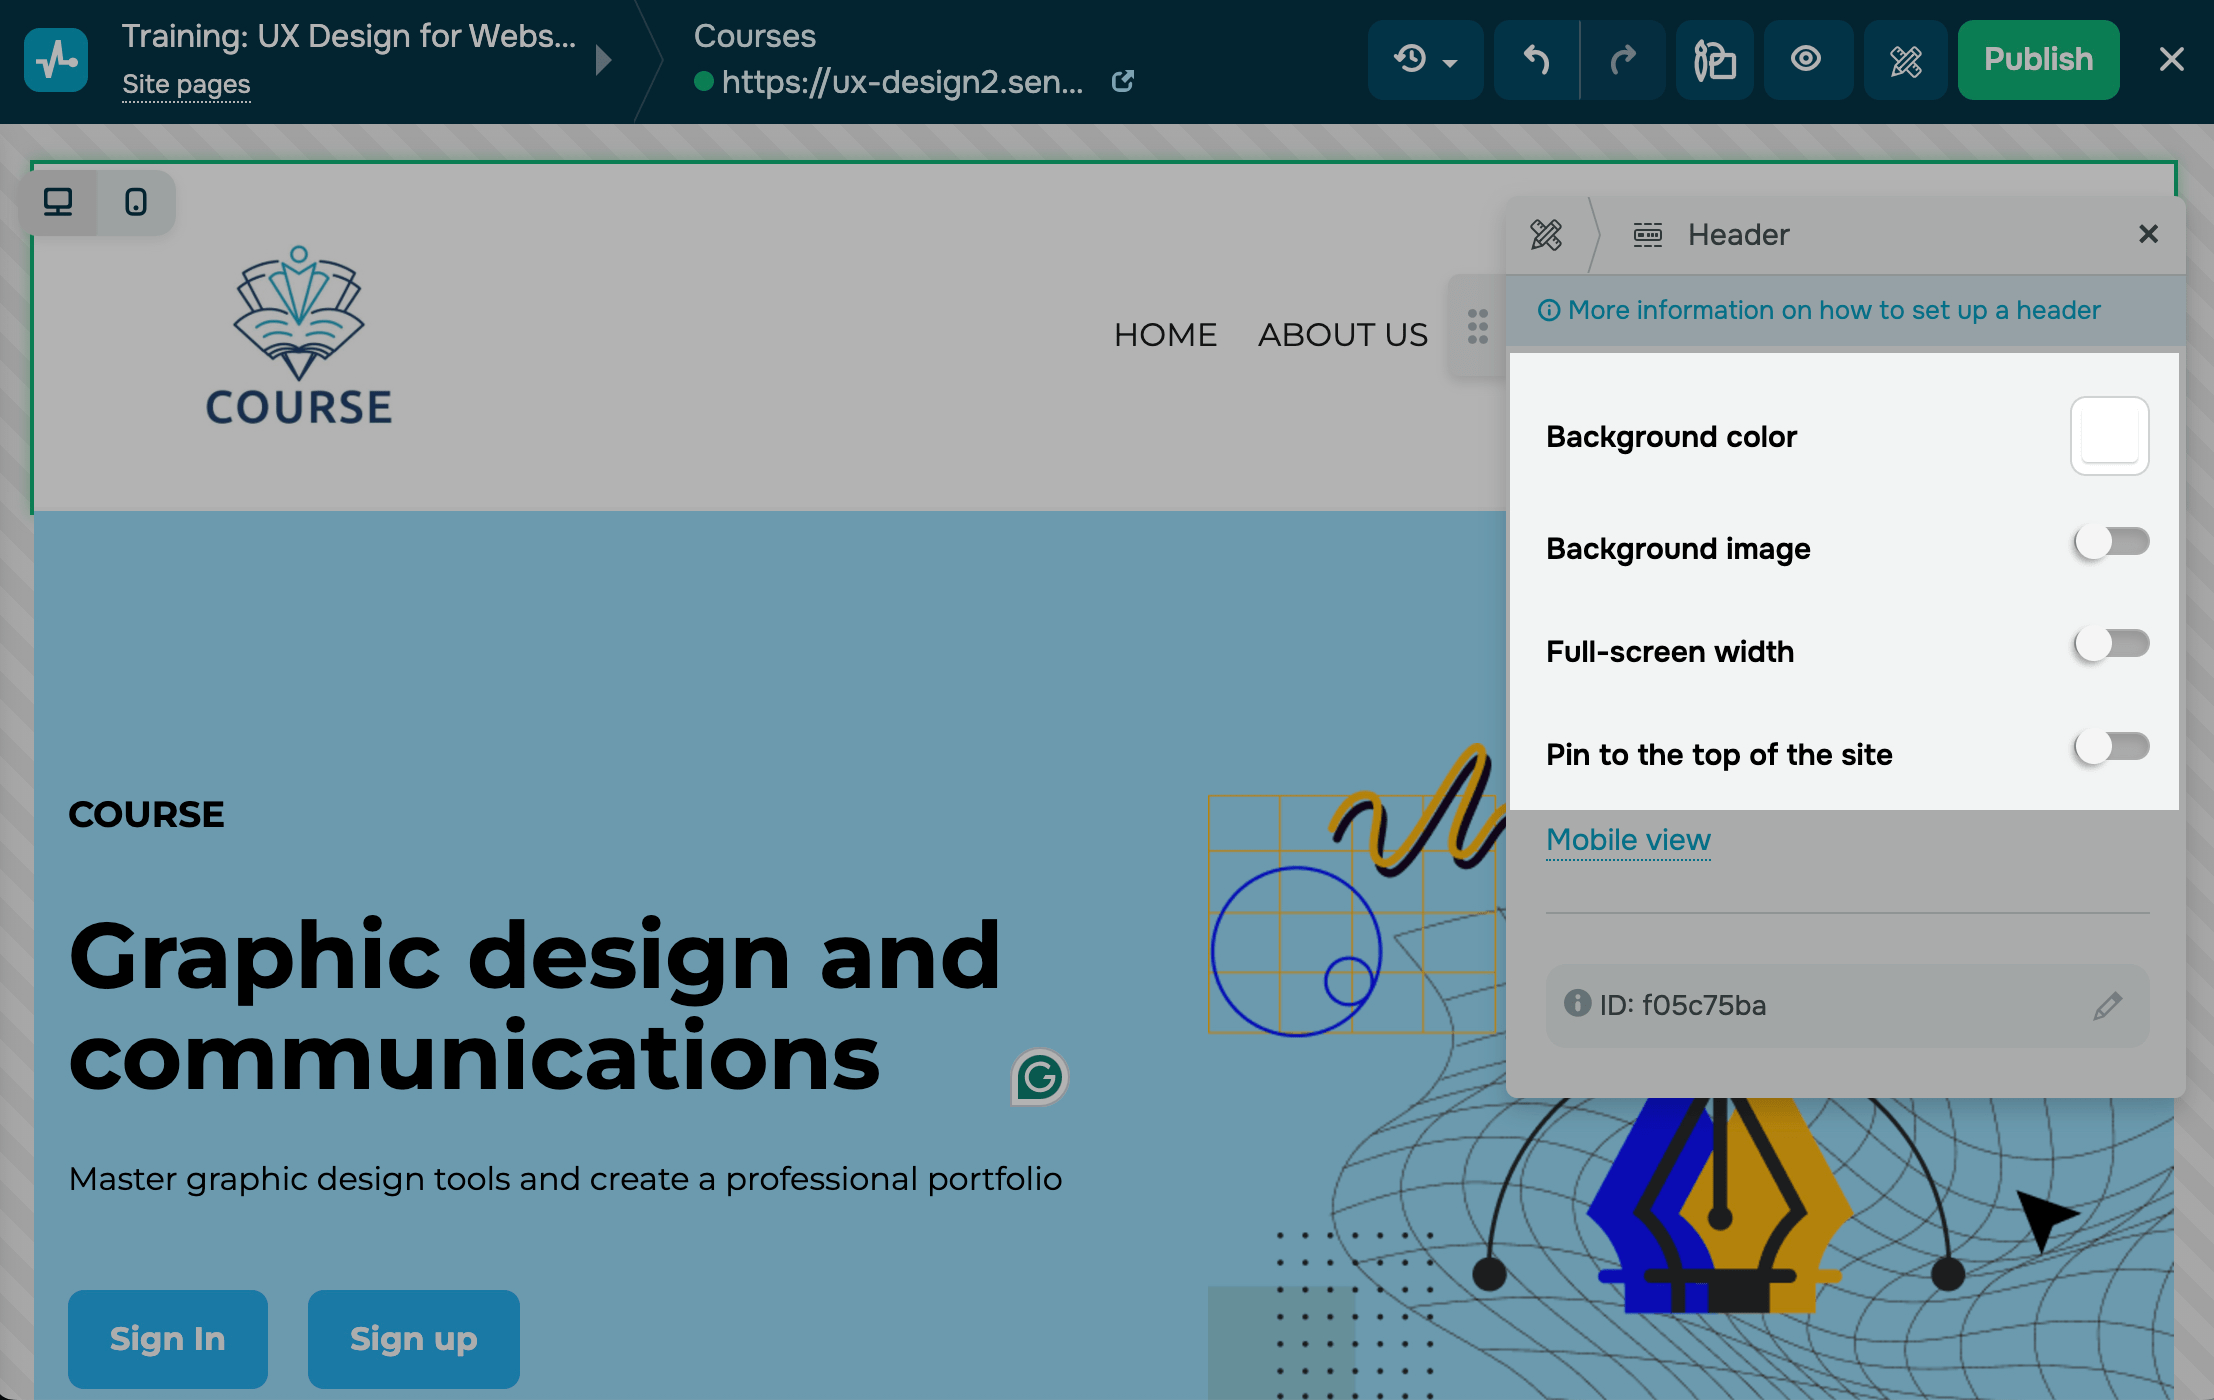
You can customize your website header’s appearance. Hover over your header, and click the pencil icon (Block settings) on the left. You can customize your header using the following options:
| Background color | Select a background color from the palette. |
| Background image | Select a file from the file manager, or upload your own file. You can add a file no larger than 5 MB. |
| Full-screen width | Your website header will be displayed across your entire website width. |
| Pin to the top of the site |
Your website header will be pinned as the topmost website element. You can use this option if there is no other pinned website element. |
| Add a divider between rows |
Your website header rows will be set apart. You can use this option if your website header has multiple rows. |
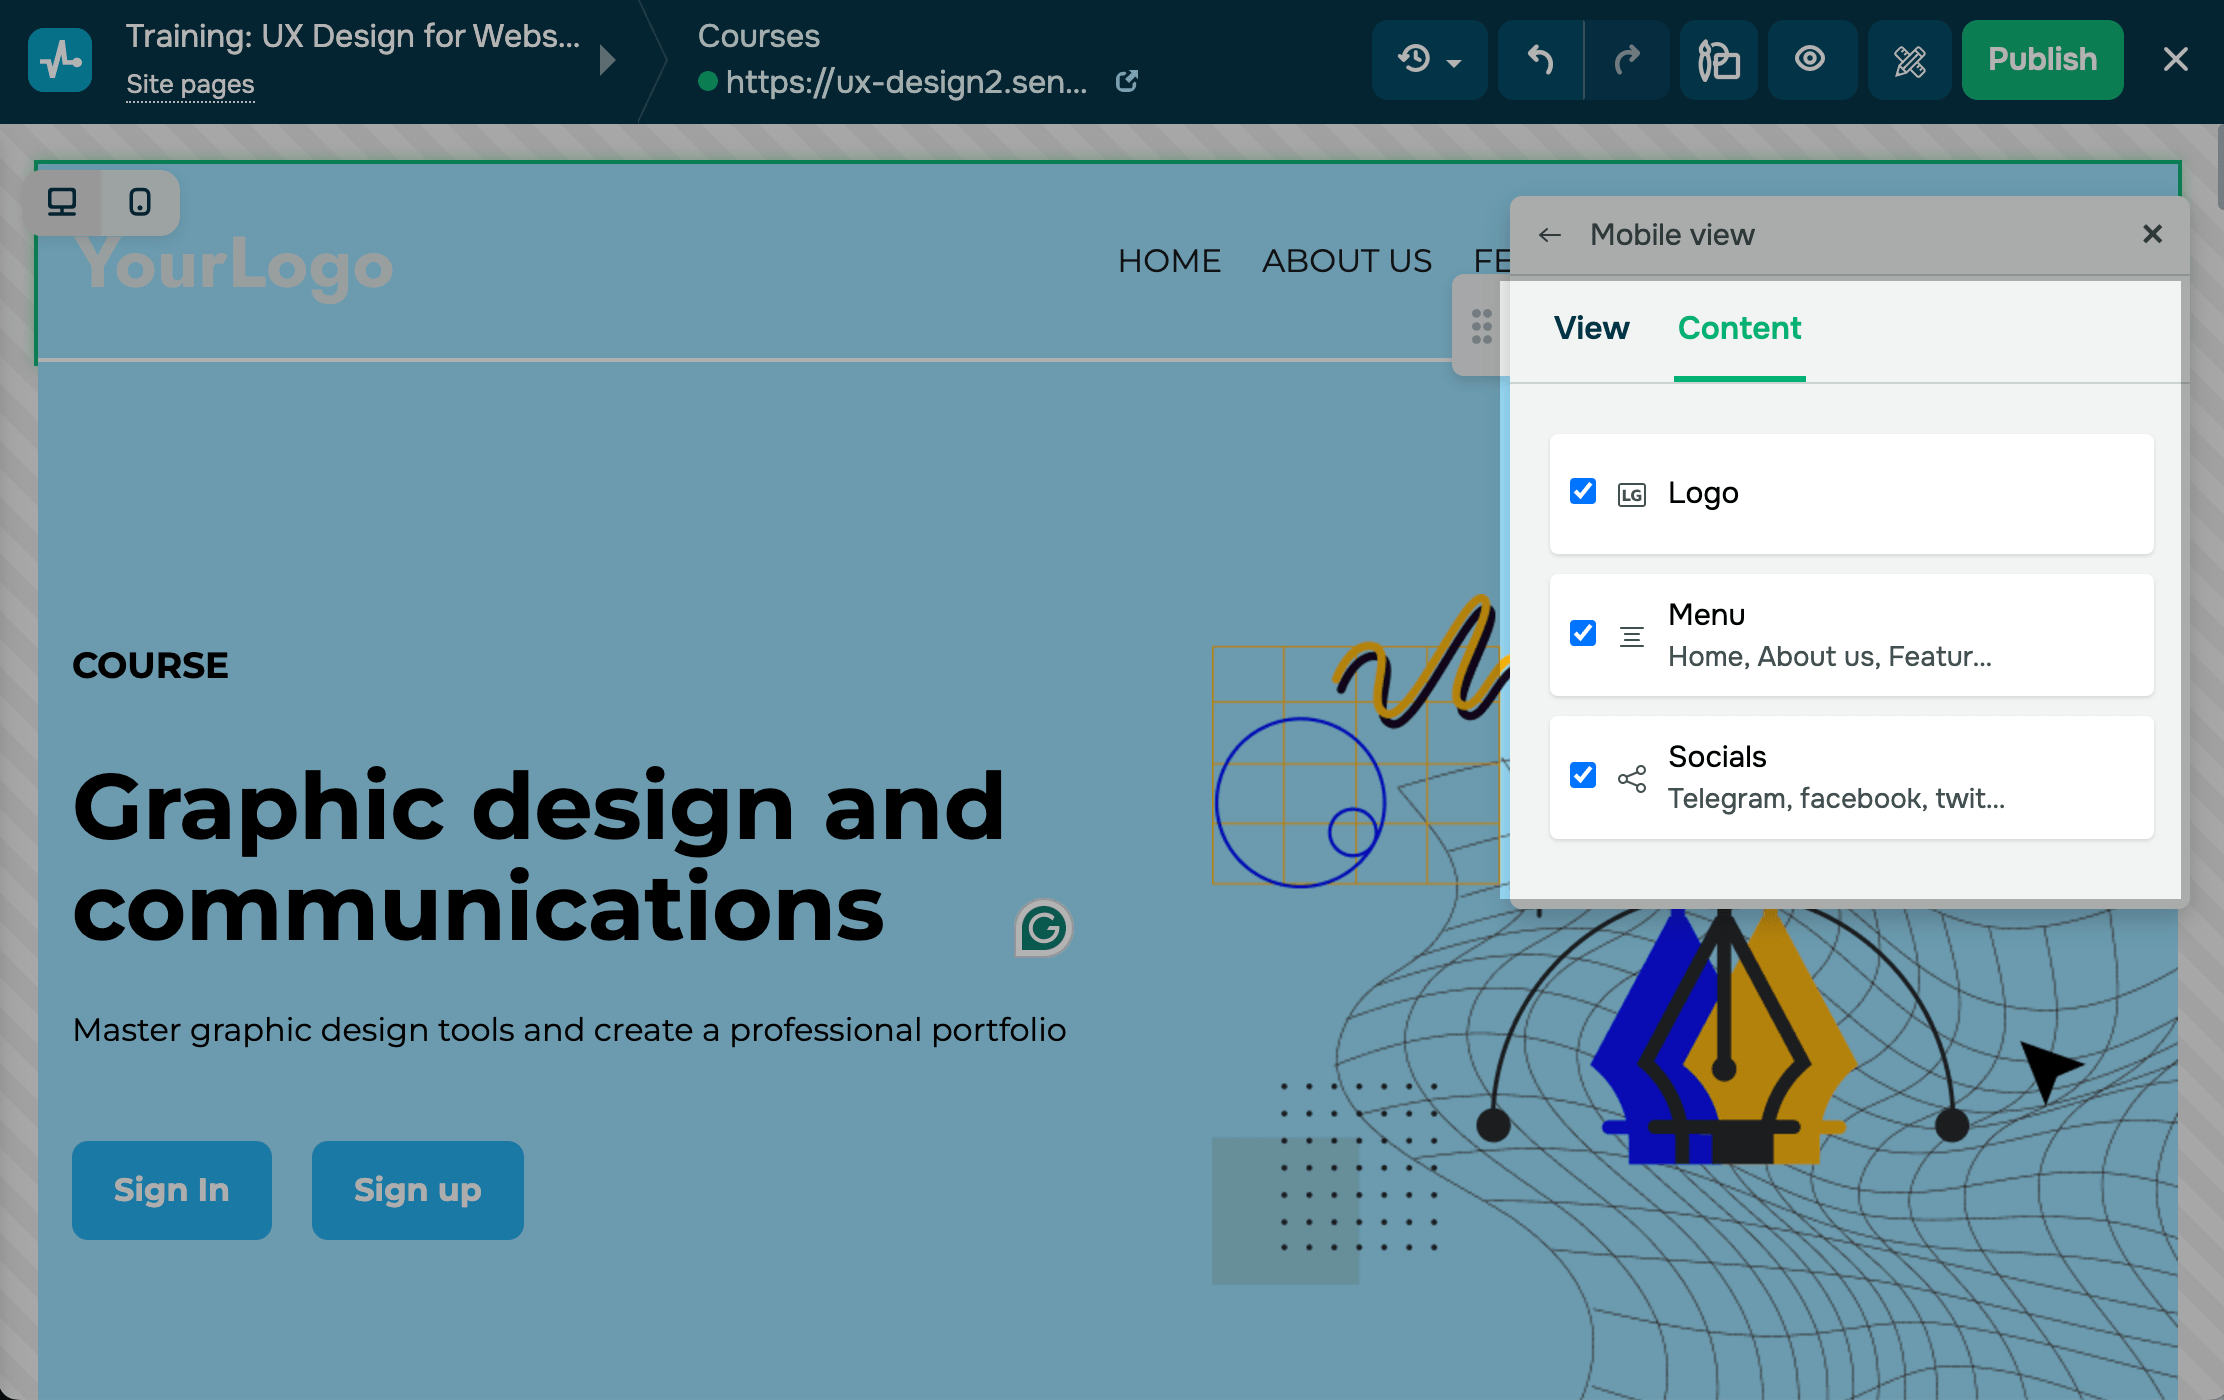
Mobile version
Select Mobile view to see how your website header will look to mobile users.
View
In the View section, you can customize your header using the following options:
| Hide header elements behind an icon | Turn on this toggle to hide header elements behind an icon. |
| Background color | Select a background color from the palette. |
| Text color | Select a text color from the palette. |
| Icon position and styles | Select an icon placement (on the right or left), and specify its size: small (S), medium (M), or large (L). Select an icon color from the palette. |
| Inner padding | Set your header’s inner padding in pixels. |
| Align content | Align your header left, center, or right. |
Content
You can customize your header’s content for mobile users. In the Content section, you will see your current website header widgets. To hide them on mobile devices, clear their checkboxes.
Read more: How to adjust your mobile website version.
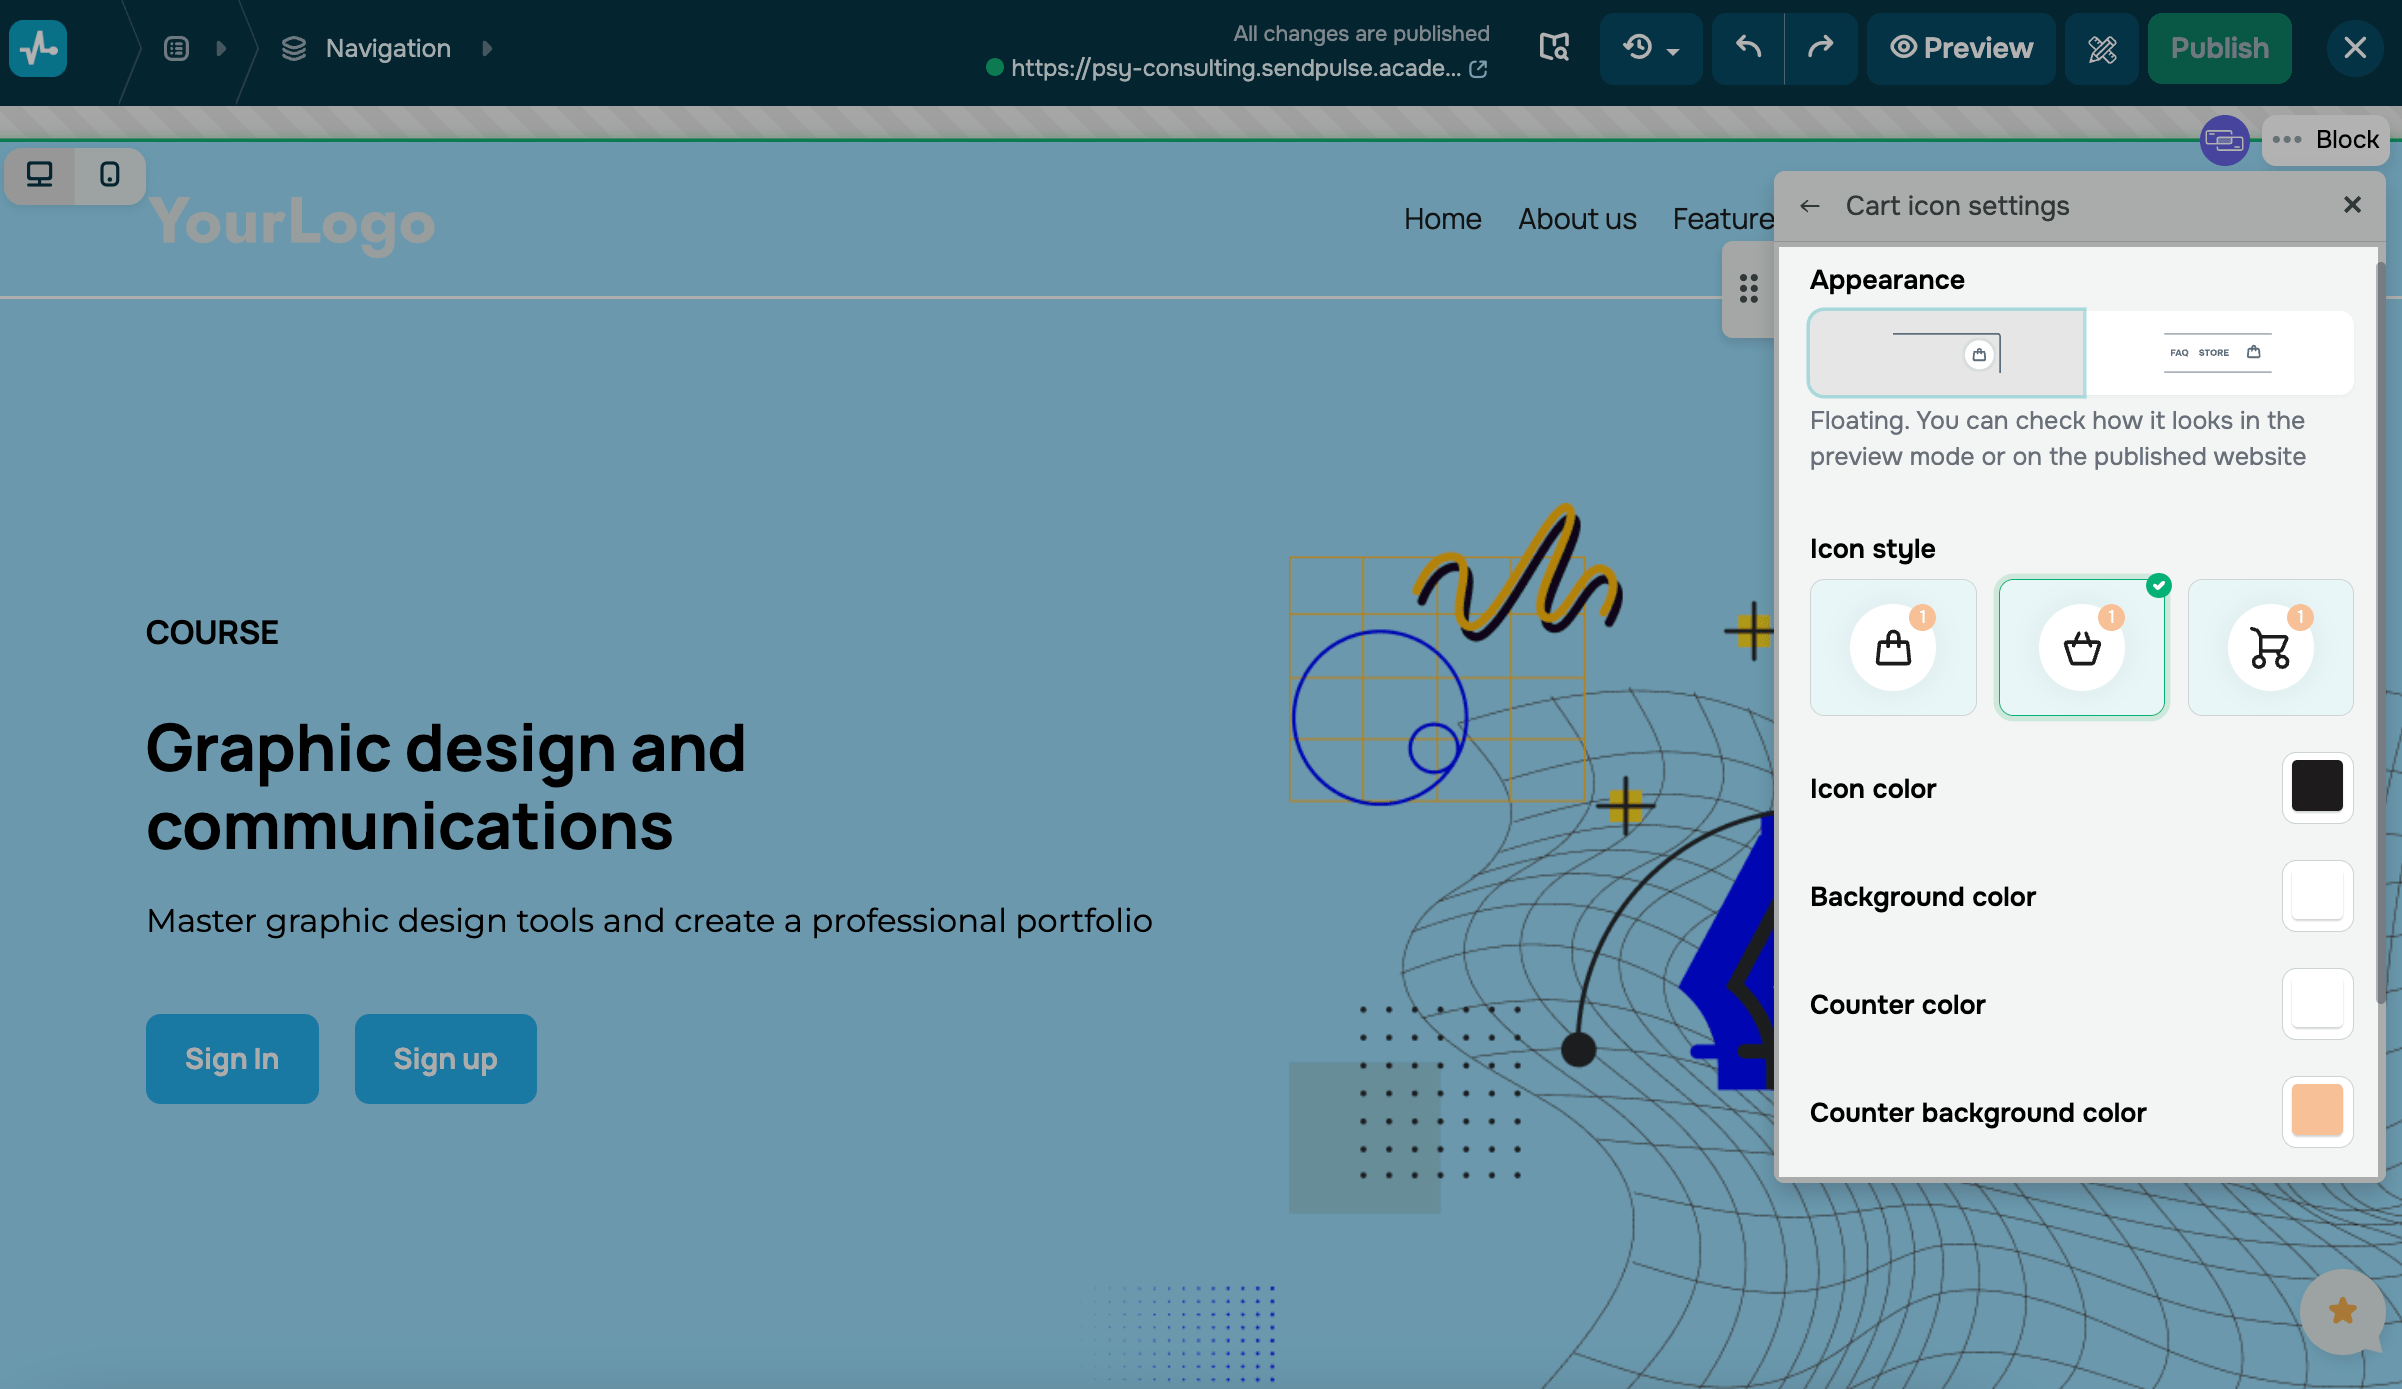
Cart icon settings
This setting is applicable to online stores.
To customize your icon and its position, go to Cart icon settings. In Appearance, select an icon style.
| Floating | The cart icon will be pinned to the right corner of the screen and stay in place as users scroll. |
| In header | The cart icon will be embedded in your header. |
Select an icon shape, element colors, rounding, and size.
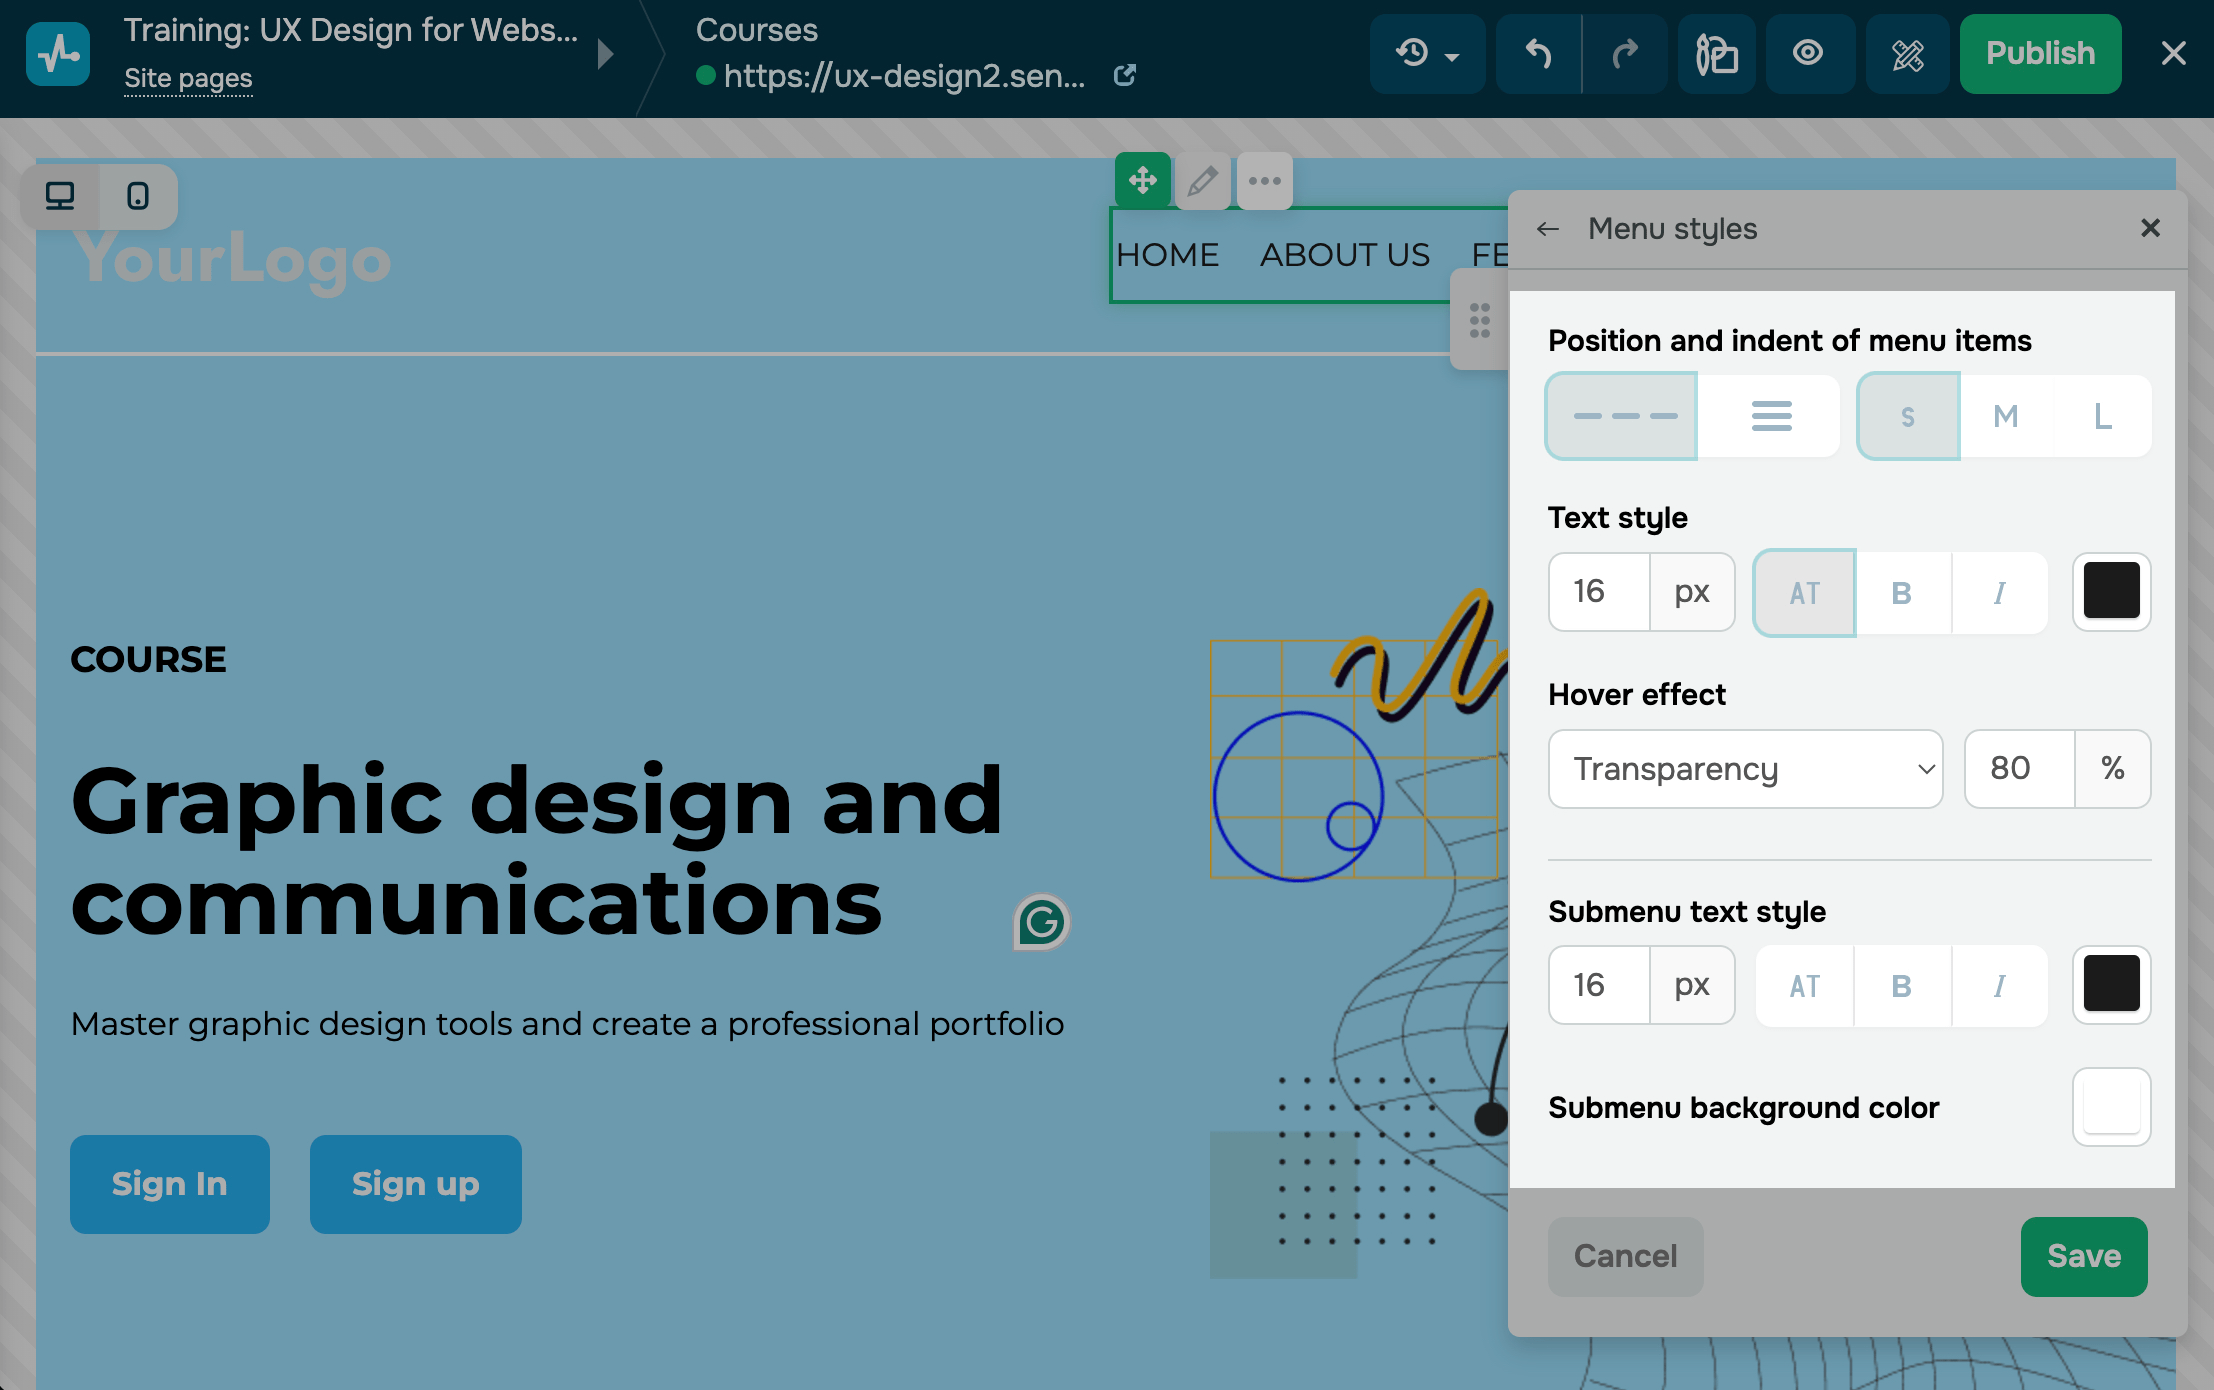
Customize menu styles
You can also customize your menu styles. To do this, select the Menu styles section. You can customize your menu using the following options:
| Position and indent of menu items | Select how to position your menu items (horizontally or vertically). Specify your menu items' size: small (S), medium (M), or large (L). |
| Text style | Set your text size in pixels. Select a sentence case or uppercase. Specify your font style (bold or italic). Select a text color from the palette. |
| Hover effect | Select a hover effect:
|
| Submenu text style | Set your text size in pixels. Select a sentence case or uppercase. Specify your font style (bold or italic). Select a text color. |
| Submenu background color | Select a background color from the palette. |
Manage the website header display
Hover over your header, click the three dots, and select an action.
| Edit | Opens the editing panel. |
| Duplicate | Duplicates your header with all its settings. |
| Hide on this page | Hides your header on this page and keeps it visible on other pages. |
| Delete | Removes your header with its settings from all website pages. |
Copy the ID
Every element has an ID that defines it on the page. This ID helps you add styles and scripts, customize your pop-up display, and track events related to this element.
To copy your header’s ID, click it. To edit the ID, click the pencil icon.
Read more: Block and widget ID.
Last Updated: 18.03.2025
or