Integrate with Ringostat
Integration with Ringostat allows you to customize your company’s telephony workflows. Phone calls will be synchronized across both SendPulse and Ringostat, which increases the efficiency of your client communication management.
Integration features:
- Automatically create tasks for missed calls.
- Assign a team member to handle outgoing calls.
- Save UTM tags.
- Synchronize contact data with CRM fields.
- Set reminders and deadlines.
- Create deals during calls.
This integration can help you improve client communication and workflow management. Suppose you miss a client's call, a task with an assigned team member will be automatically created in your CRM system.
In this article, we will talk about how to install Ringostat, configure automated actions, and manage calls.
Integrate with Ringostat
You must have an SIP account for authorization. To configure SIP devices, create an SIP account in your project, set up an account on your device, and connect to the network.
Read more: Ringostat documentation.
Install the Ringostat Smart Phone app
Go to the Ringostat website, and download the Ringostat Smart Phone app to your device.
Log in using your account username and password.

Copy your Ringostat auth key and project ID
Go to your Ringostat account, click the down arrow next to your project, and go to the Integrations tab.

Select the Ringostat API section, and copy the values in the Auth-key and Project id fields.
You will need these data points to configure SendPulse settings.

Install Ringostat in SendPulse
Install the app in the App directory
Go to App directory > Apps, and find Ringstat. Go to the app overview, and select Install in the opened tab.

In the modal window, read which SendPulse data this app wants to access, and click Accept.
Enter your auth key and project ID
Enter the ID and key you copied into their respective fields.

Assign a team member
Assign a team member to handle all outgoing calls made via the Ringostat integration.
You can add assigned team members in your Ringostat account.

You can also switch to another account. Click Change account, and enter new Auth-key and Project id values to log in to another account.
Configure automated task creation
Configure the SendPulse CRM system to automatically create tasks in your task board whenever you miss calls.
Select the Create a task for missed calls checkbox, and fill out all the fields.
Make sure that all team members handling missed calls have access to your task board. You can view and adjust your settings in the Team section.
Read also: How to manage user roles.
| Board | Select the board where tasks will be created, and assign a task status. |
| CRM user | Assign a team member to these tasks. |
| Default task name | Enter a task name that will be added automatically. |
| Deadline |
Select the Deadline checkbox to set a task due date. Specify when a task will be considered overdue. Your team members will receive automated task deadline reminders. |

Configure UTM tag transfer
You can transfer website visit data to your CRM contact fields.
Make sure to create fields in contact settings first. Read more: How to manage contact attributes: Fields.

Click Save.
Use the integration
You can contact customers using the CRM system.
Read more: Use telephony in CRM.
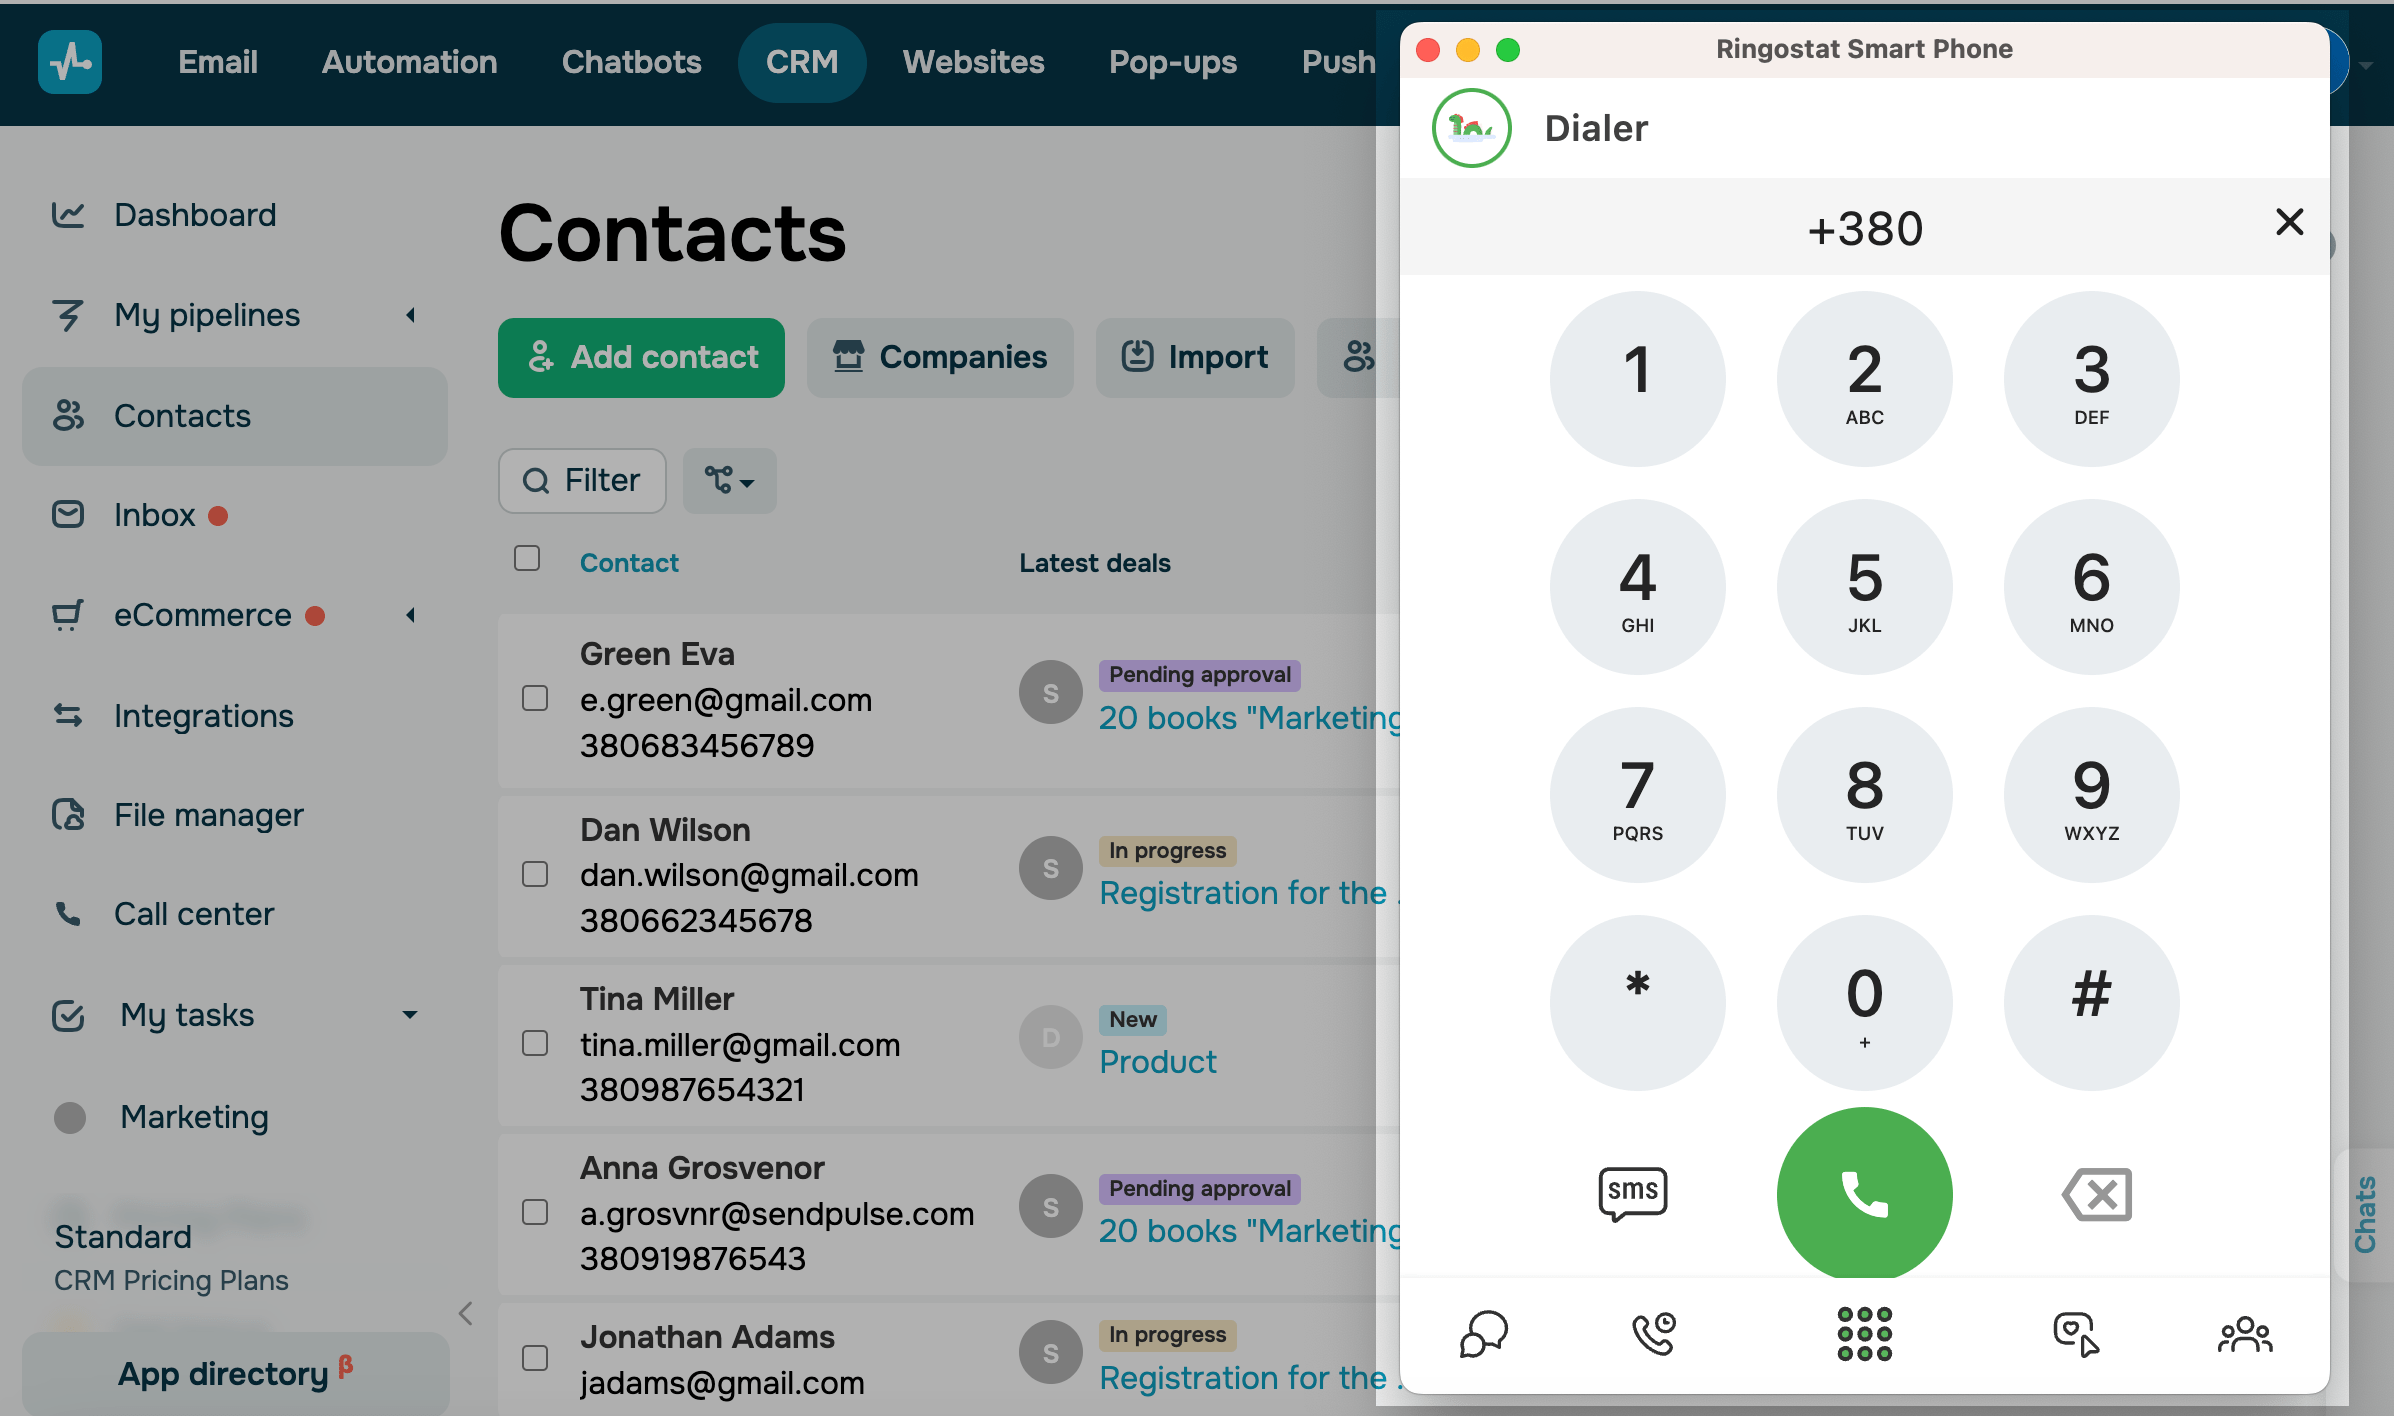
If you need to dial a phone number that is not in your CRM contacts, use the Ringostat Smart Phone app you downloaded.
Go to the app, click the keyboard icon in the middle of the lower panel, and enter the phone number.
We recommend using the +XXXYYYYYYYY phone number format, where +XXX is a country code and YYYYYYY is your client's phone number.

Manage the integration
To manage your Ringostat settings, go to App directory > Installed, and open the integration.
You can edit your task creation and UTM tag transfer settings. Once you adjust the settings, click Save.
To uninstall the app, click Uninstall. All created automated actions will be removed. Your previously transferred data will remain in your SendPulse account.
Last Updated: 17.12.2025
or