Add a physical product
Use the Products section to create product records for physical products and manage your online store catalog in your CRM.
For example, an electronics store owner can add a card for a keyboard, sell it through an online store, chatbot, or payment link, and track stock and orders in the CRM system.
Let’s talk about how to create and set up a physical product card.
Create a product
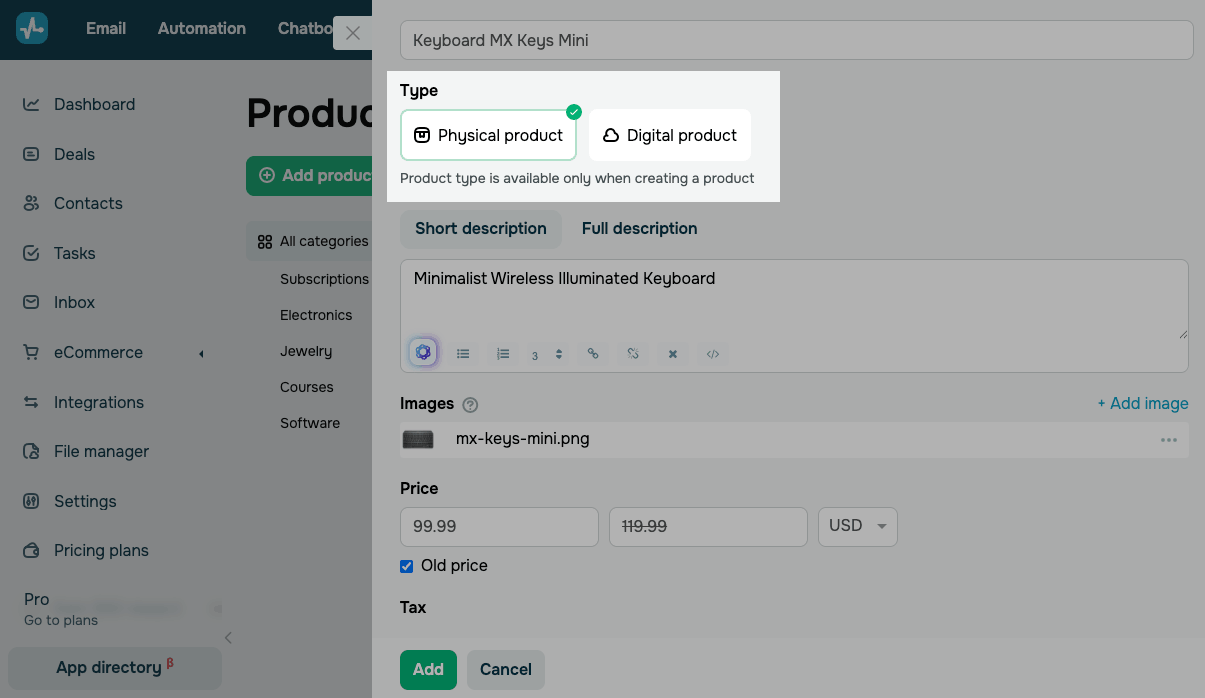
Go to eCommerce > Products and click Add product. In the type field, select Physical product.
You can only choose a product type when creating a product. It can't be changed later.
Add a name and description
At the top of the card, enter a product name.
A product name can contain up to 250 characters, including letters and numbers. For better readability, keep the product card size in mind when choosing the name.
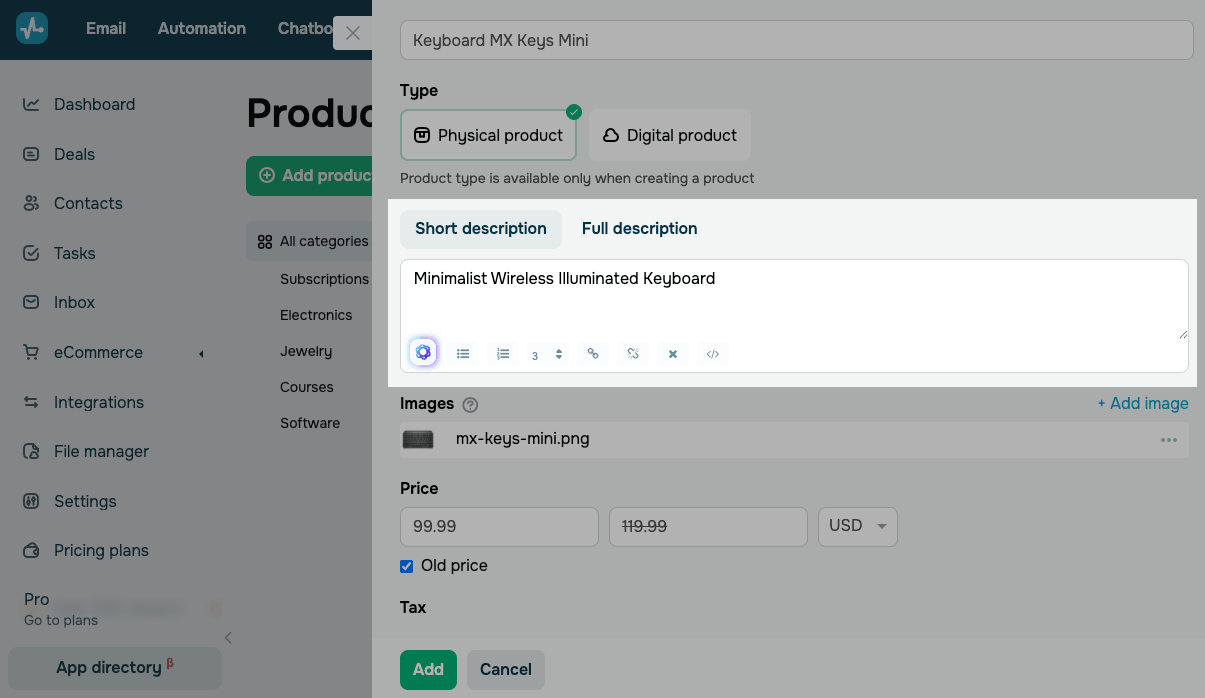
In the Short description and Full description sections, add a product description. For example, include the material, key features, and intended use in the short description, and add usage recommendations in the full description.
You can format the text or use AI to generate or improve the description. Click the AI icon in the lower left corner of the description field.
Add images
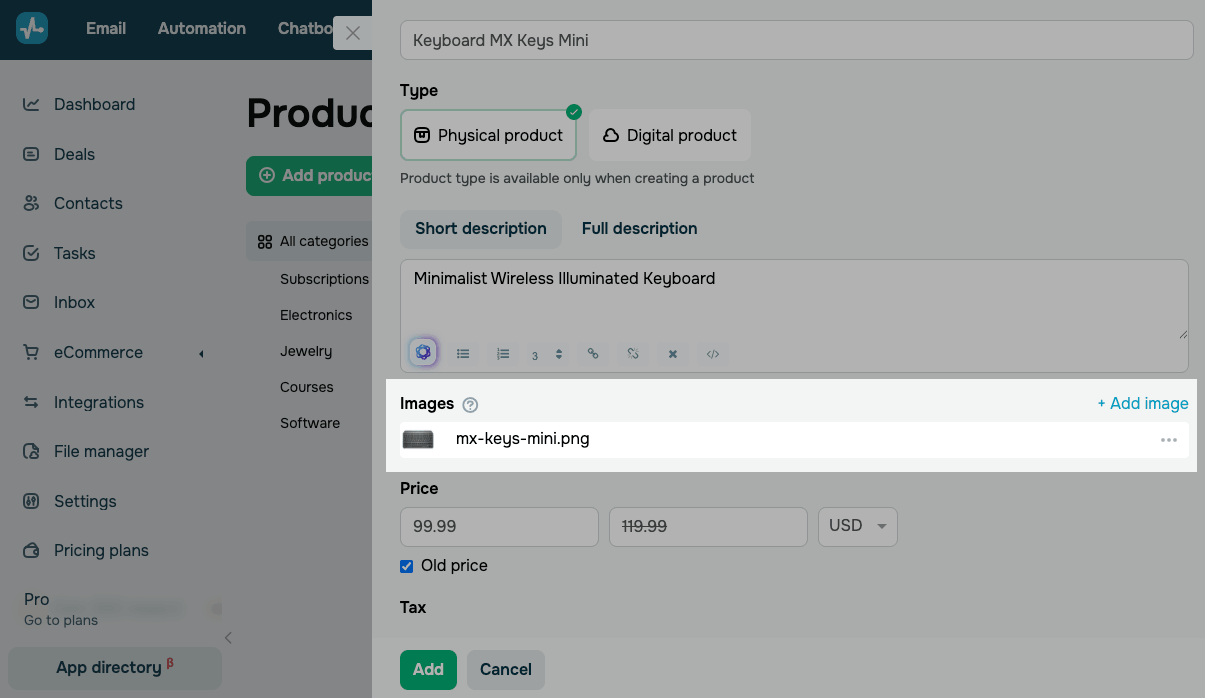
In the Images section, click Add image and upload or choose an image from the file manager.
Upload product images from different angles to give customers a clear view of your product. The first image you upload is used as the main product image.
For optimal display in product cards, use 250 × 250 px images sized at up to 5 MB.
Set a product price
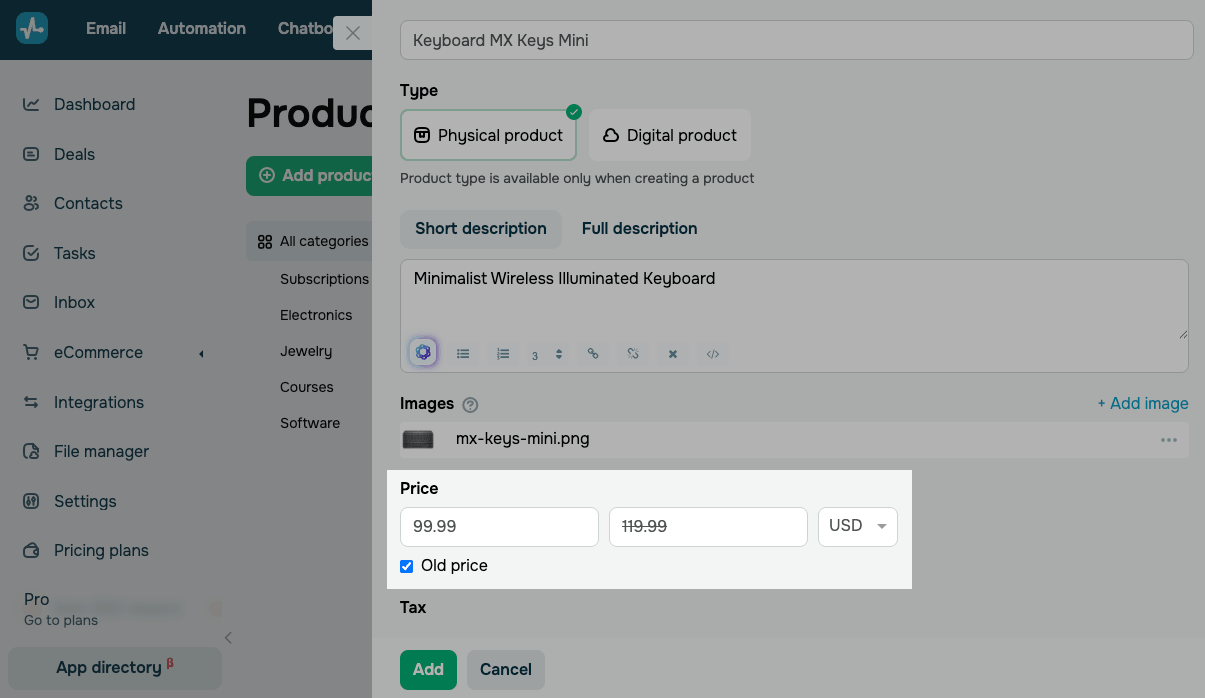
In the Price section, enter a price and choose a currency.
To show a discounted price, select the Old price checkbox and enter the previous price. It will appear crossed out next to the current one.
Add tax
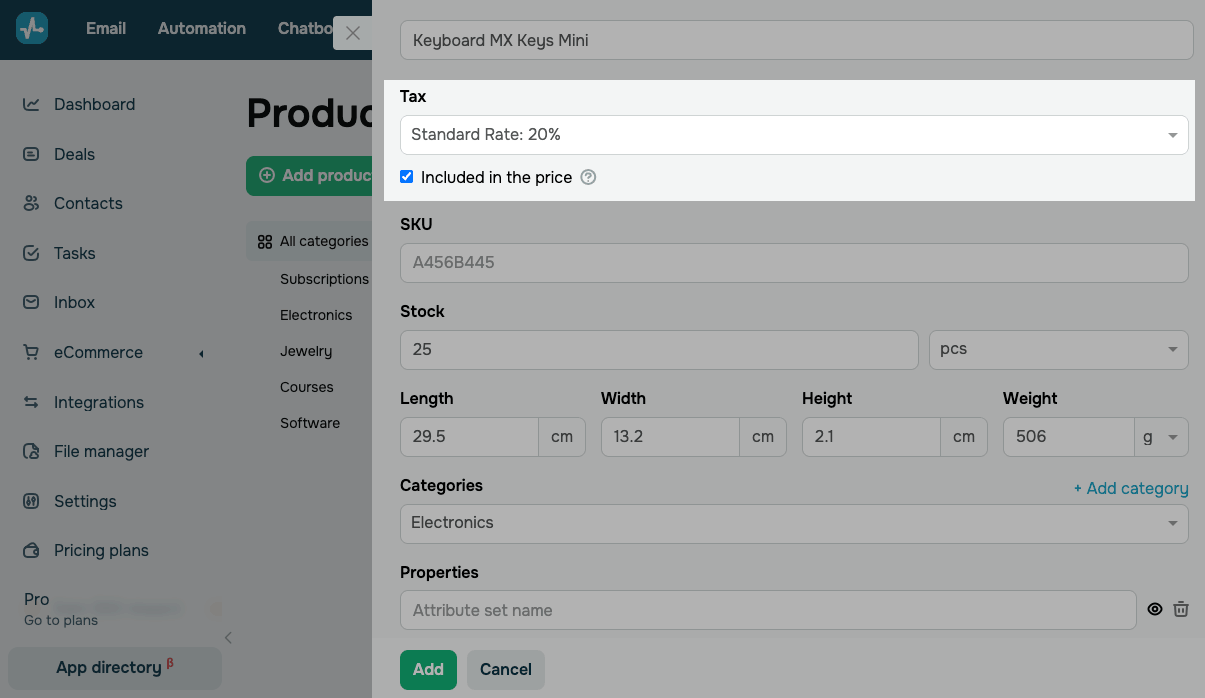
In the Tax field, choose a tax or select No tax.
If the price you entered already includes tax, select Included in the price.
Enter an SKU
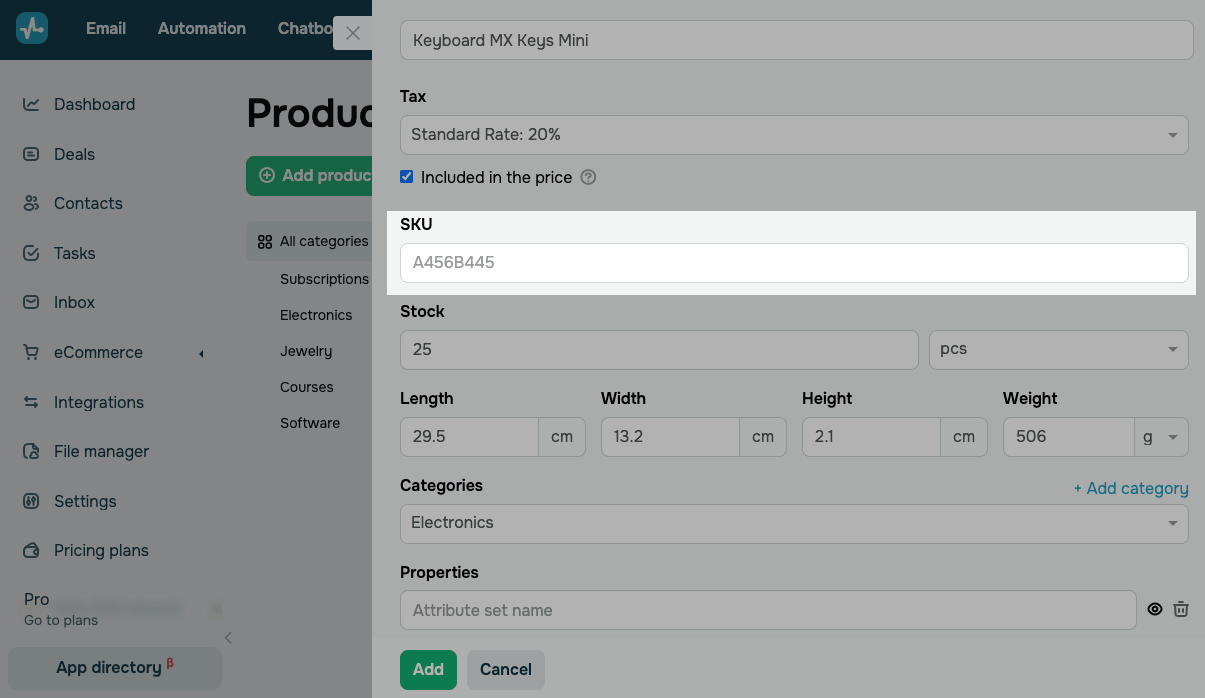
In the SKU field, enter a unique code that helps you track and manage your product. The code can contain numbers and letters.
Add a stock item
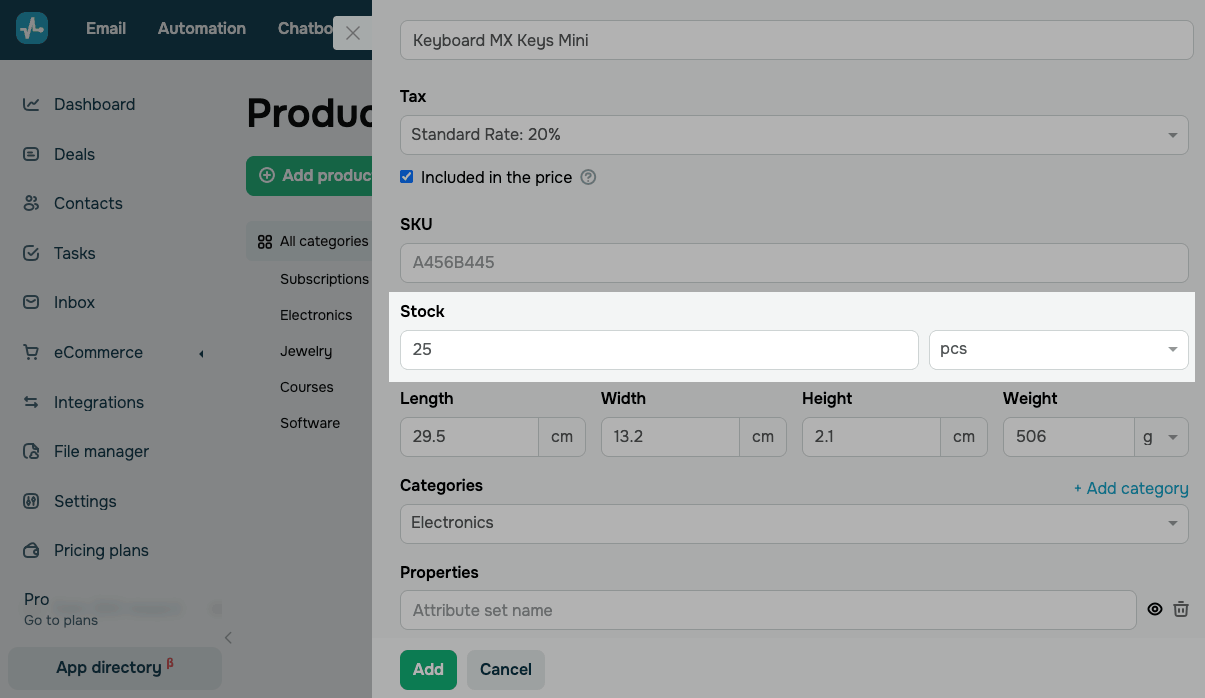
In the Stock field, enter a quantity and choose a unit of measurement:
| pcs | Used for products sold by the piece. |
| services | Used for billable services or jobs. |
| m | Used for products measured by length, such as fabrics, cables, or flooring.
Only whole numbers are supported. |
| sets | Used for products sold as sets. |
| l | Used for products measured by volume, such as liquids.
Only whole numbers are supported. |
| kg | Used for products measured by weight, such as food and construction materials.
Only whole numbers are supported. |
| packages | Used for products packaged in predefined quantities. |
Each purchase reduces the stock by the quantity purchased. By default, one purchased product equals one stock unit. When the stock reaches 0, the product automatically becomes unavailable.
Set dimensions and weight
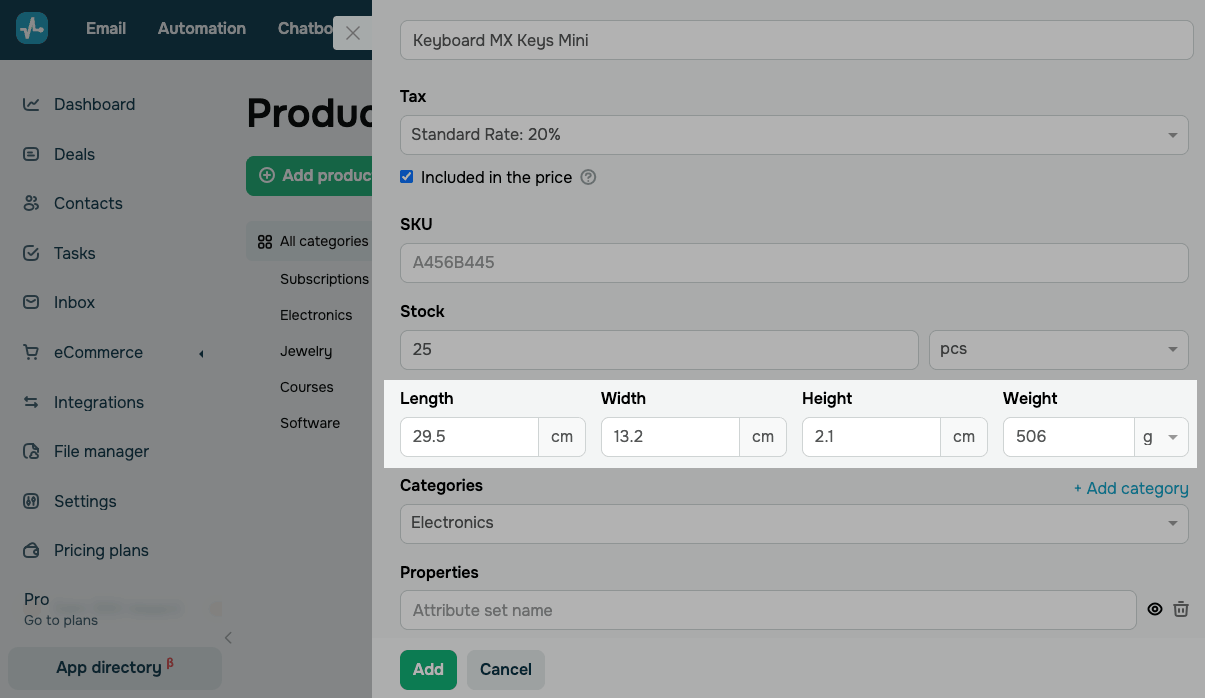
Dimensions and weight help automatically calculate shipping costs through integrated tools. Dimensions are also used to calculate volumetric weight.
All fields are optional. You can save the product without filling them in.
You can set the following fields:
| Length | Enter a product length in centimeters. |
| Width | Enter a product width in centimeters. |
| Height | Enter a product height in centimeters. |
| Weight | Enter a product's weight in grams or kilograms. |
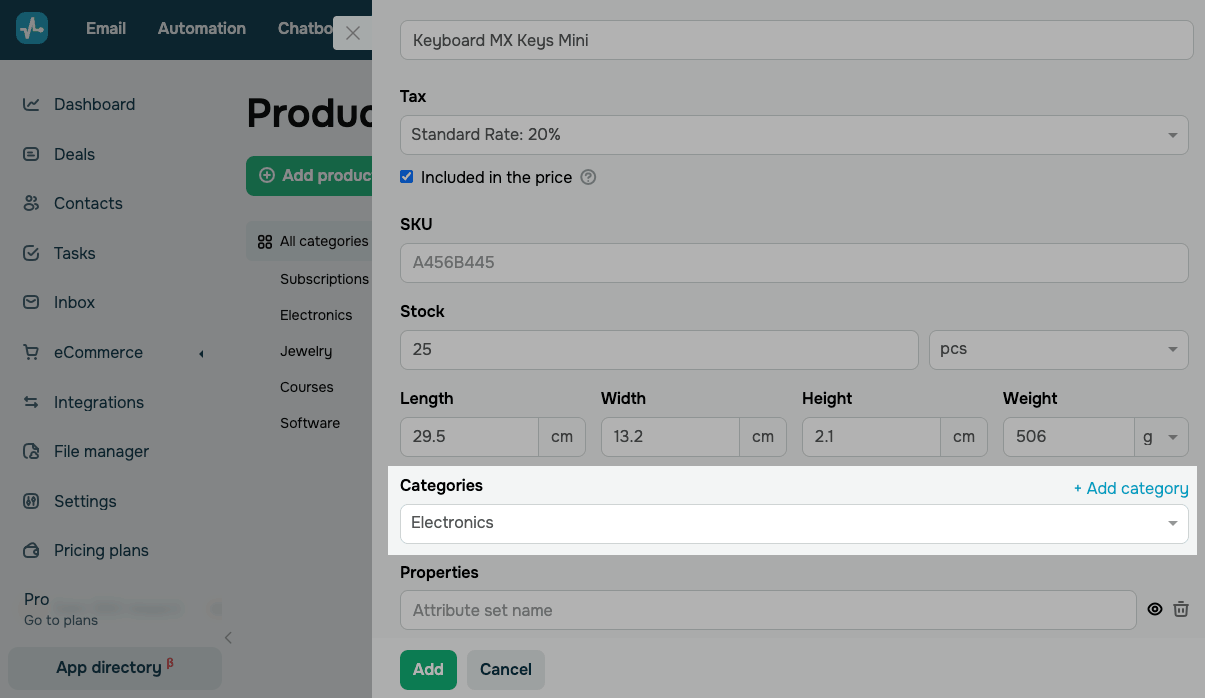
Select a category
Categories help you navigate your catalog and define attributes for template-based products.
In the Categories section, select an existing category.
To create a new category, click Add category.
Product categories are visible to your CRM team and users on your website.
Set properties
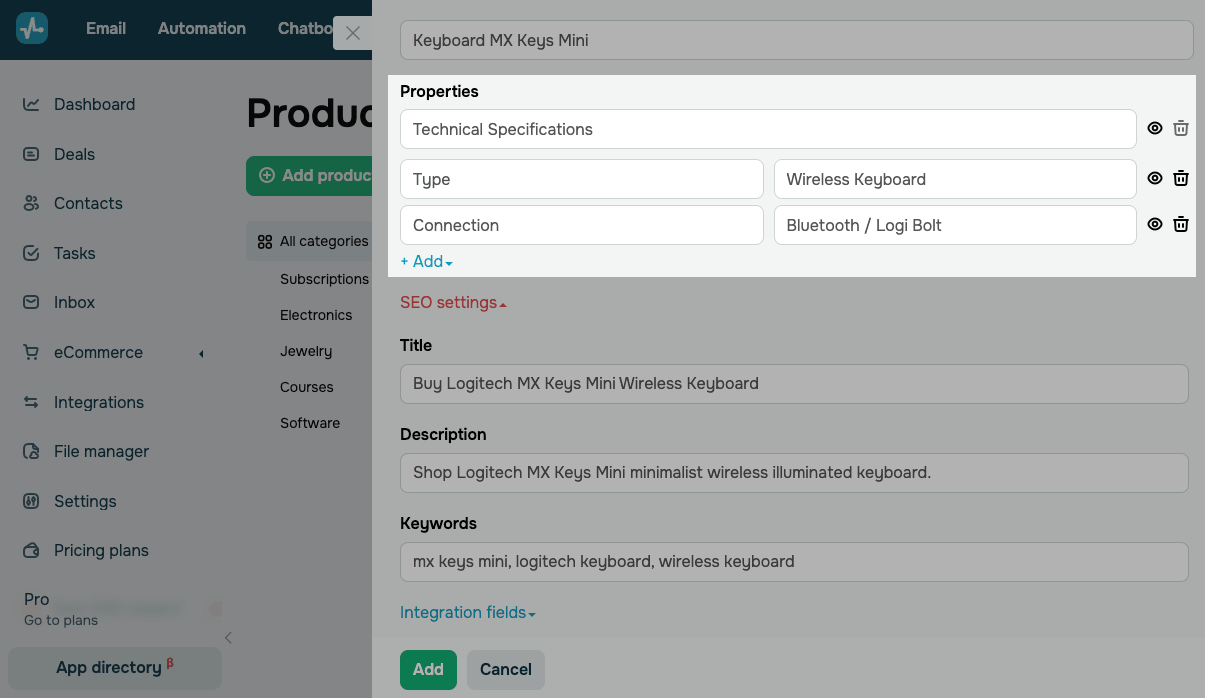
In the Properties section, you can add product attributes and their values. When customers expand the product card, they can select the option they need.
In each property, fill in the following fields:
| Attribute set name | Enter a set name to organize attributes of different types. |
| Property | Enter an attribute name, such as "Type", "Color", or "Size". |
| Value | Enter an attribute value, such as "Wireless Keyboard" or "Bluetooth". |
To add a new attribute or attribute set, click Add and select a relevant action.
Configure SEO settings
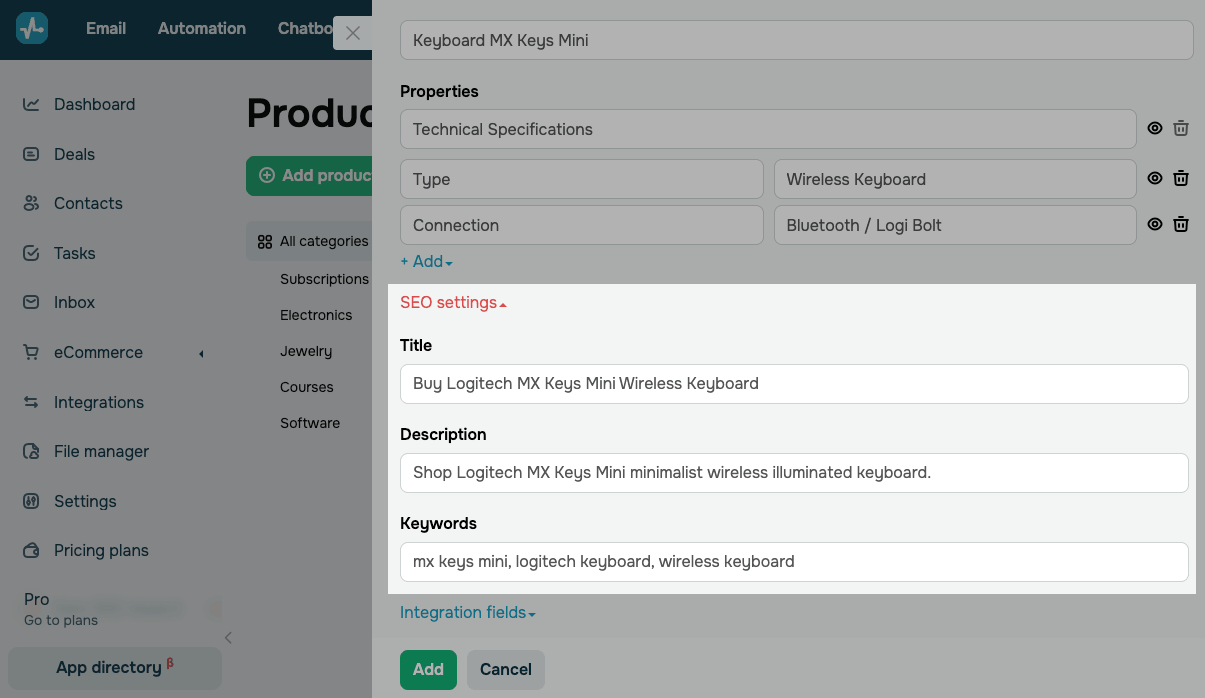
Optionally, add SEO metadata for your product.
If a product belongs to a category selected in your online store, SendPulse creates a dedicated product page for it using the link and metadata from these settings.
Expand the SEO settings section and fill in the fields:
| Title | Enter a page title with your product name and keywords. It can look like this: "Buy Logitech MX Keys Mini Wireless Keyboard". |
| Description | Enter a detailed product description that includes relevant keywords and benefits to attract users and search engines. |
| Keywords | Enter a list of keywords and phrases related to your product. |
Add integration fields
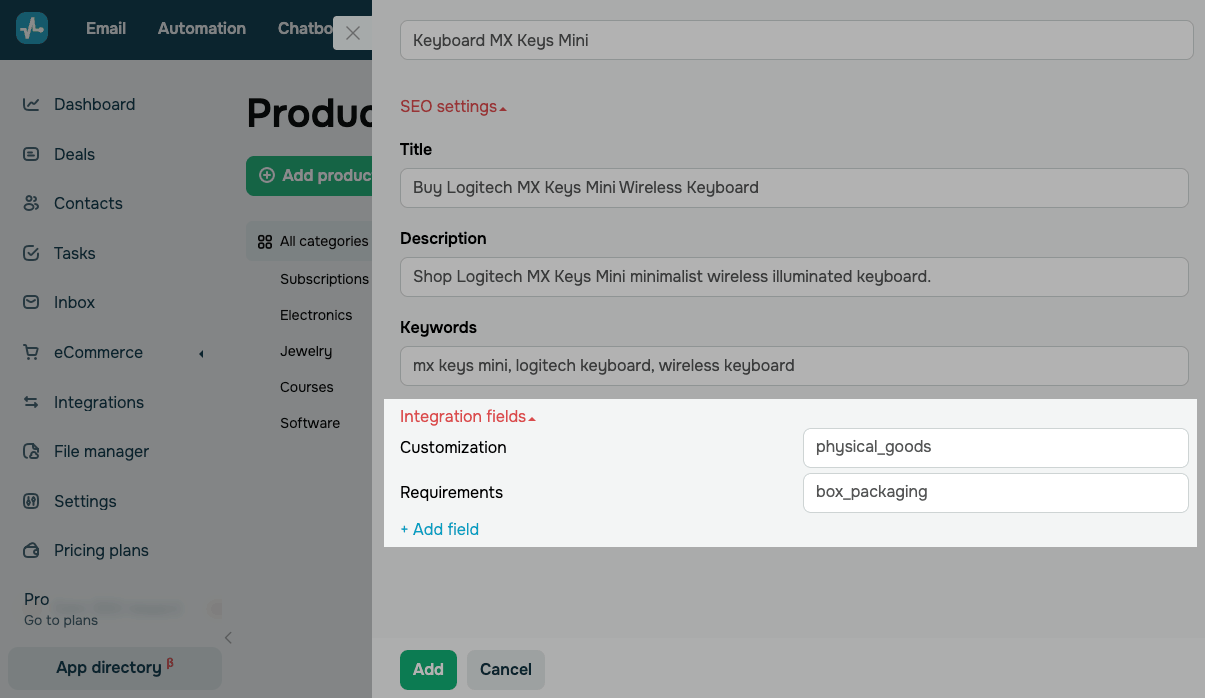
In the Integration fields section, you can add and fill in hidden product fields that pass metadata to integrated tools, such as payment providers.
To add an integration field, click Add field.
Integration fields are not visible to website visitors.
Once you have filled in the required product card fields, click Add.
Complete the setup
Once you create your product, it appears on the product list in the selected category under Products.
To sell the product, add it to the Product or Product catalog website widget or to the CRM Product chatbot element.
To capture payments, you can also generate a payment link.
In Automation, you can also create an automated flow that runs when a product is purchased.
Once the client pays, you can view the payment information in eCommerce > Payments.
 Last Updated: 31.08.2024





or