Send an email campaign
In this article, we'll look at how to create and send a personalized campaign to your mailing list using the campaign wizard.
Read also: How to Create and Send an A/B test.
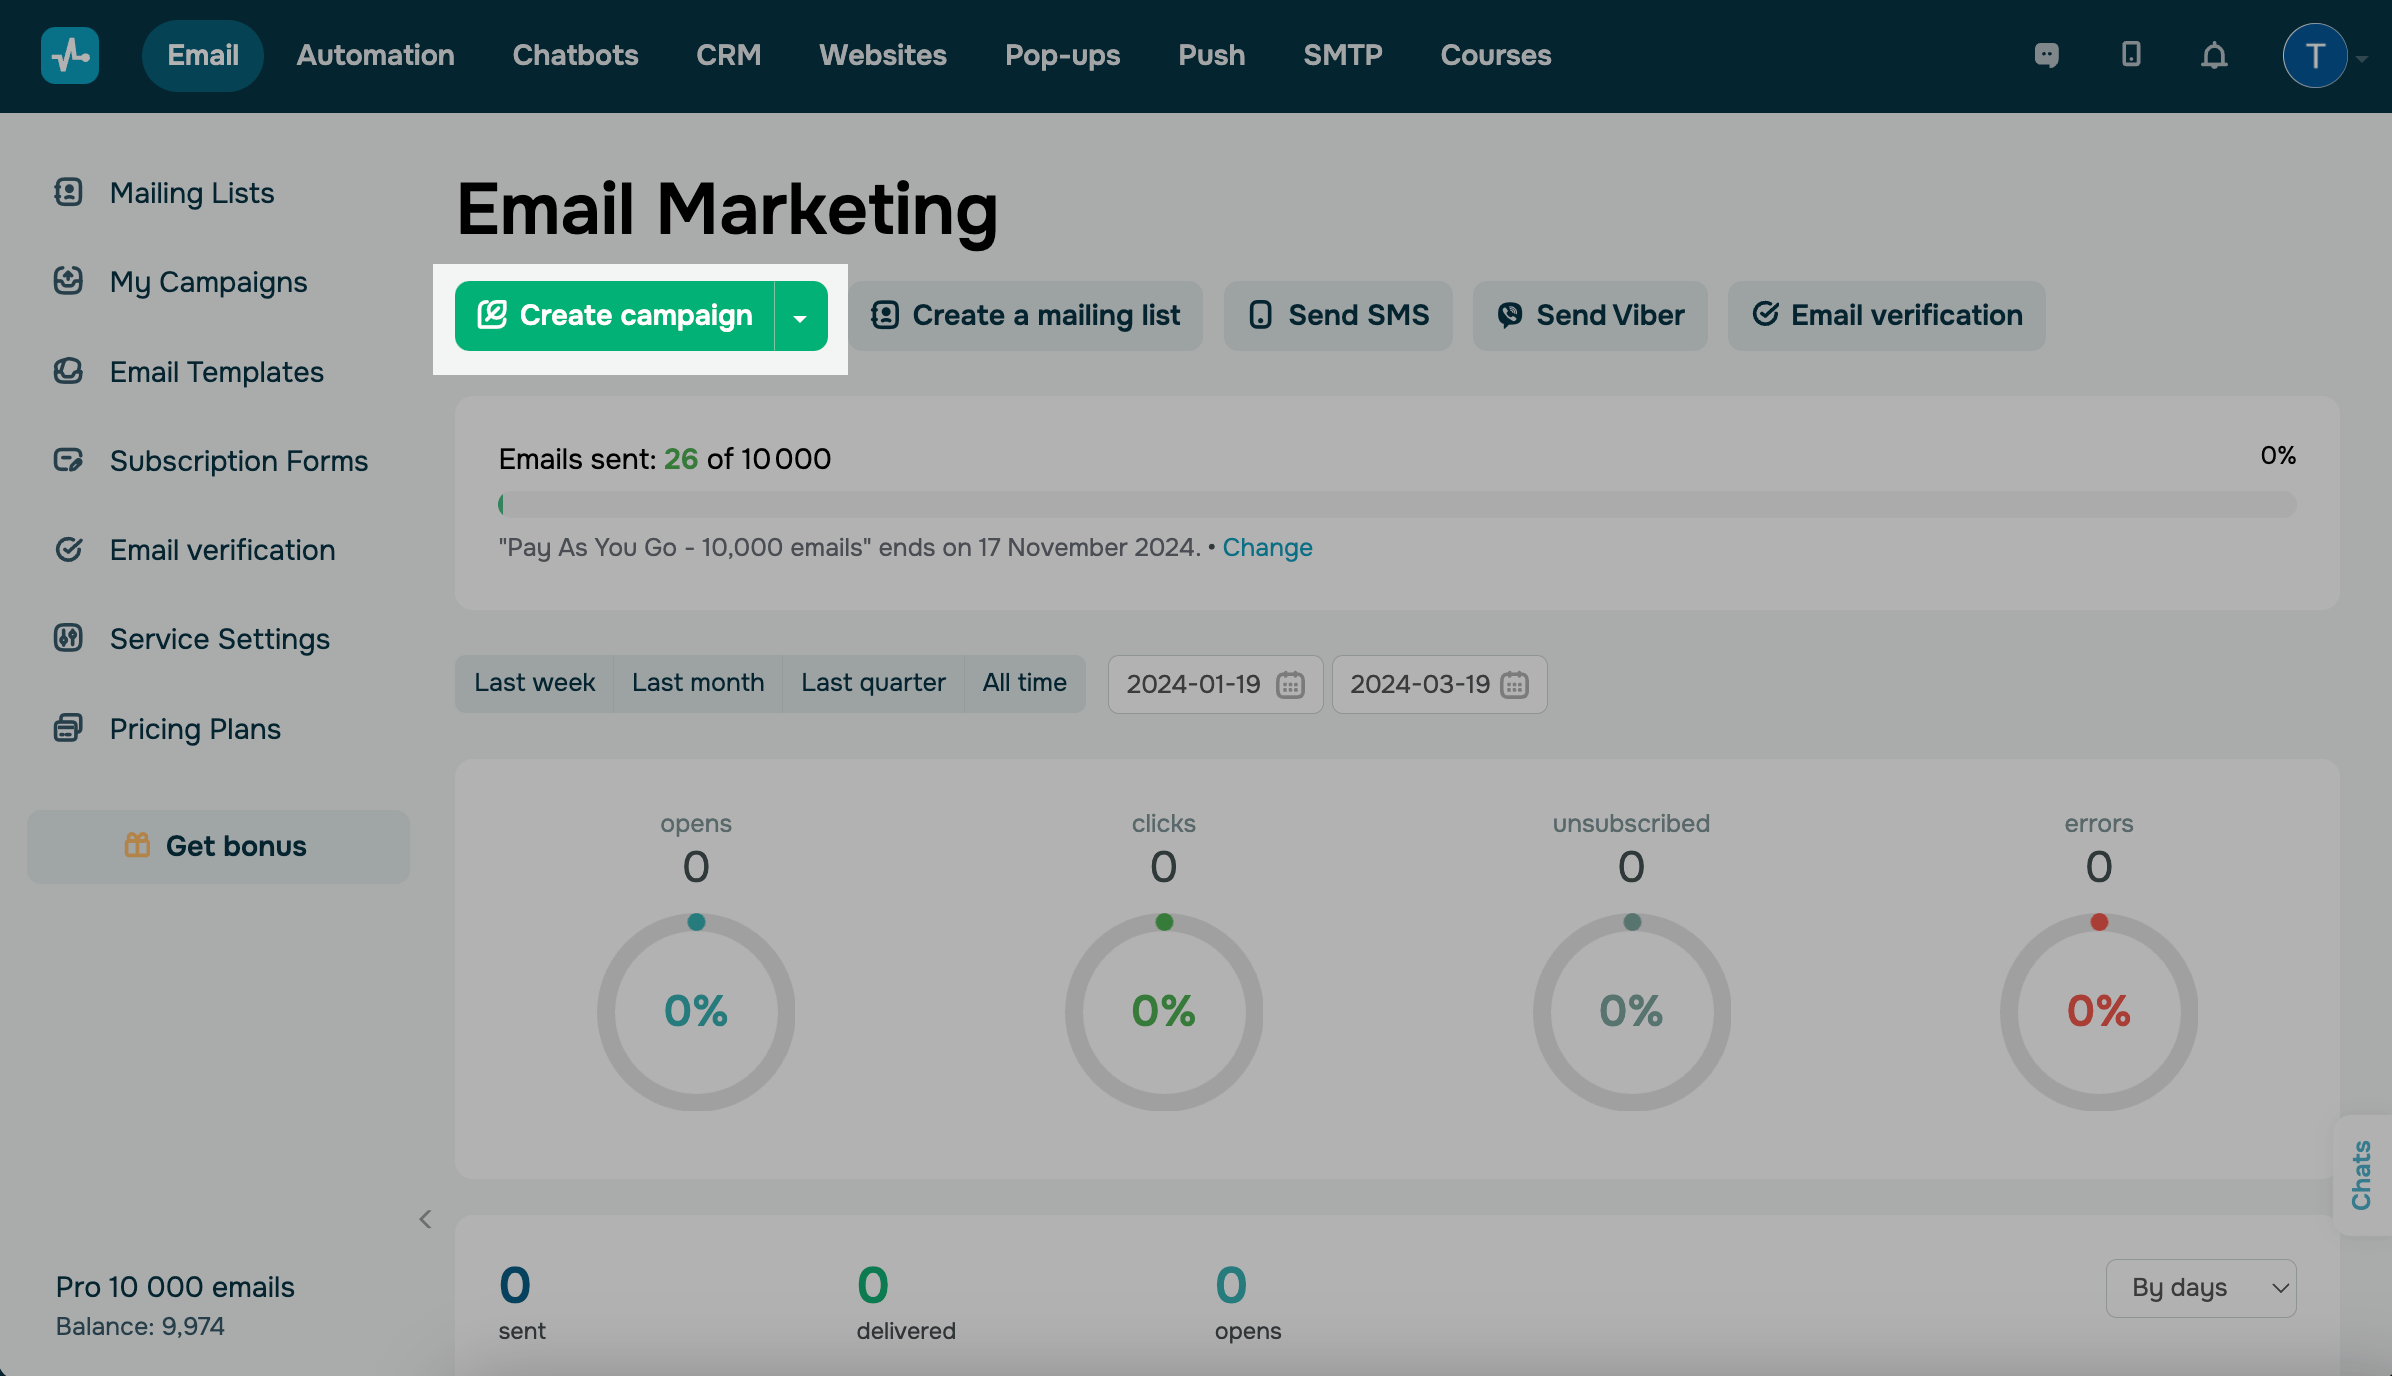
In the Email section, click Create campaign.
Add information about the campaign
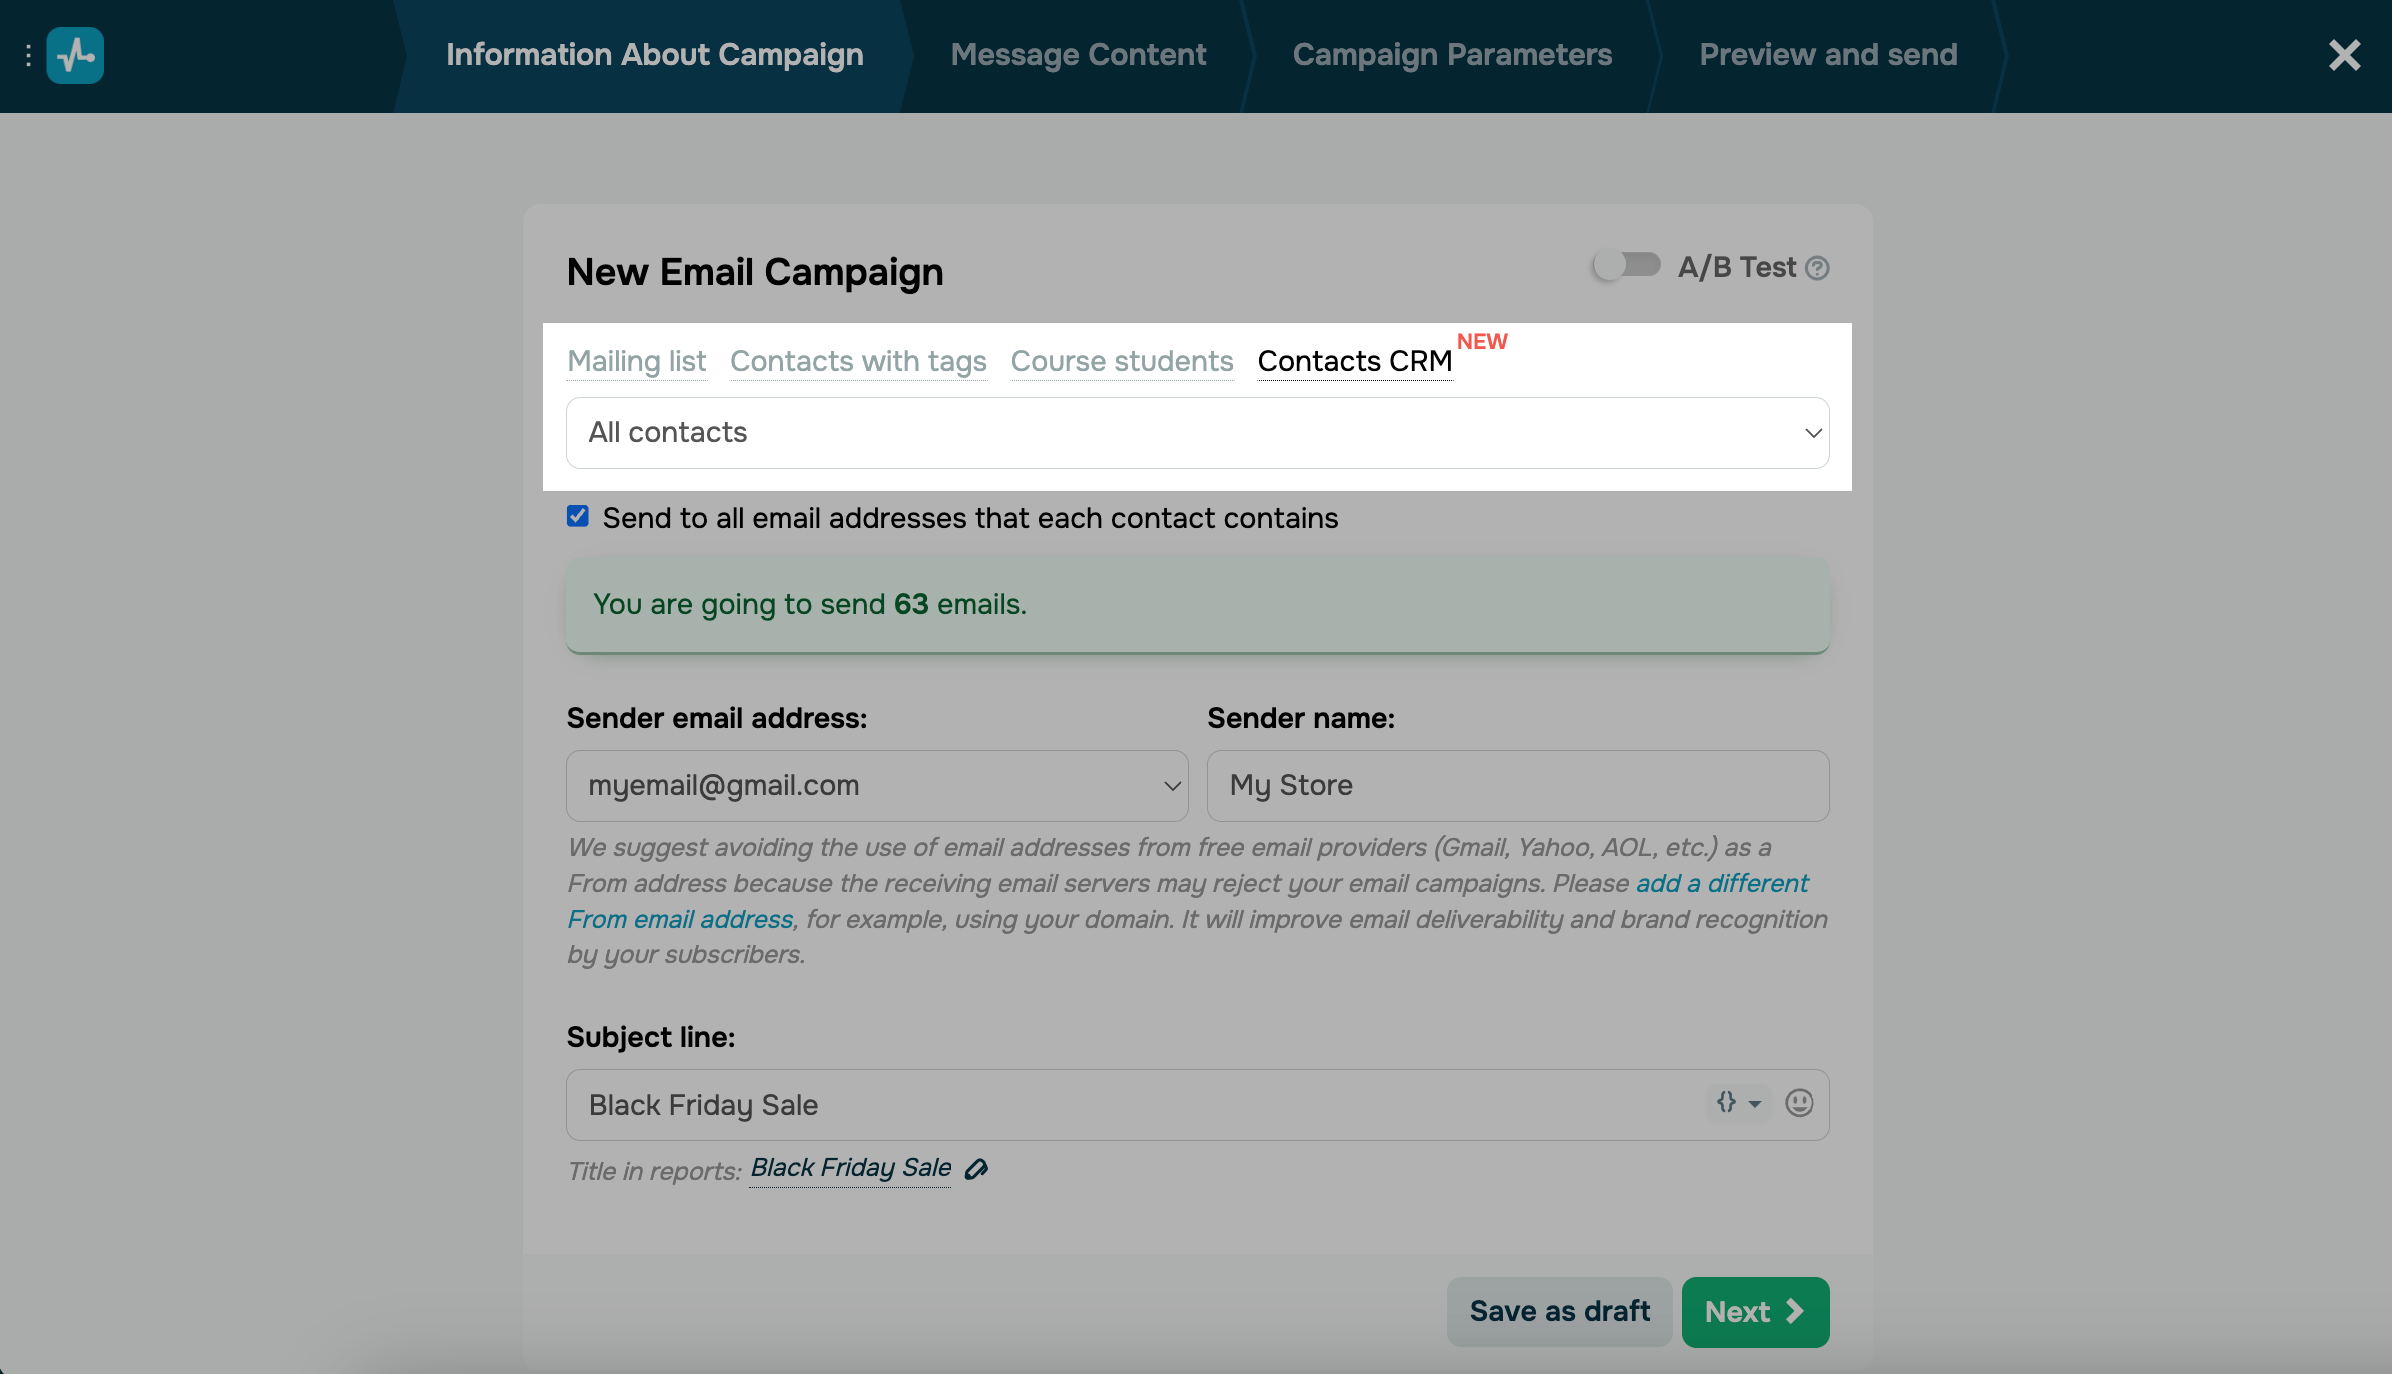
Specify recipients
You can send a campaign to your mailing list contacts, course students, or CRM contacts.
The platform uses variables for email personalization from the selected contact info source. If you specify a mailing list, you can add variable names from it to your email template and subject line.
You cannot use mailing list variables when sending a campaign to course students or CRM contacts.
| Mailing list |
Sends your campaign to your mailing list contacts. You can select up to 30 mailing lists. To segment your mailing list, select the Use segmentation option, and choose your segmentation conditions. |
| Contacts with tags |
Sends your campaign to contacts based on assigned tags. Select a tag from the dropdown list. When you select contacts by tag, the system will search across all your mailing lists instead of just one to find them. |
| Course students |
Sends your campaign to course students’ email addresses. To segment your students, use their course statuses (All students, Registered, Paid, Unpaid, Taking a course, Successfully completed course, Failed course, Got certificate, This student is invited to the course). You can also segment students using tags. |
| Contacts CRM |
Sends your campaign to your CRM contacts. Select All contacts or Add filter. You can filter your contacts by the following criteria: First name, Last name, Assigned to, Tags, Phone, Email, Source, Messenger profile, Messaging platform, Contacts with no deals, and contact fields. You can also send your campaign to all available email addresses of the contact. |
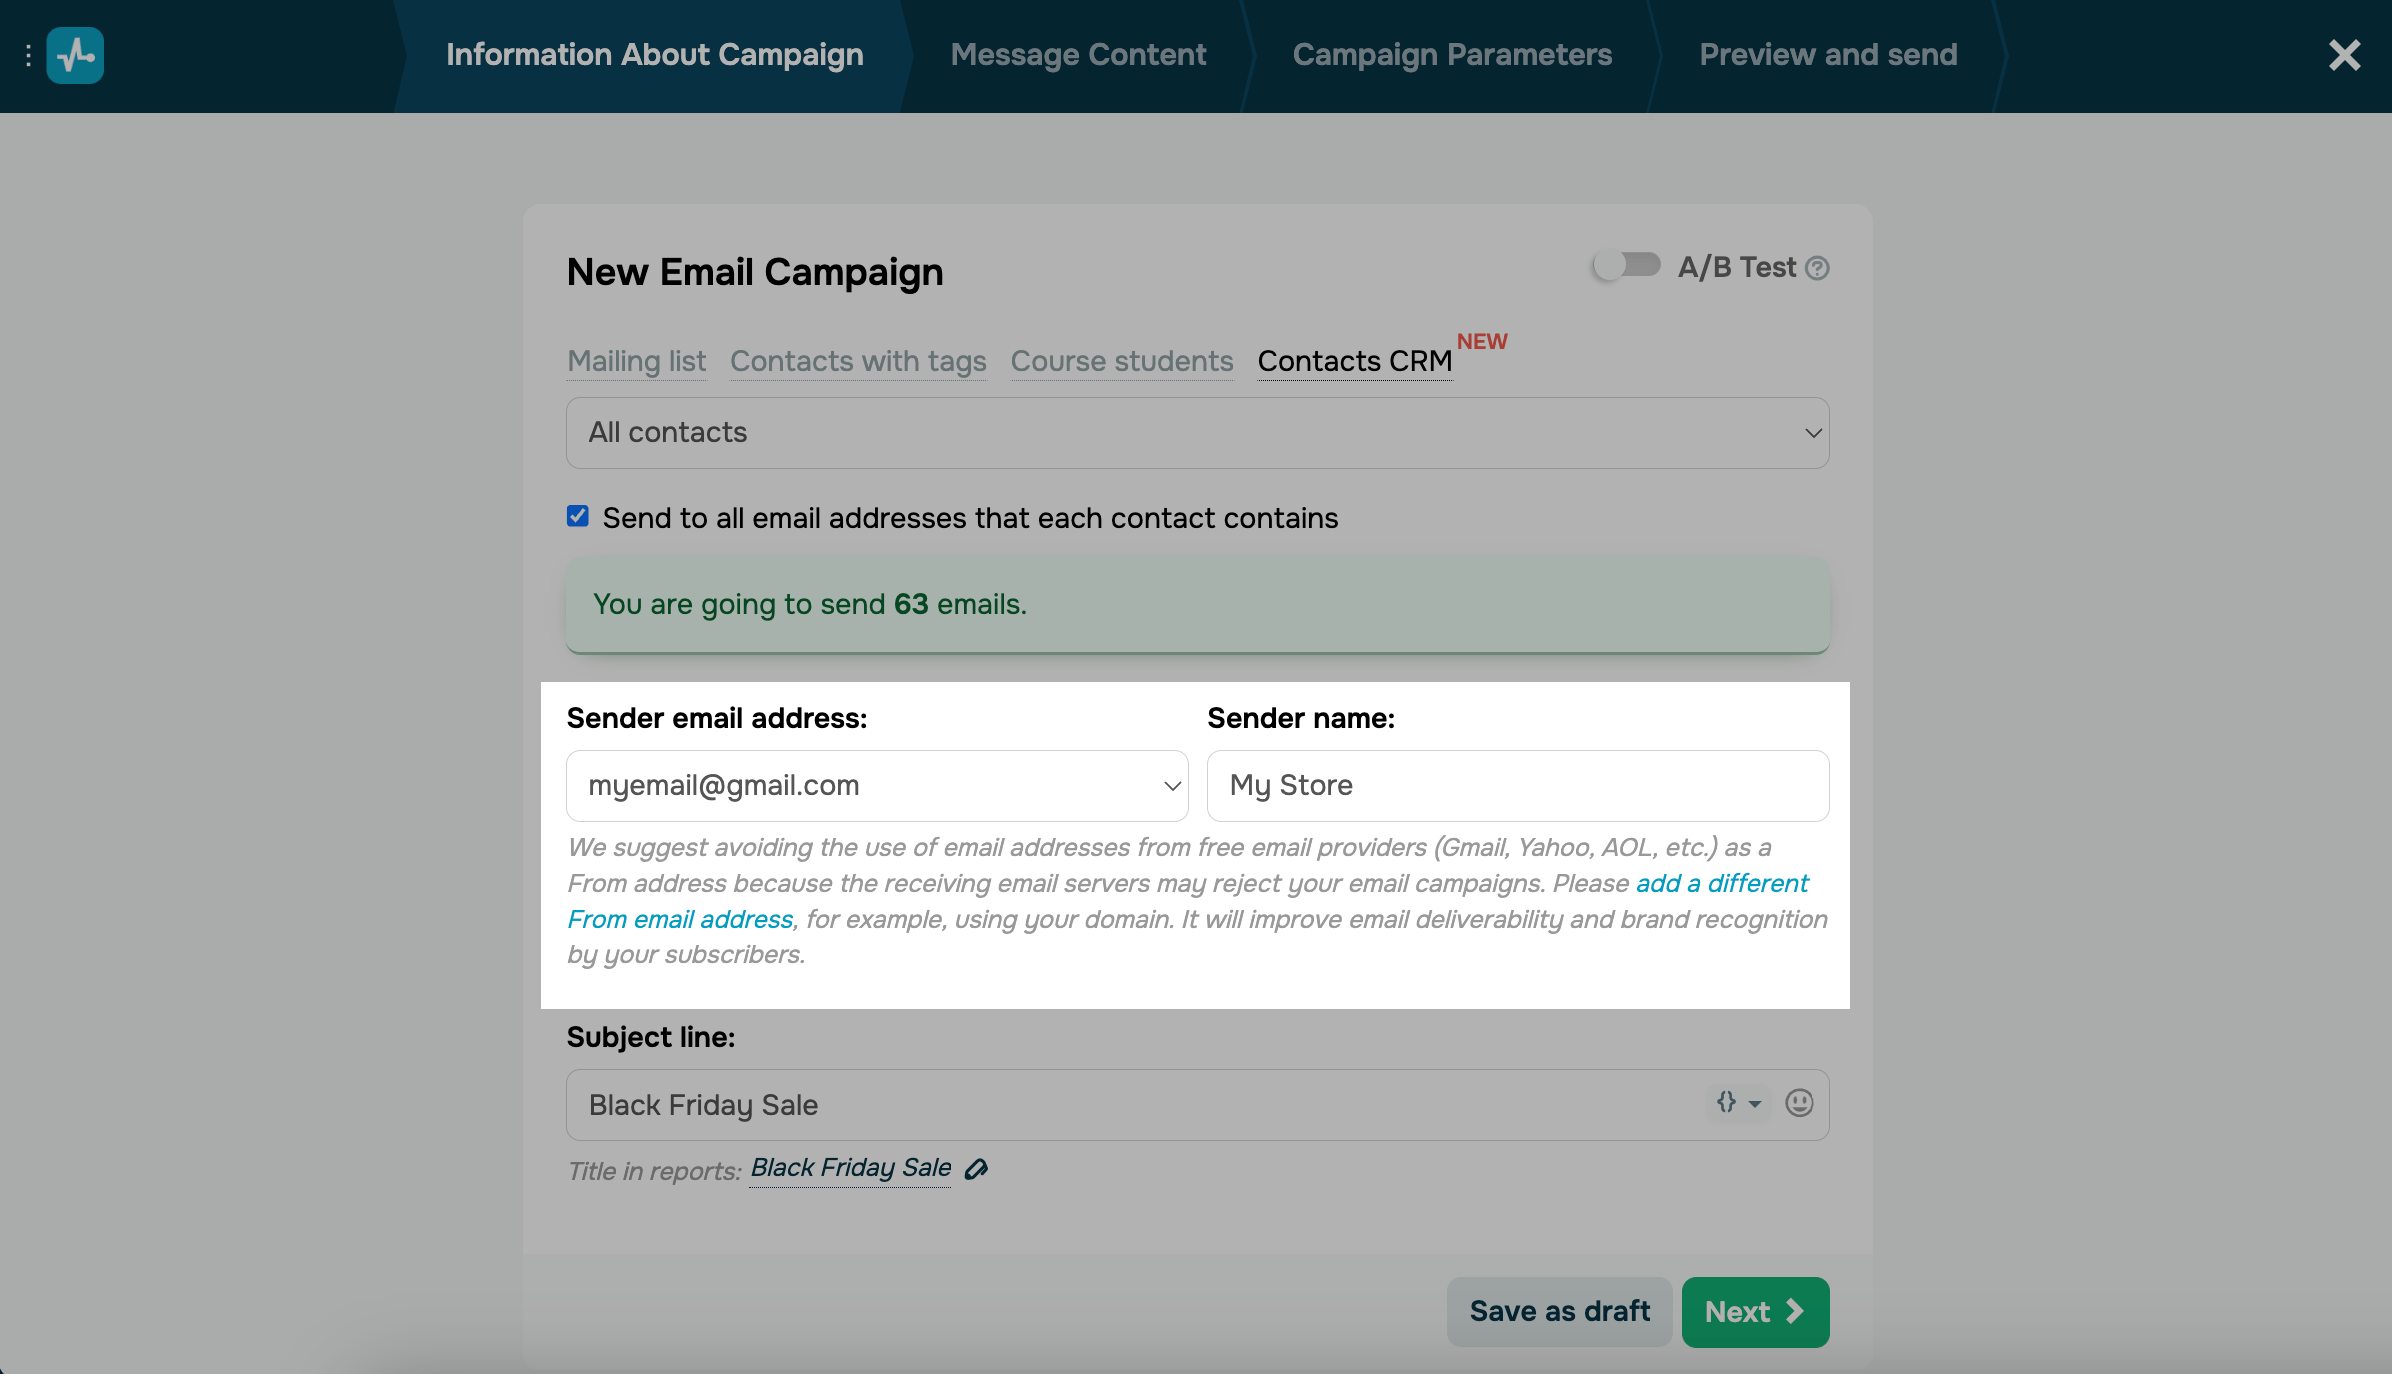
Enter the sender
Select the sender’s address and name.
Read more: How to add a new email sender address.
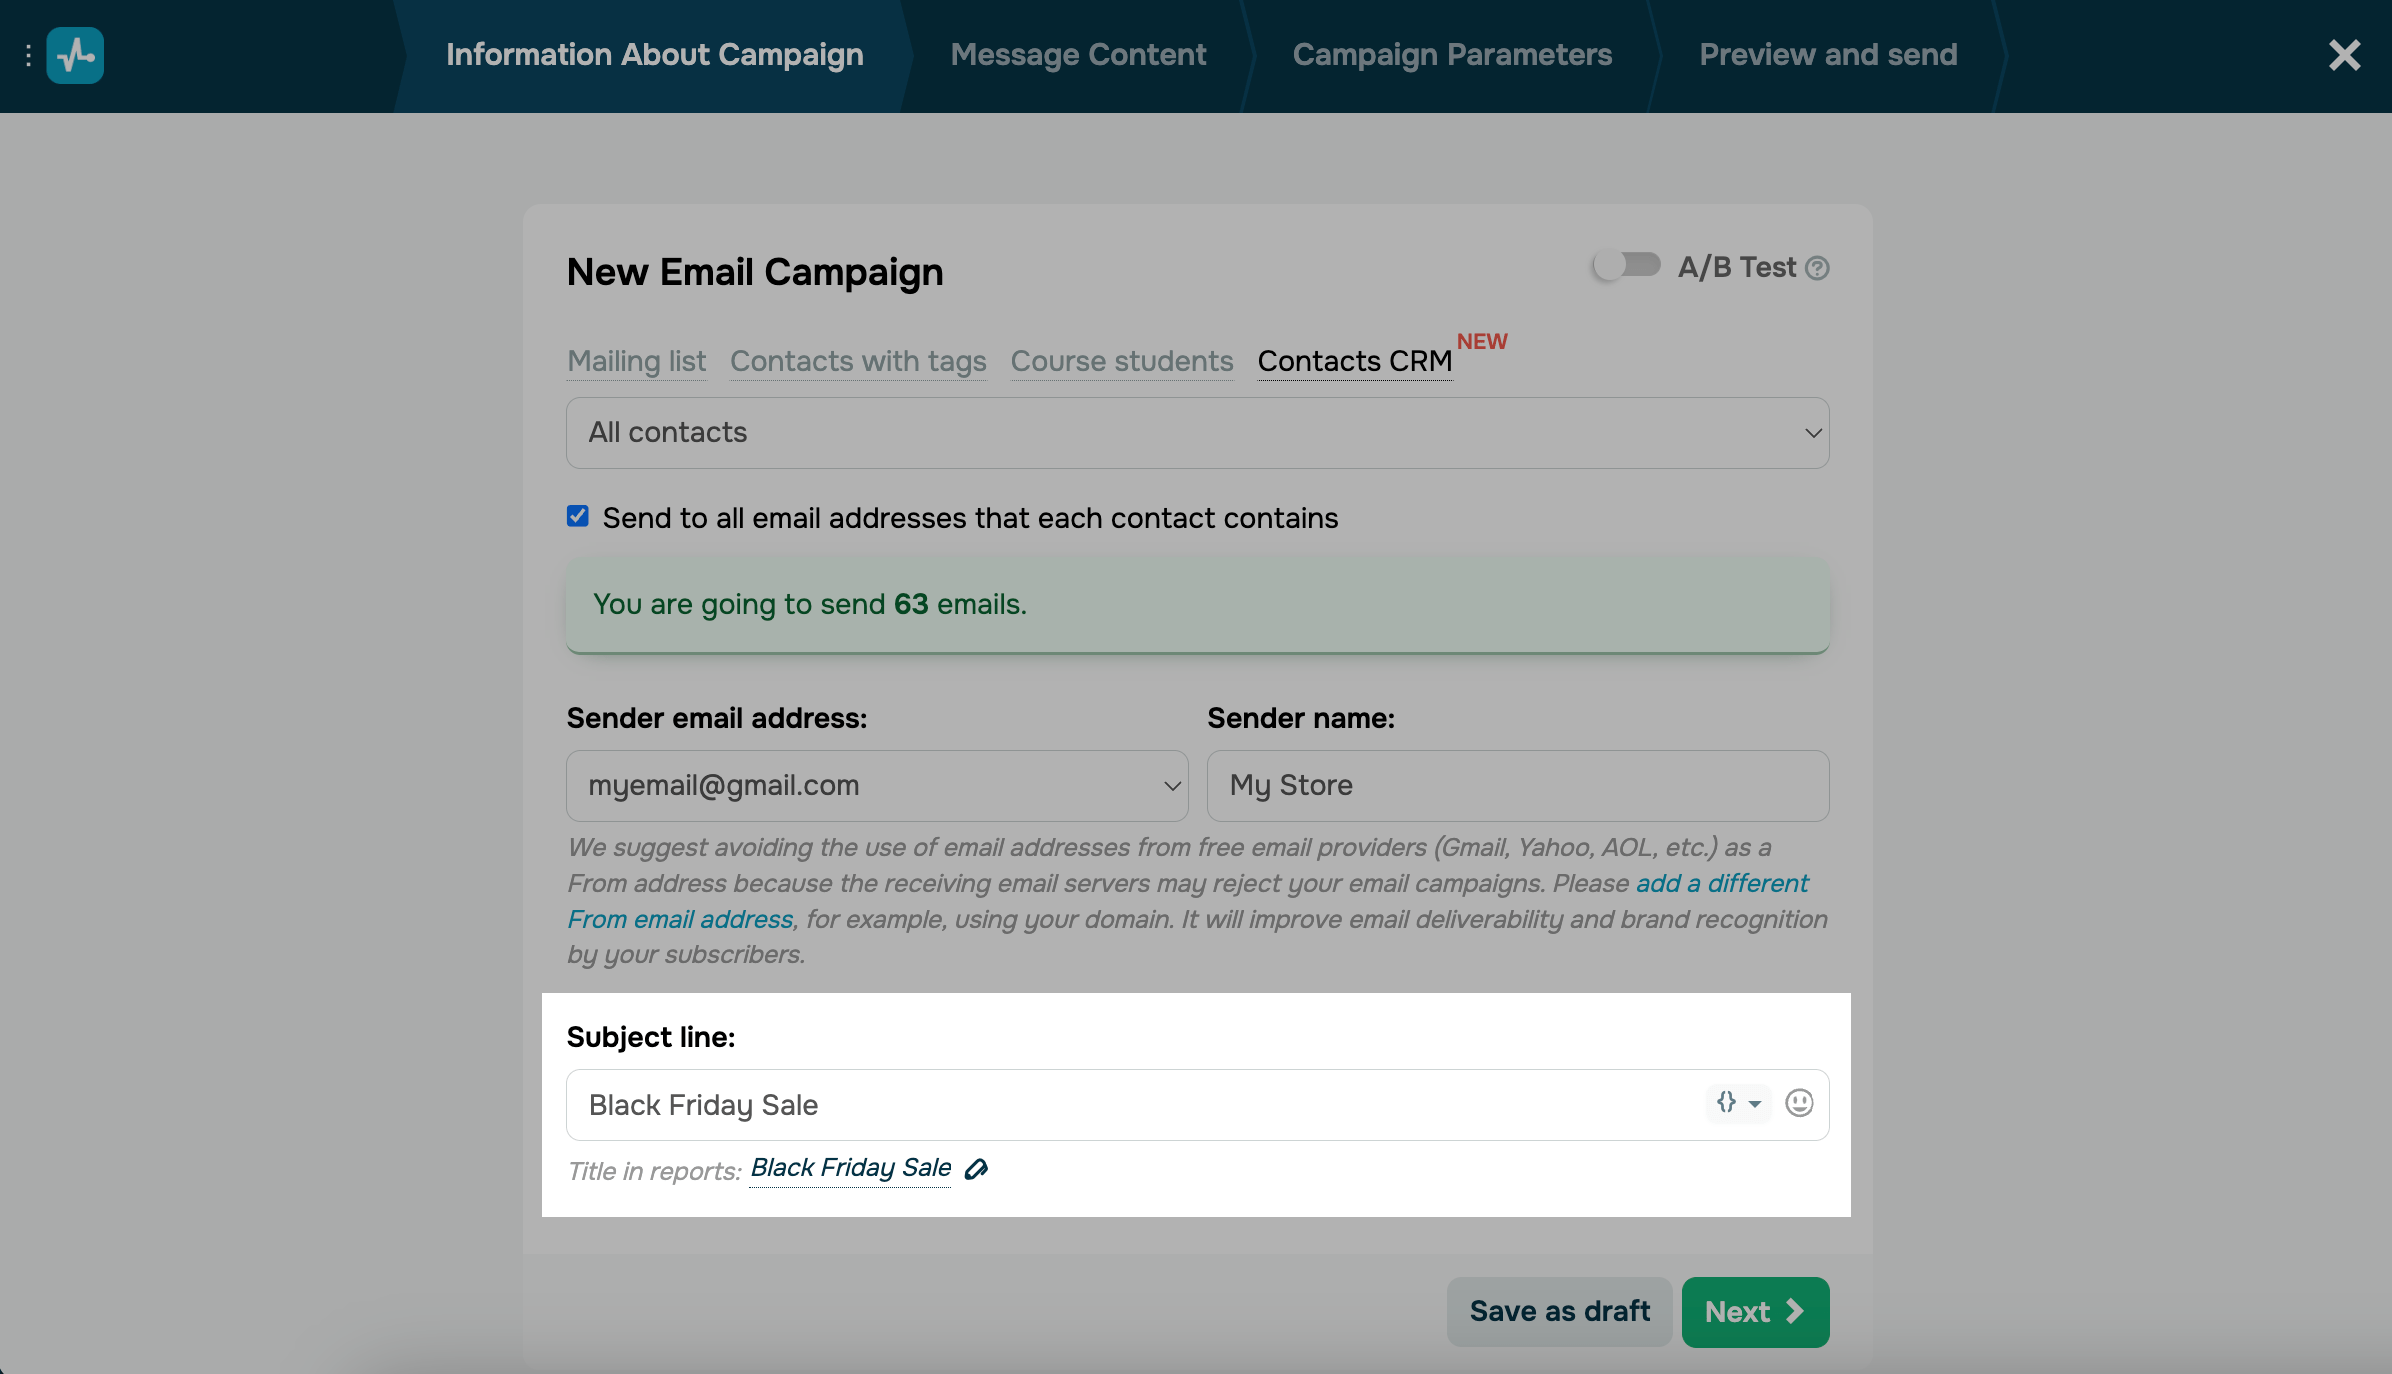
Specify the email subject line
Enter the email subject line.
Think of your email subject line as the call to the action part of the email, since it serves as an incentive for recipients to open and read the campaign.
Read also: 11 subject line hacks to level up your inbox game.
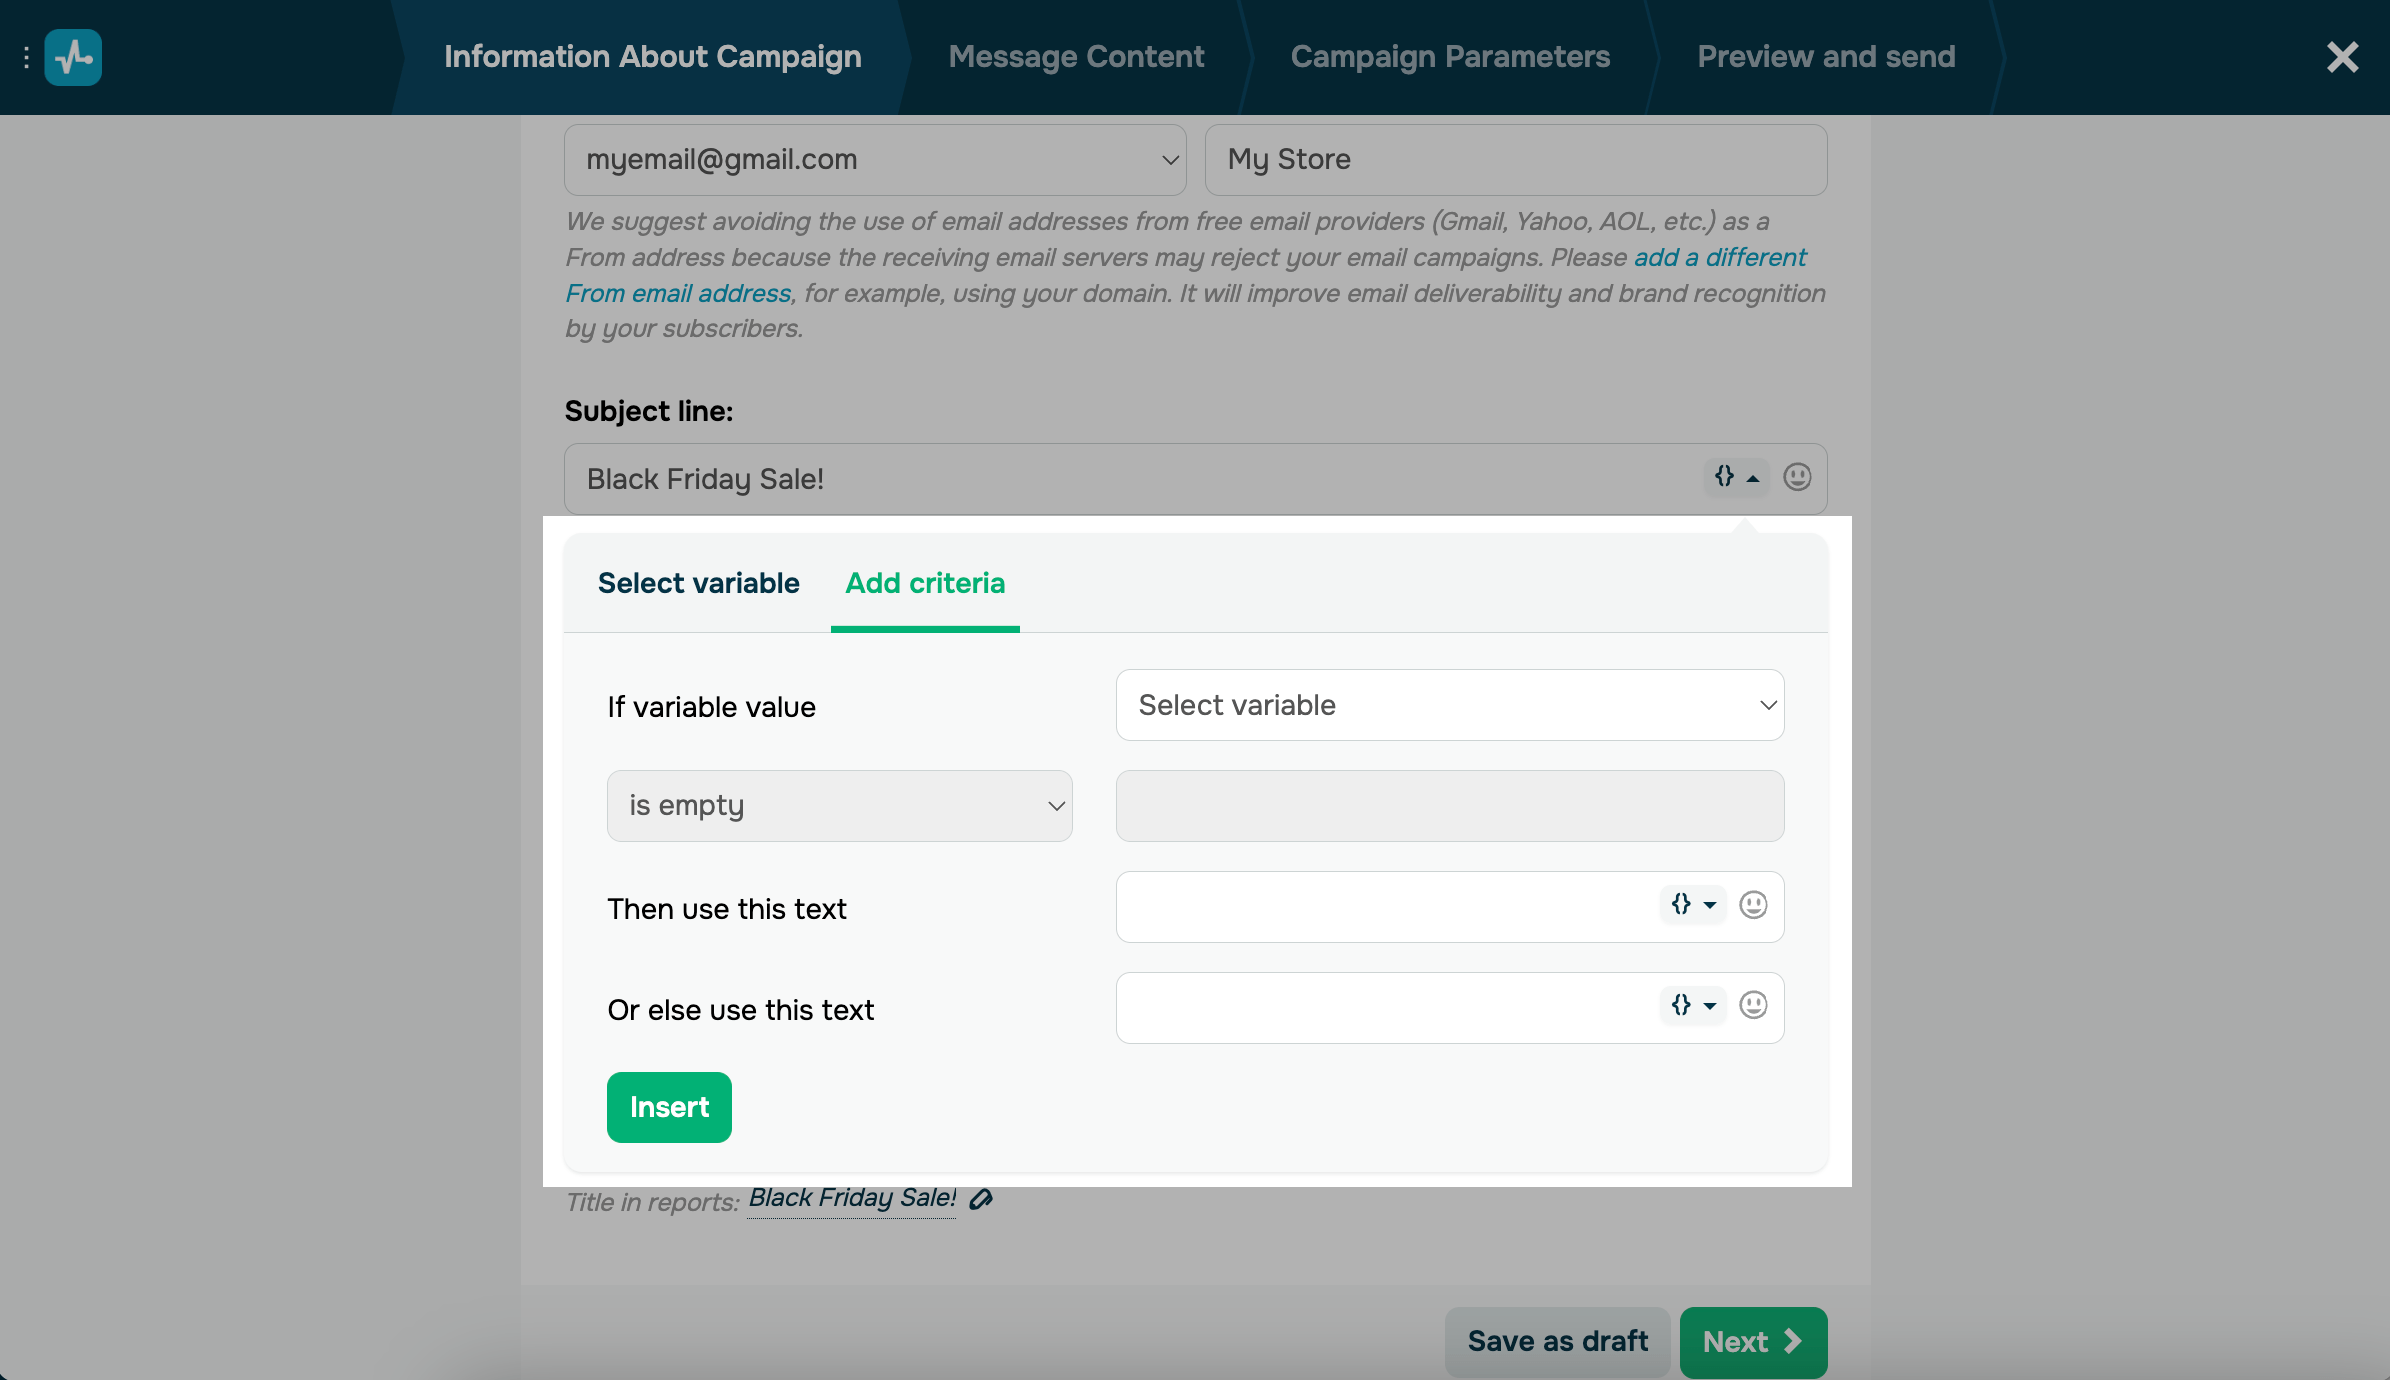
You can personalize the email and add emojis and customer data. To do this, click on {}, and select a variable from which you want to transfer values.
Note: To use data from variables in emails, variable names must match in mailing lists and templates completely. If you capitalize the variable name in the mailing lists, for example, {{Name}}, capitalize the variable name in the templates as well.
Read also: How to create custom variables.
You can also set up smart personalization and send each customer a different subject line based on their data. To do this, click {}, go to the Add Condition tab, and configure the conditions.
Read also: What is smart personalization.
Add email content
Choose a template
The service provides several options for choosing your campaign template. You can:
- select the template you created earlier;
- create a new template in the drag and drop template builder;
- choose the pre-made template from those offered in the service;
- download the template from a file, via a link, or by inserting your own HTML code;
- create a new template in the HTML editor.
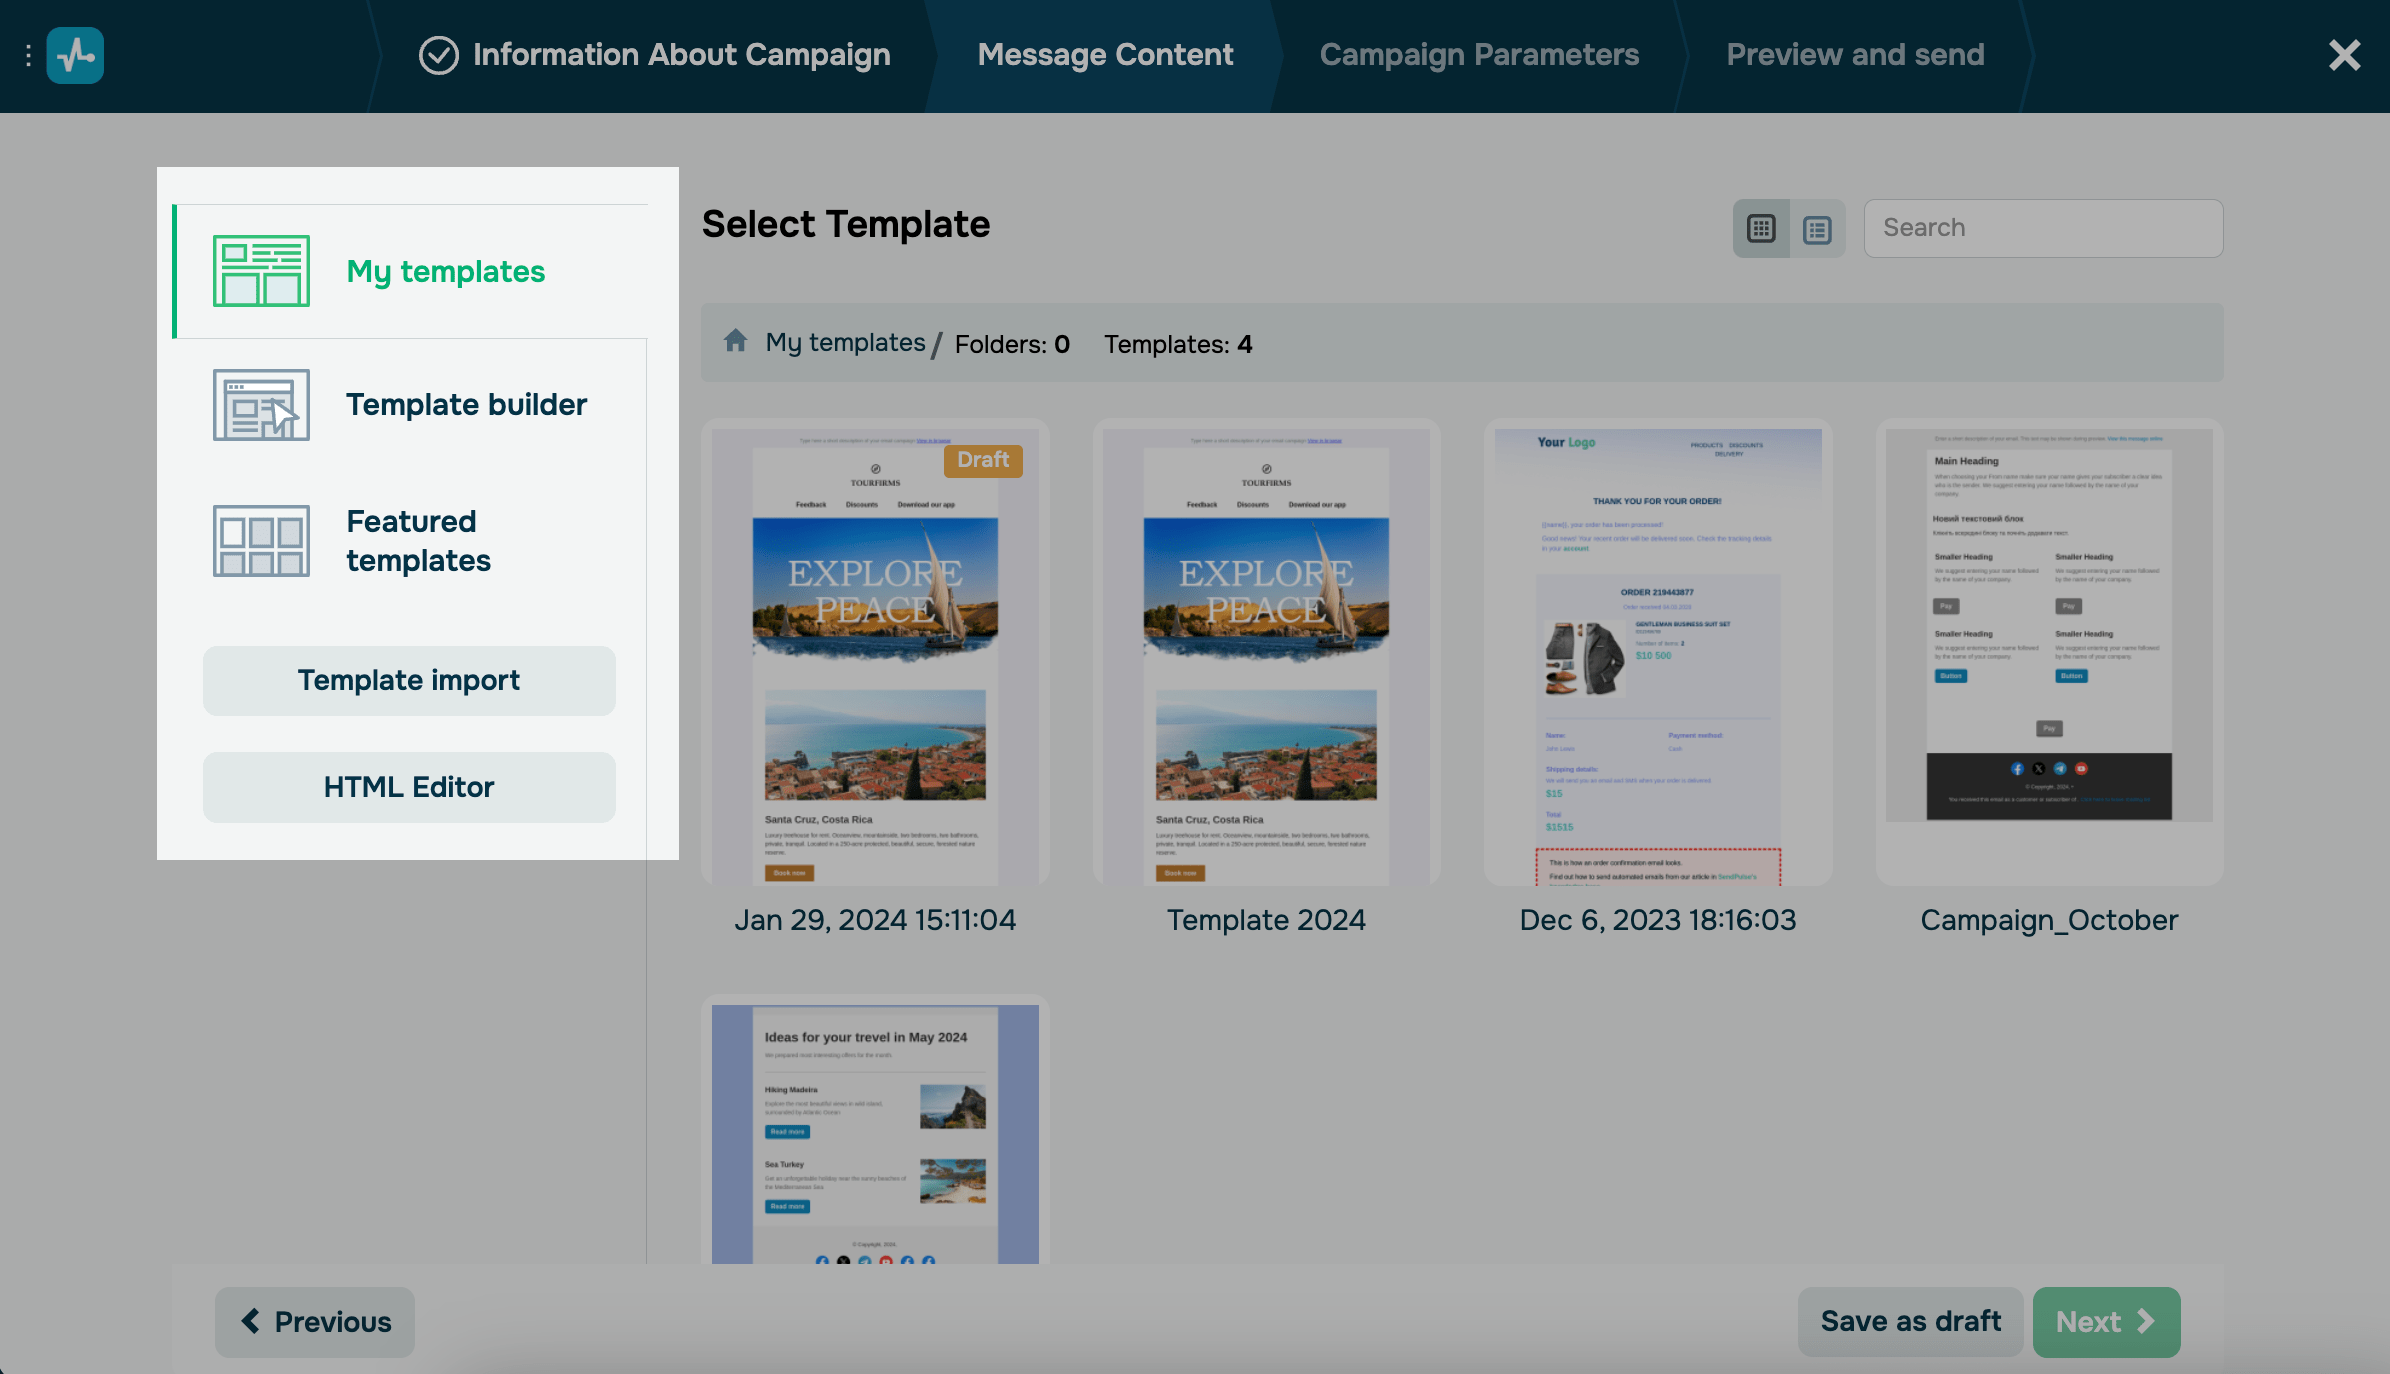
Select a template, and proceed to edit it.
Your email must not be larger than 25 MB.
You can personalize the message by adding the client's personal data to it.
Use simple or clever personalization in your campaigns to foster subscriber loyalty.
When you create a campaign, you can add variables from the mailing list you selected. Remember to also check all the links and variables in the template you are sending.
Read also: How to add a payment button to an email, How to add a calendar event link to an email, and How to create an email template in dark mode.
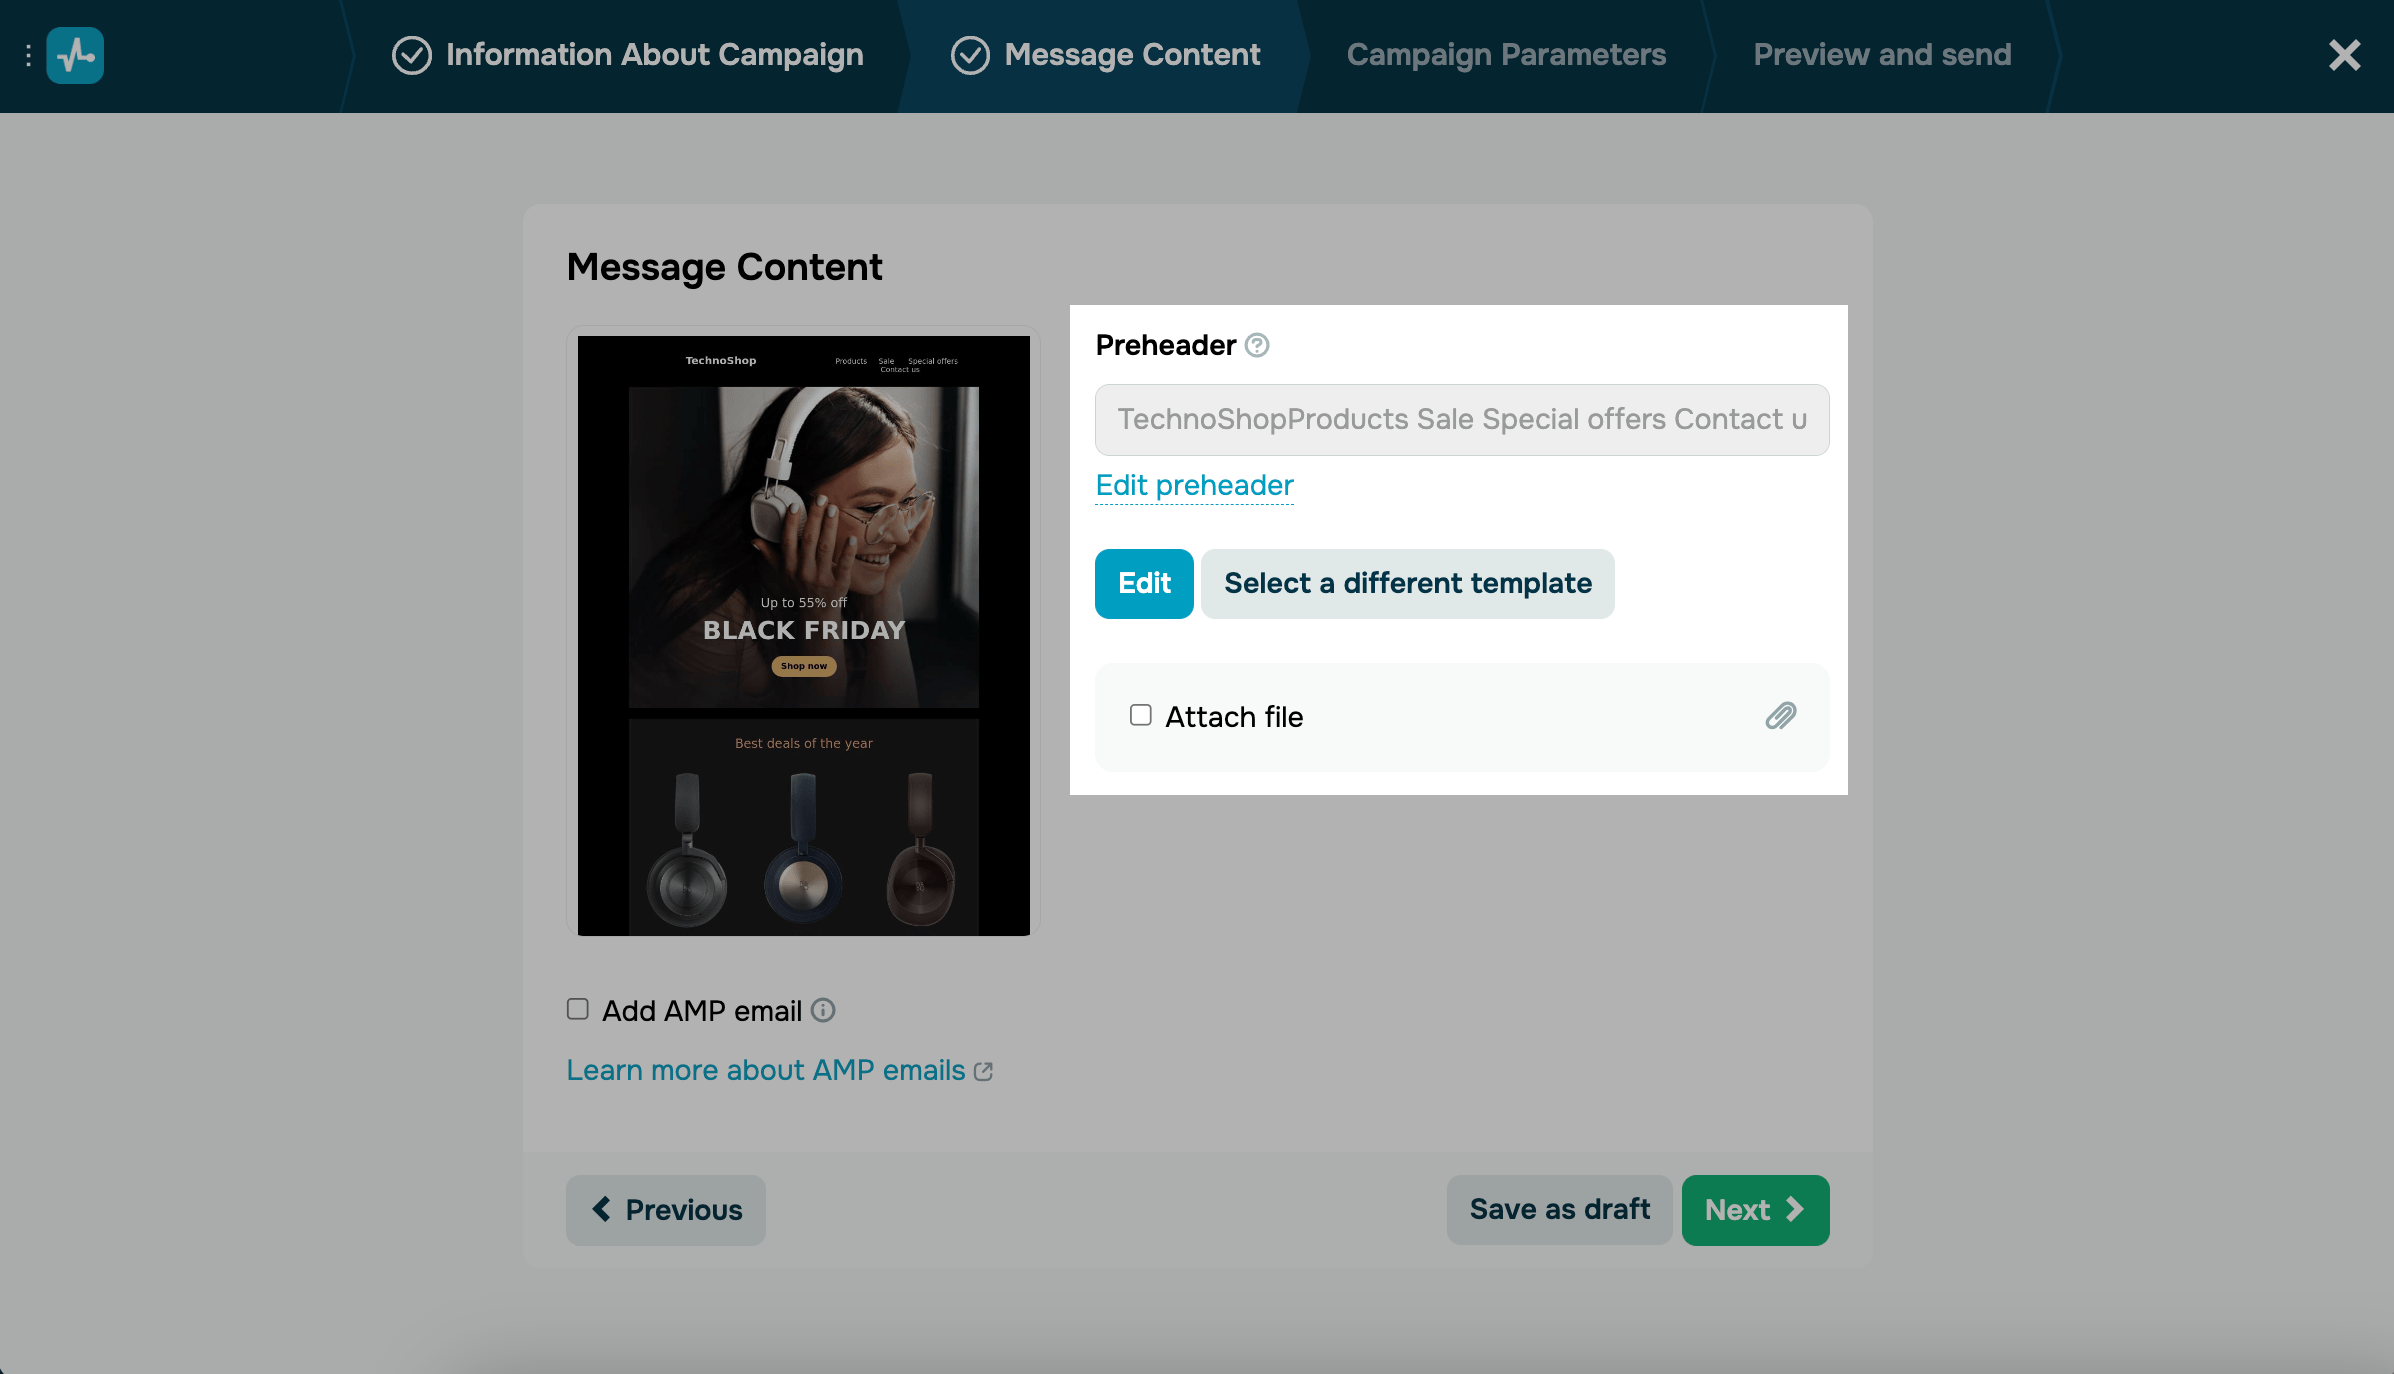
Add additional items
After saving the template, you will be taken to a page where you can add an email preheader, attach a file to the email, and include an AMP version of the email.
A single file must not be larger than 5 MB. You can attach an unlimited number of files as long as your overall email size doesn't exceed 25 MB.
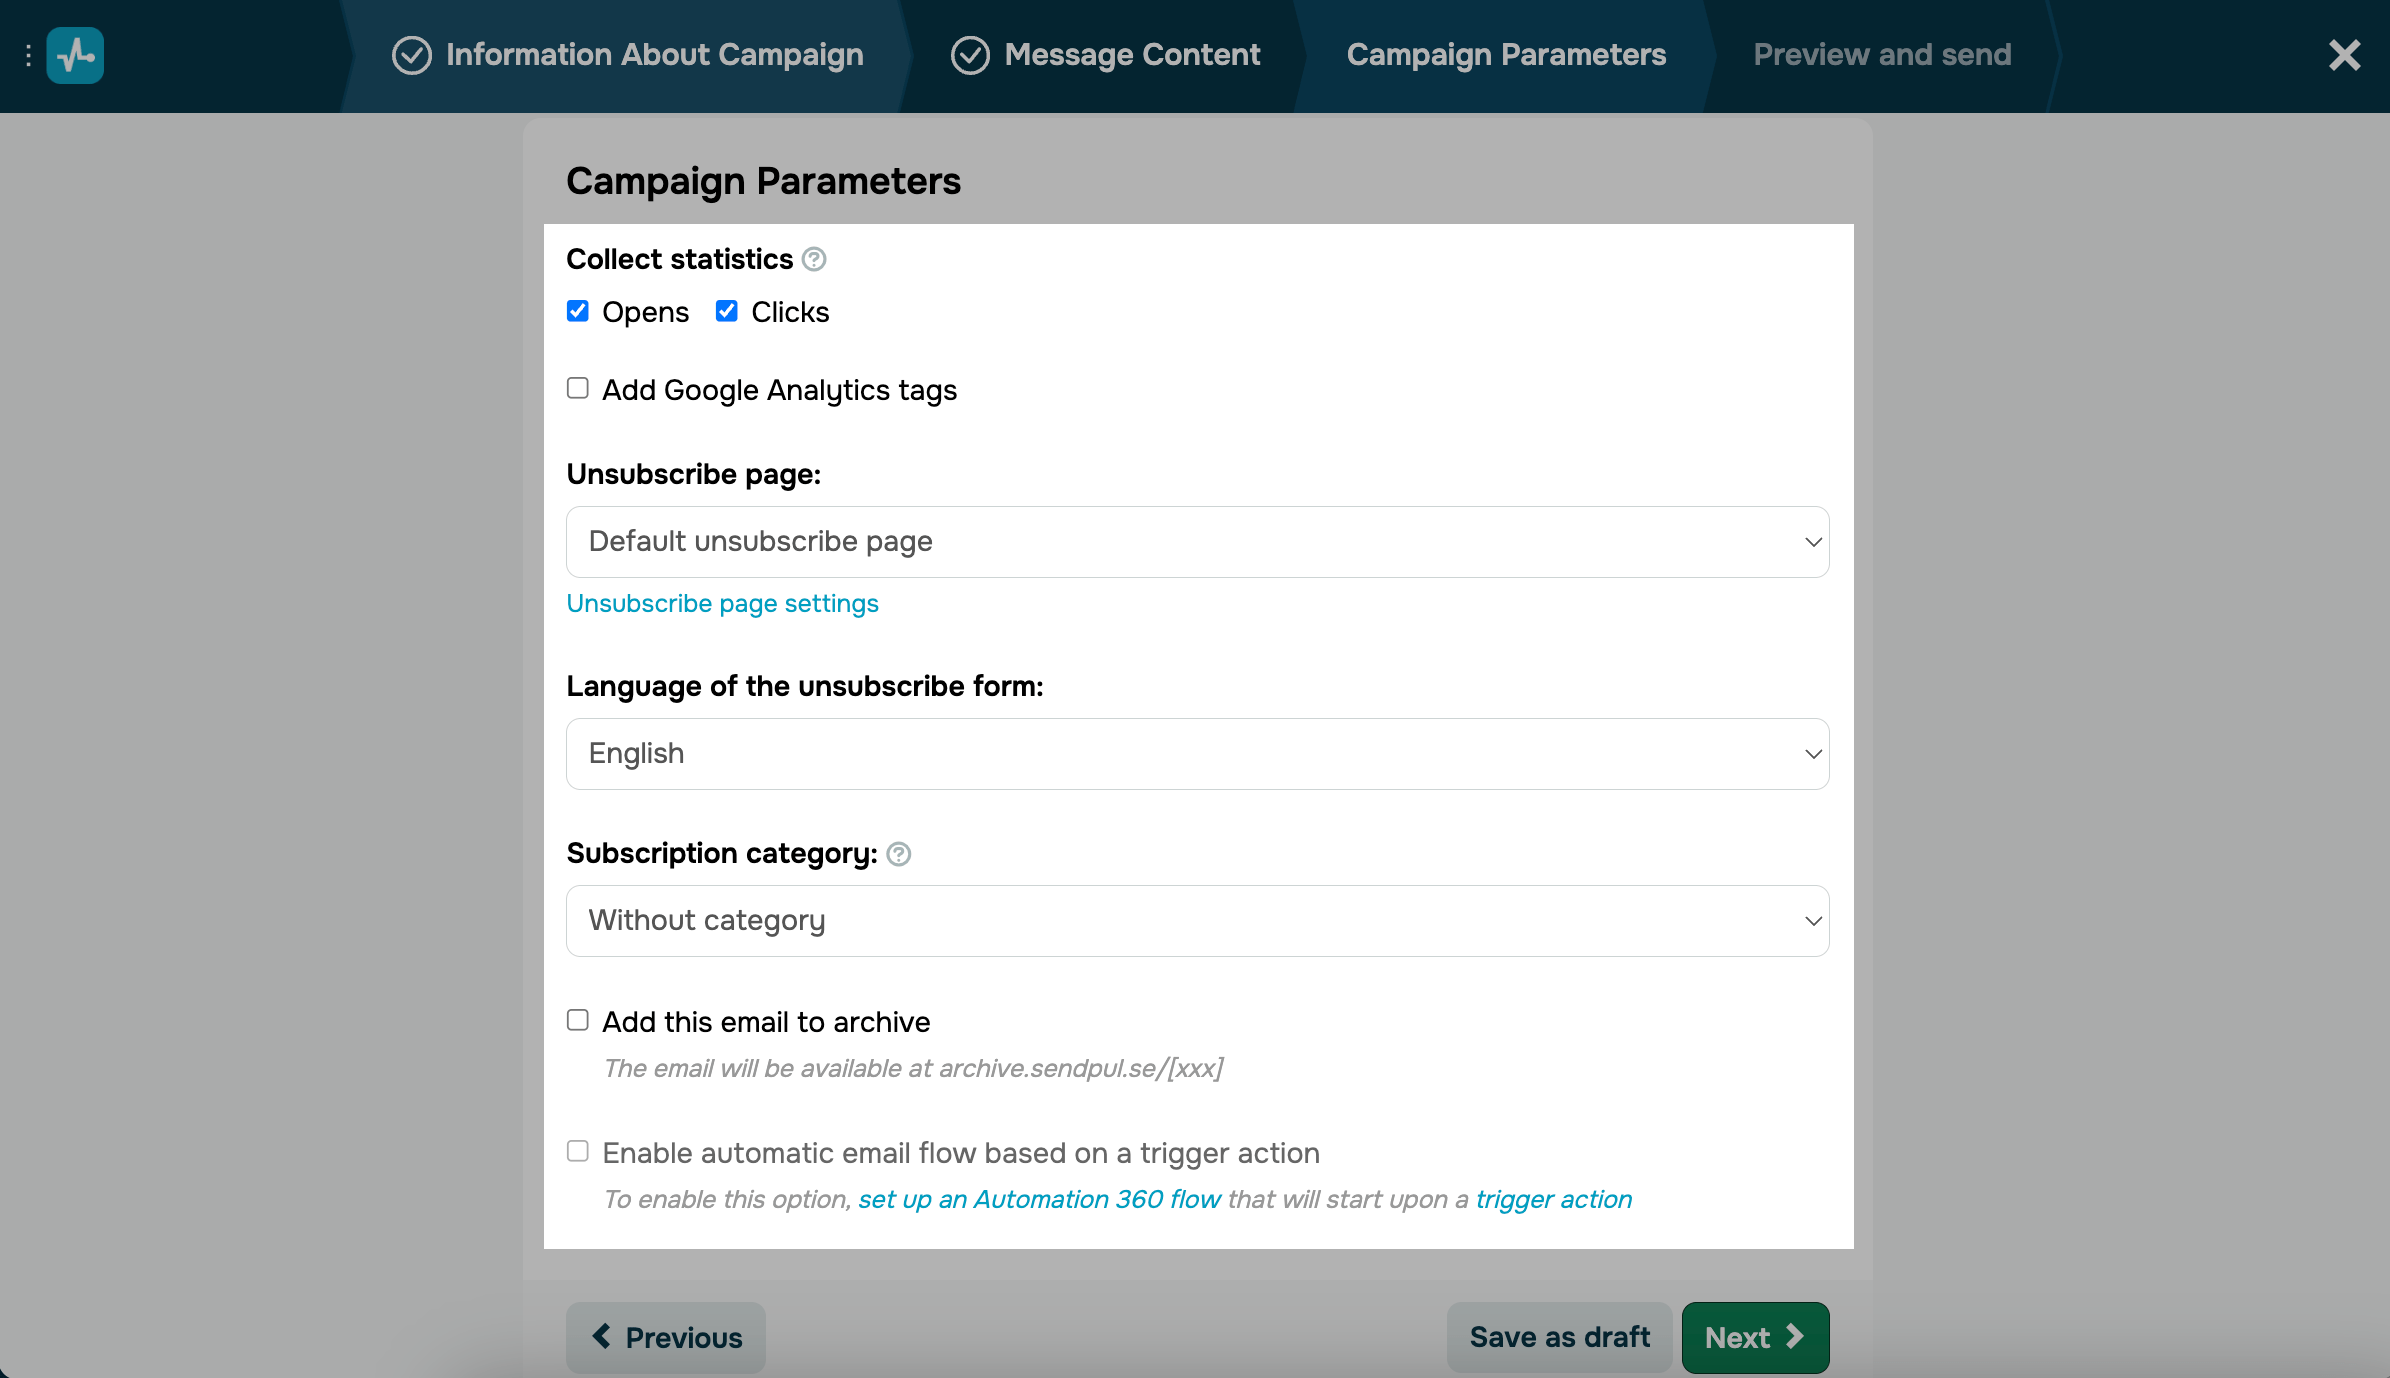
Configure additional campaign options
You can also configure the following campaign options:
| Collect statistics |
Tracks email open and clickthrough statistics. You can also add UTM tags to every link to track analytics in Google Analytics. Tracking links are valid for 1 year. Afterward, tracking stops and links become inaccessible. |
| Unsubscribe page |
Adds a custom unsubscribe page or the default one to your email. You can set your target audience's preferred language as the unsubscribe form language. You can set an email campaign category to allow subscribers signed up for multiple campaigns to unsubscribe from specific ones instead of all at once. |
| Resubscription email template |
Sends a resubscription email when users unsubscribe from this campaign. Options include: Without sending — don’t send a resubscription email. Default resubscription email — send your default resubscription email. Custom template — send your own resubscription email template. |
| Add this email to archive |
Retains access to your email campaign even after account data removal. Read more: How to use email campaign archive. |
| Enable automatic email flow based on a trigger action |
Automatically sends emails from the flow you've set up when recipients open your email or click its link. This option is only available if your automated email flow has a webhook contact list, where automated email sending is preconfigured. |
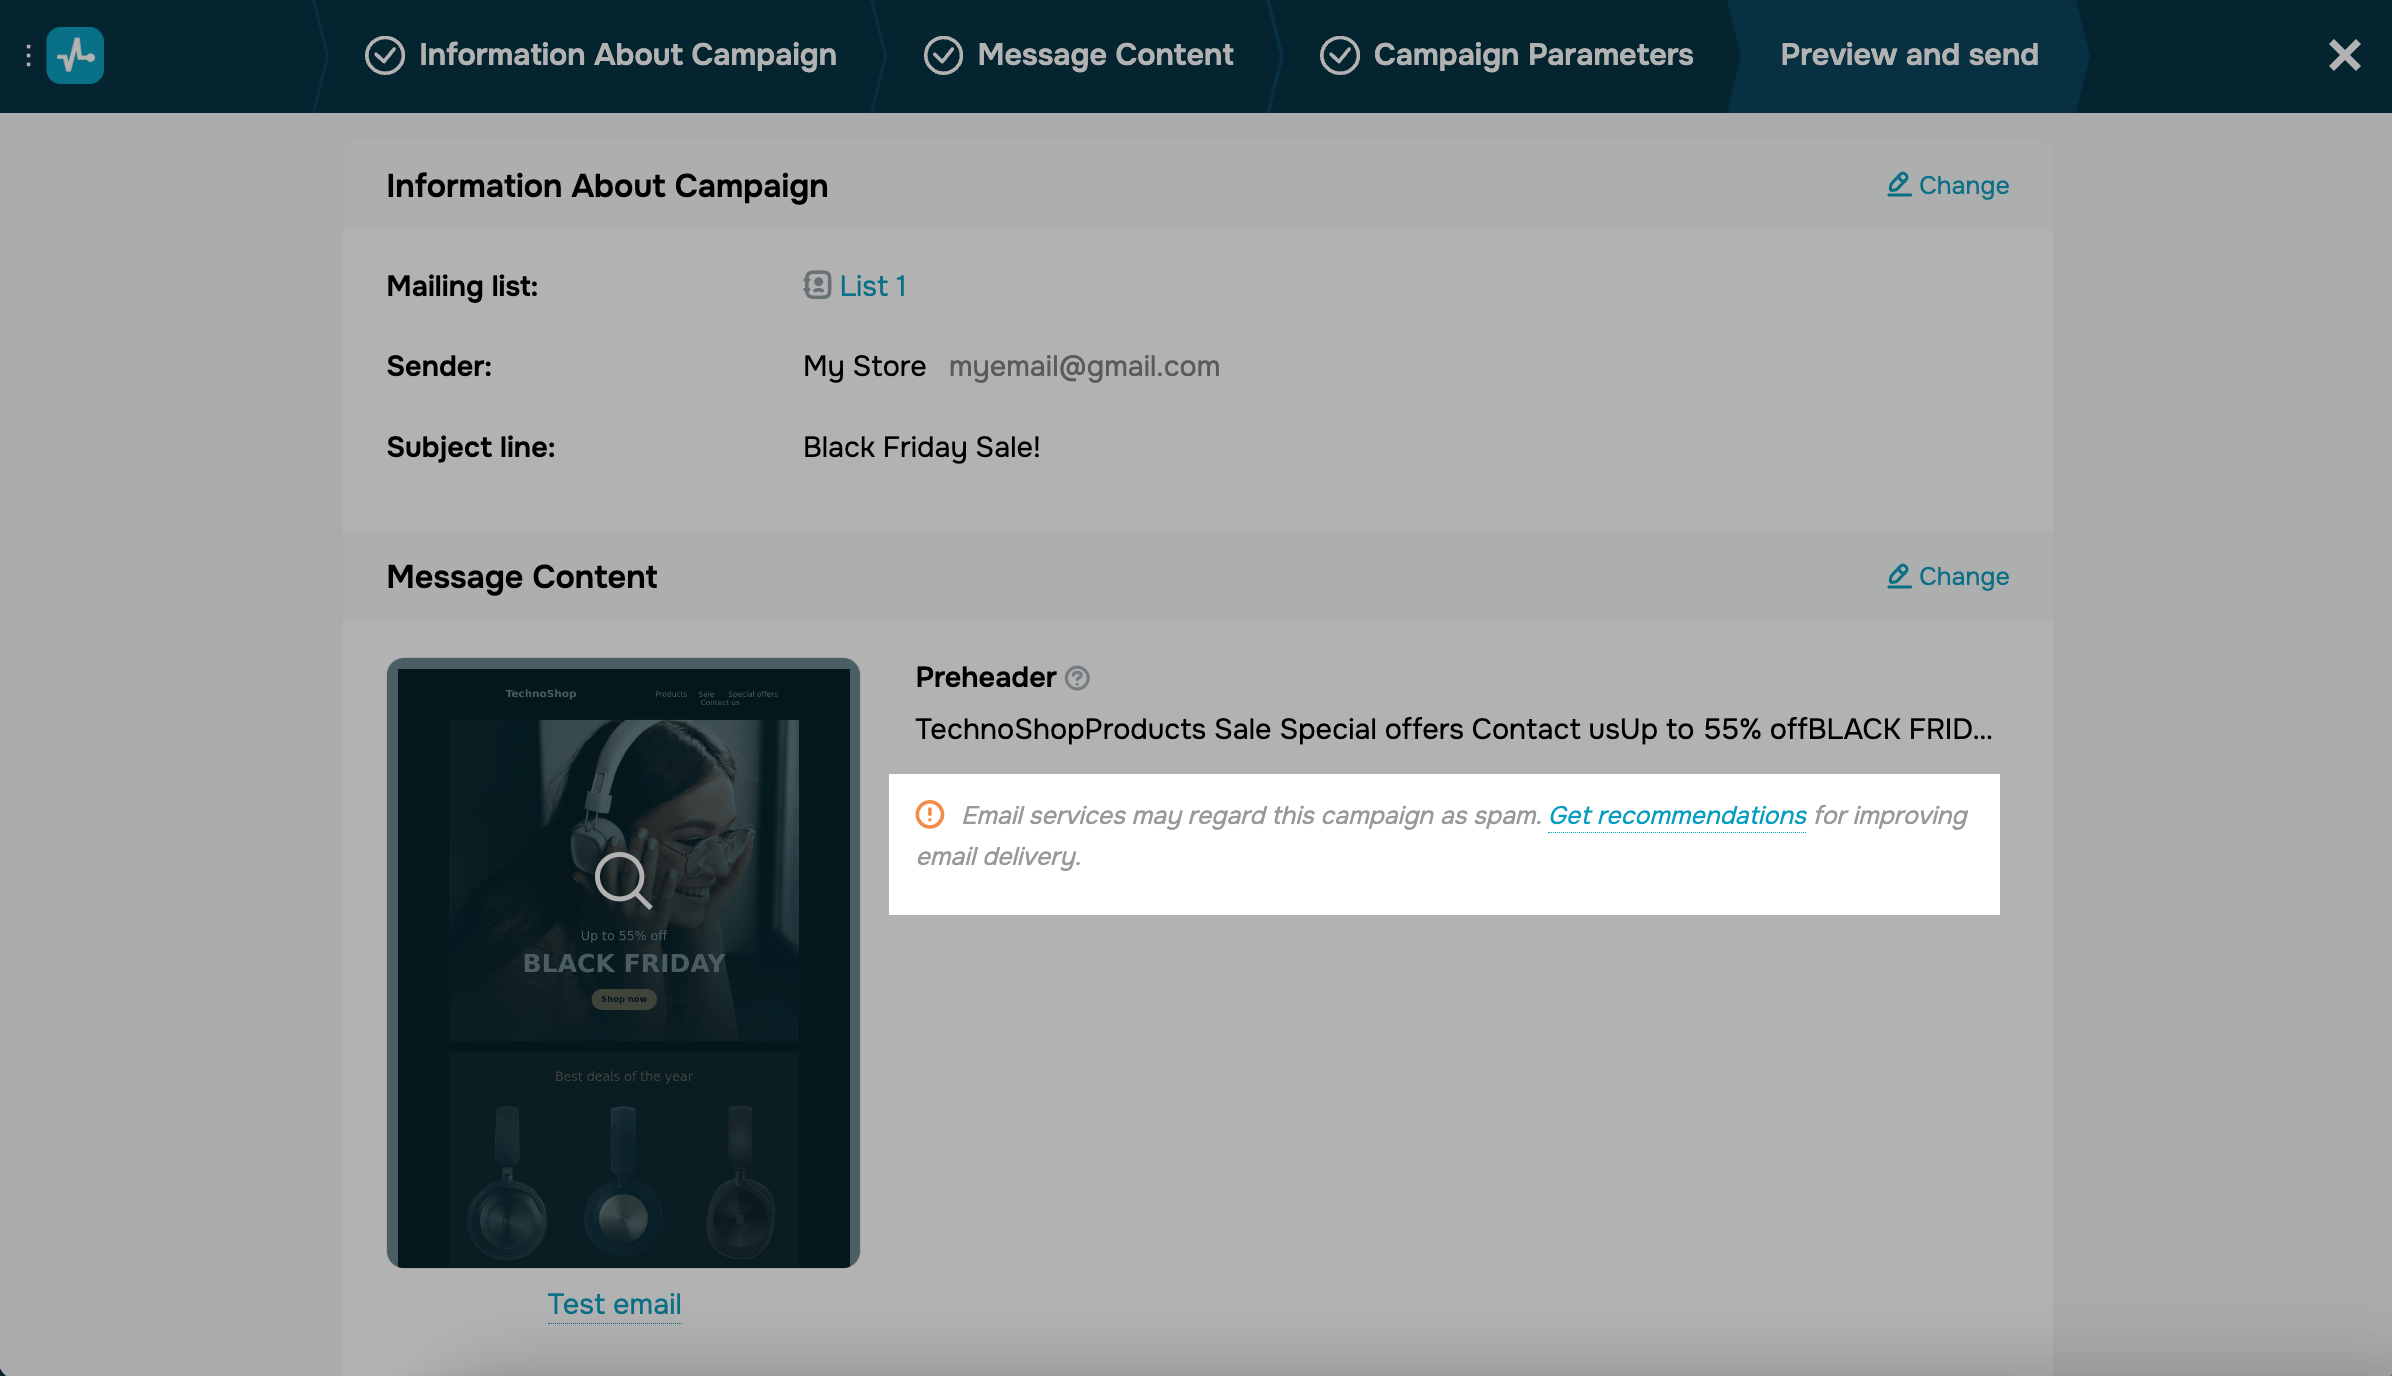
Check if the data is correct
Before you send the campaign to your customers, check all the data you entered.
If you need to make changes to any part of the email, click Edit, make your edits, and return to the Preview and Send step.
If you did not follow any of the design guidelines, the Wizard will suggest that you revise the template and the sender's address to make sure that it’s passing through spam filters successfully.
Read also: Anti-Spam recommendations for email campaigns.
When emailing students, check if the main campaign information (course name, student progress, sender data, and subject line) is correct.
Set up sending options
Scheduling
You can send the email immediately or schedule it for a different date and time. To do this, select Start sending under Time of sending, and set the desired date and time. The service will automatically send your campaign according to the schedule you have specified.
Each campaign may take up to 30 minutes to moderate before being sent.
On a paid pricing plan, the dynamic list feature is also available. The dynamic list includes contacts that have been added to the mailing list since the mailing was created before the mailing was sent.
Read also: How to schedule sending emails.
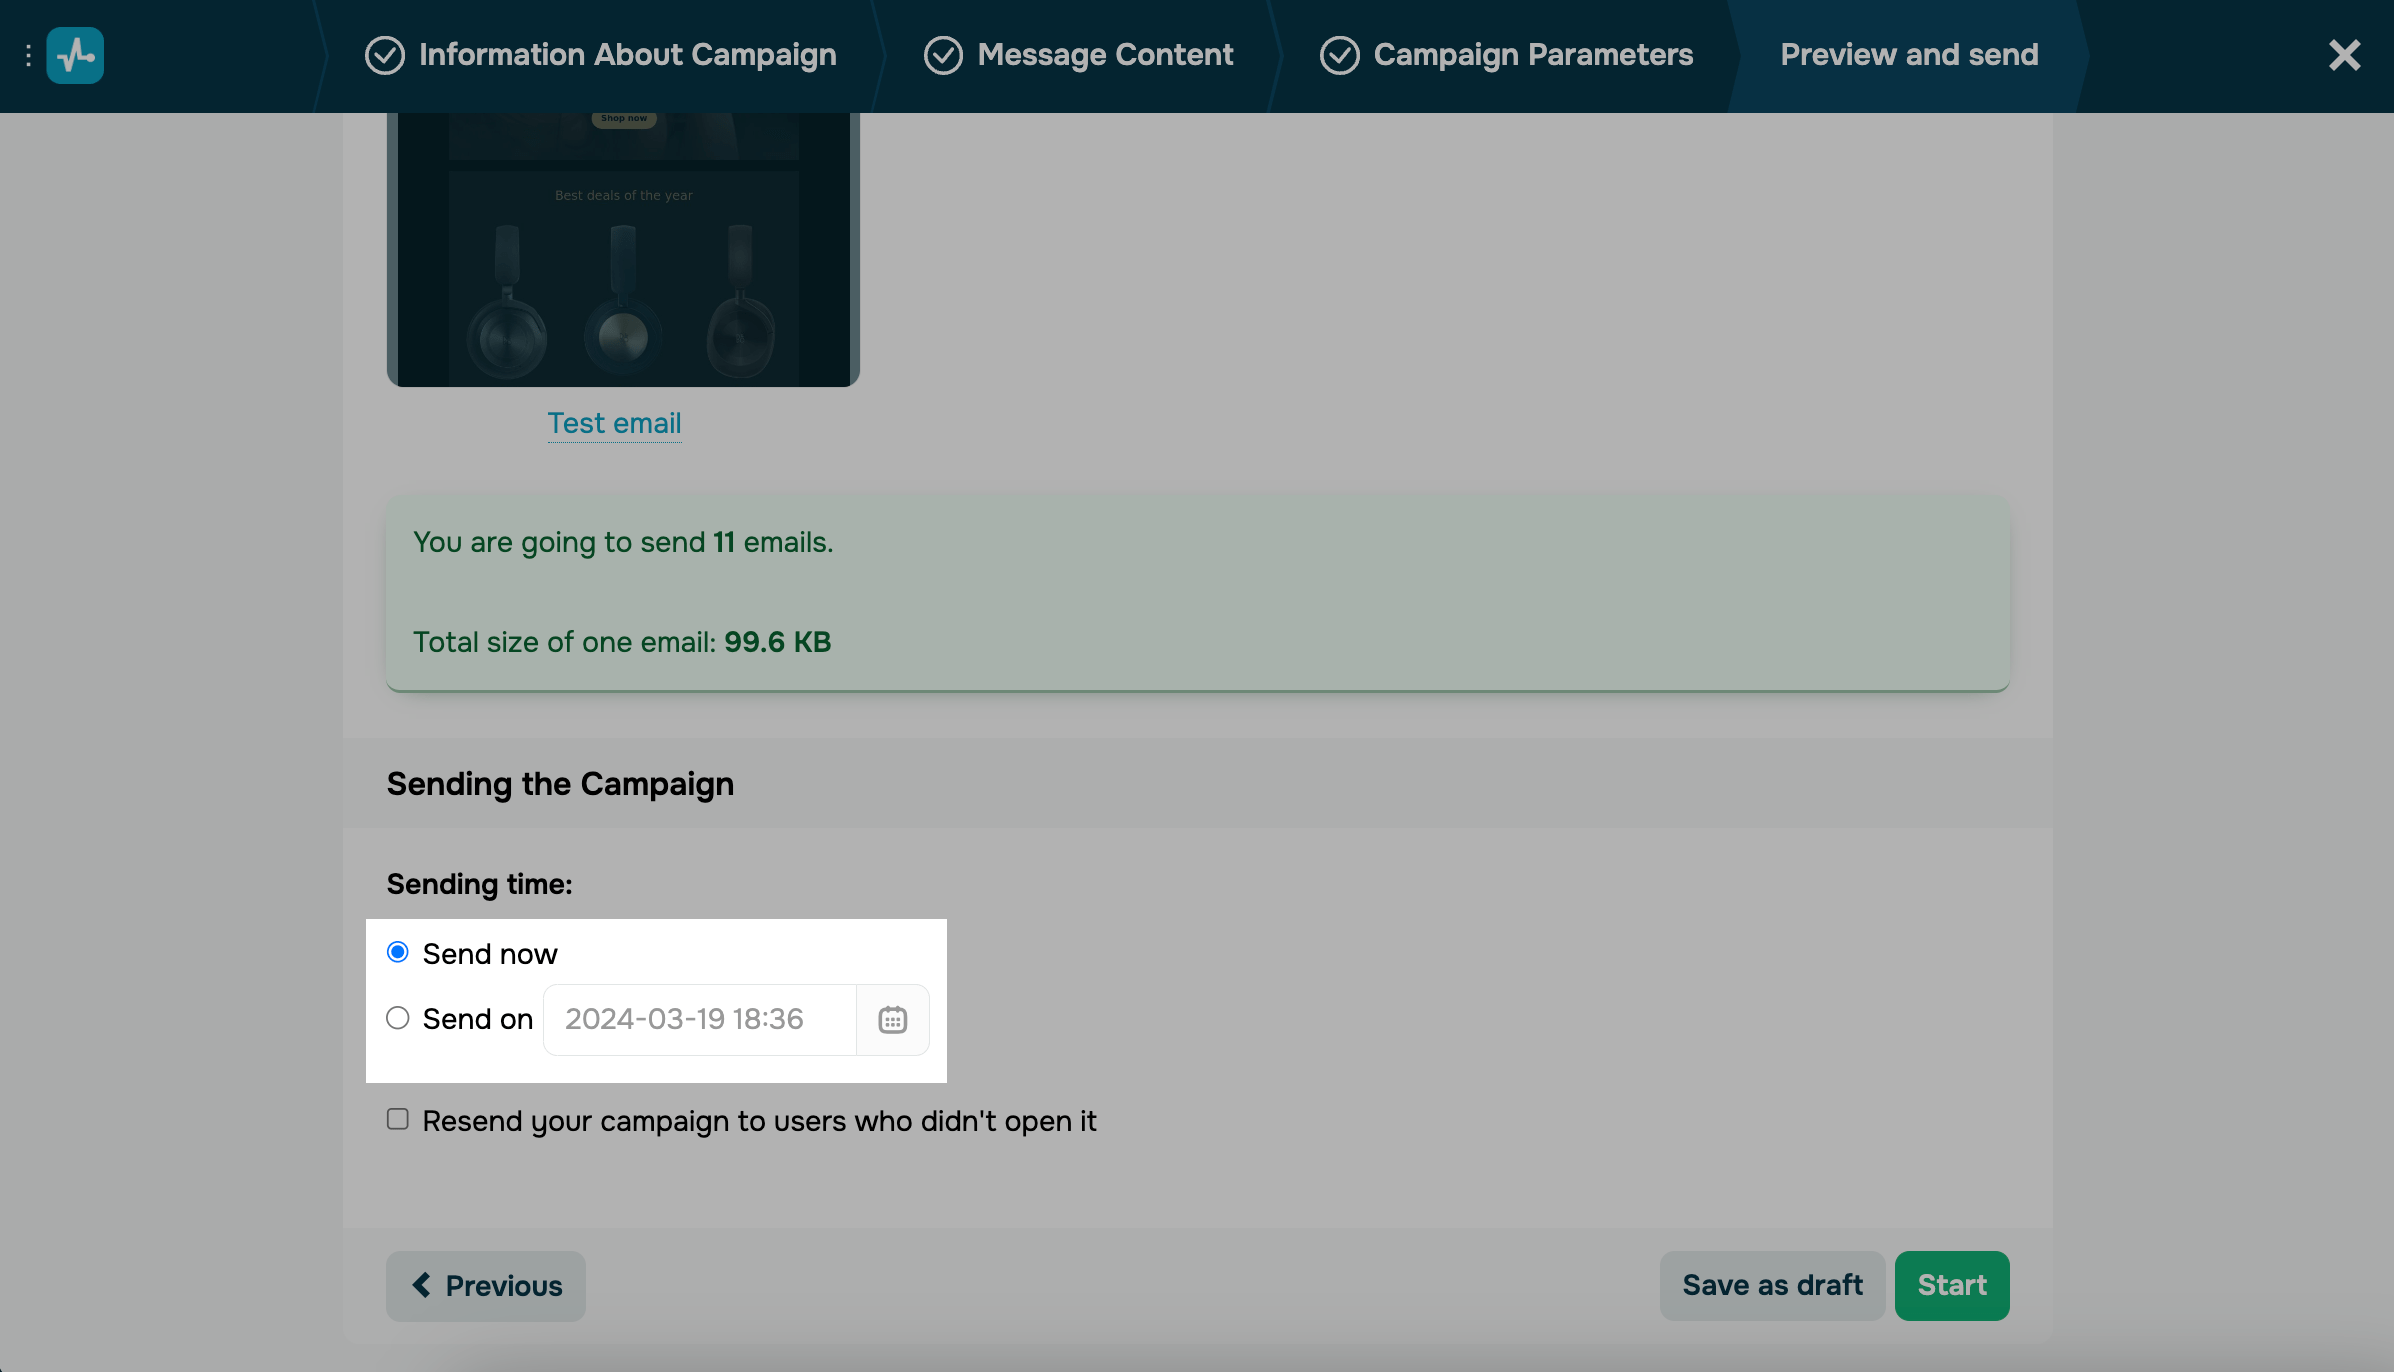
Resending an unread campaign
You can resend the email to subscribers who didn’t open it the first time. Select the Send emails to unread option, specify the new email subject of your choice, and set the sending time.
At the set time, the service will resend the email to subscribers who did not open the campaign.
Read also: How to re-send an unread campaign.

Sending in parts
To reduce spam, email service providers restrict bulk email campaigns from new email addresses and from email addresses that have not been used for a long time or have a poor reputation.
You can improve and maintain a good IP reputation by growing the number of recipients gradually and making sure that they react positively to your emails, open them, and do not mark them as spam. In contrast, quickly sending large volumes of emails from a new domain will damage your reputation
The process of building a good reputation with providers is also called domain warm-up. Building such a reputation for a new domain is easier than repairing a downgraded one, so make sure to send the first campaigns in small batches.
You can warm up a domain by sending out a ready-made email campaign in parts at regular intervals.
You can set the interval (once every hour, 2 hours, 4 hours, or 24 hours) and send your campaign in parts if it has more than 10,000 recipients.
Enable the Automated warm-up option to send your email campaign in parts that will gradually increase in volume.
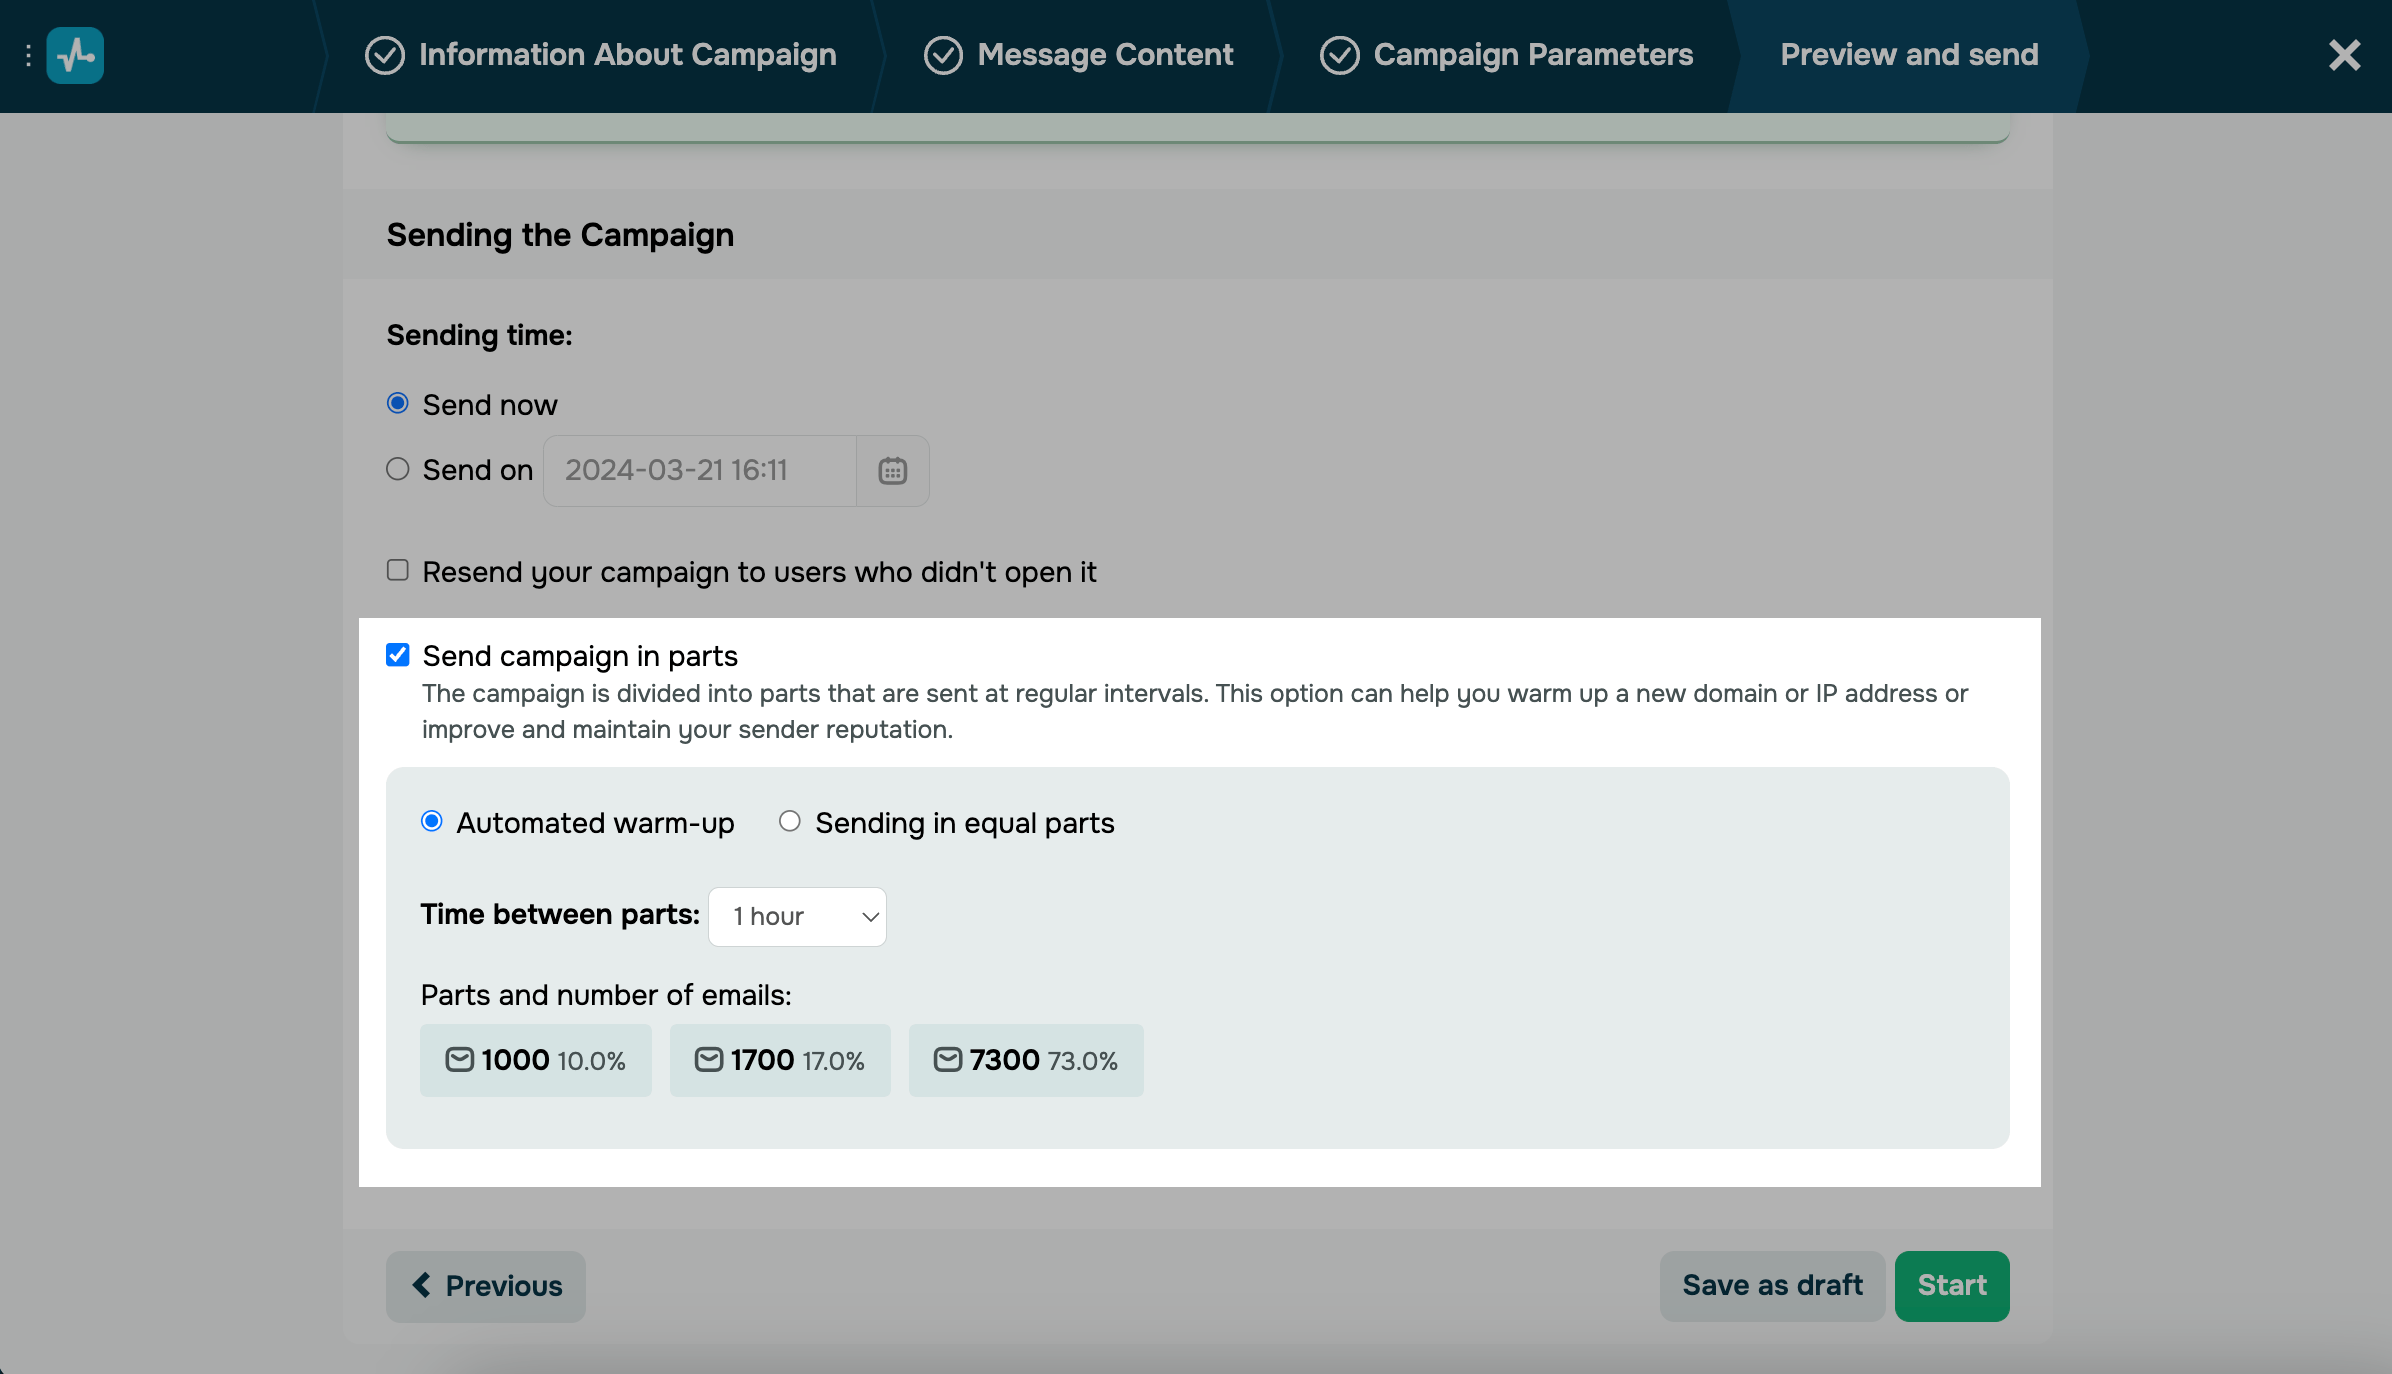
You can send your email in up to 20 equal parts.
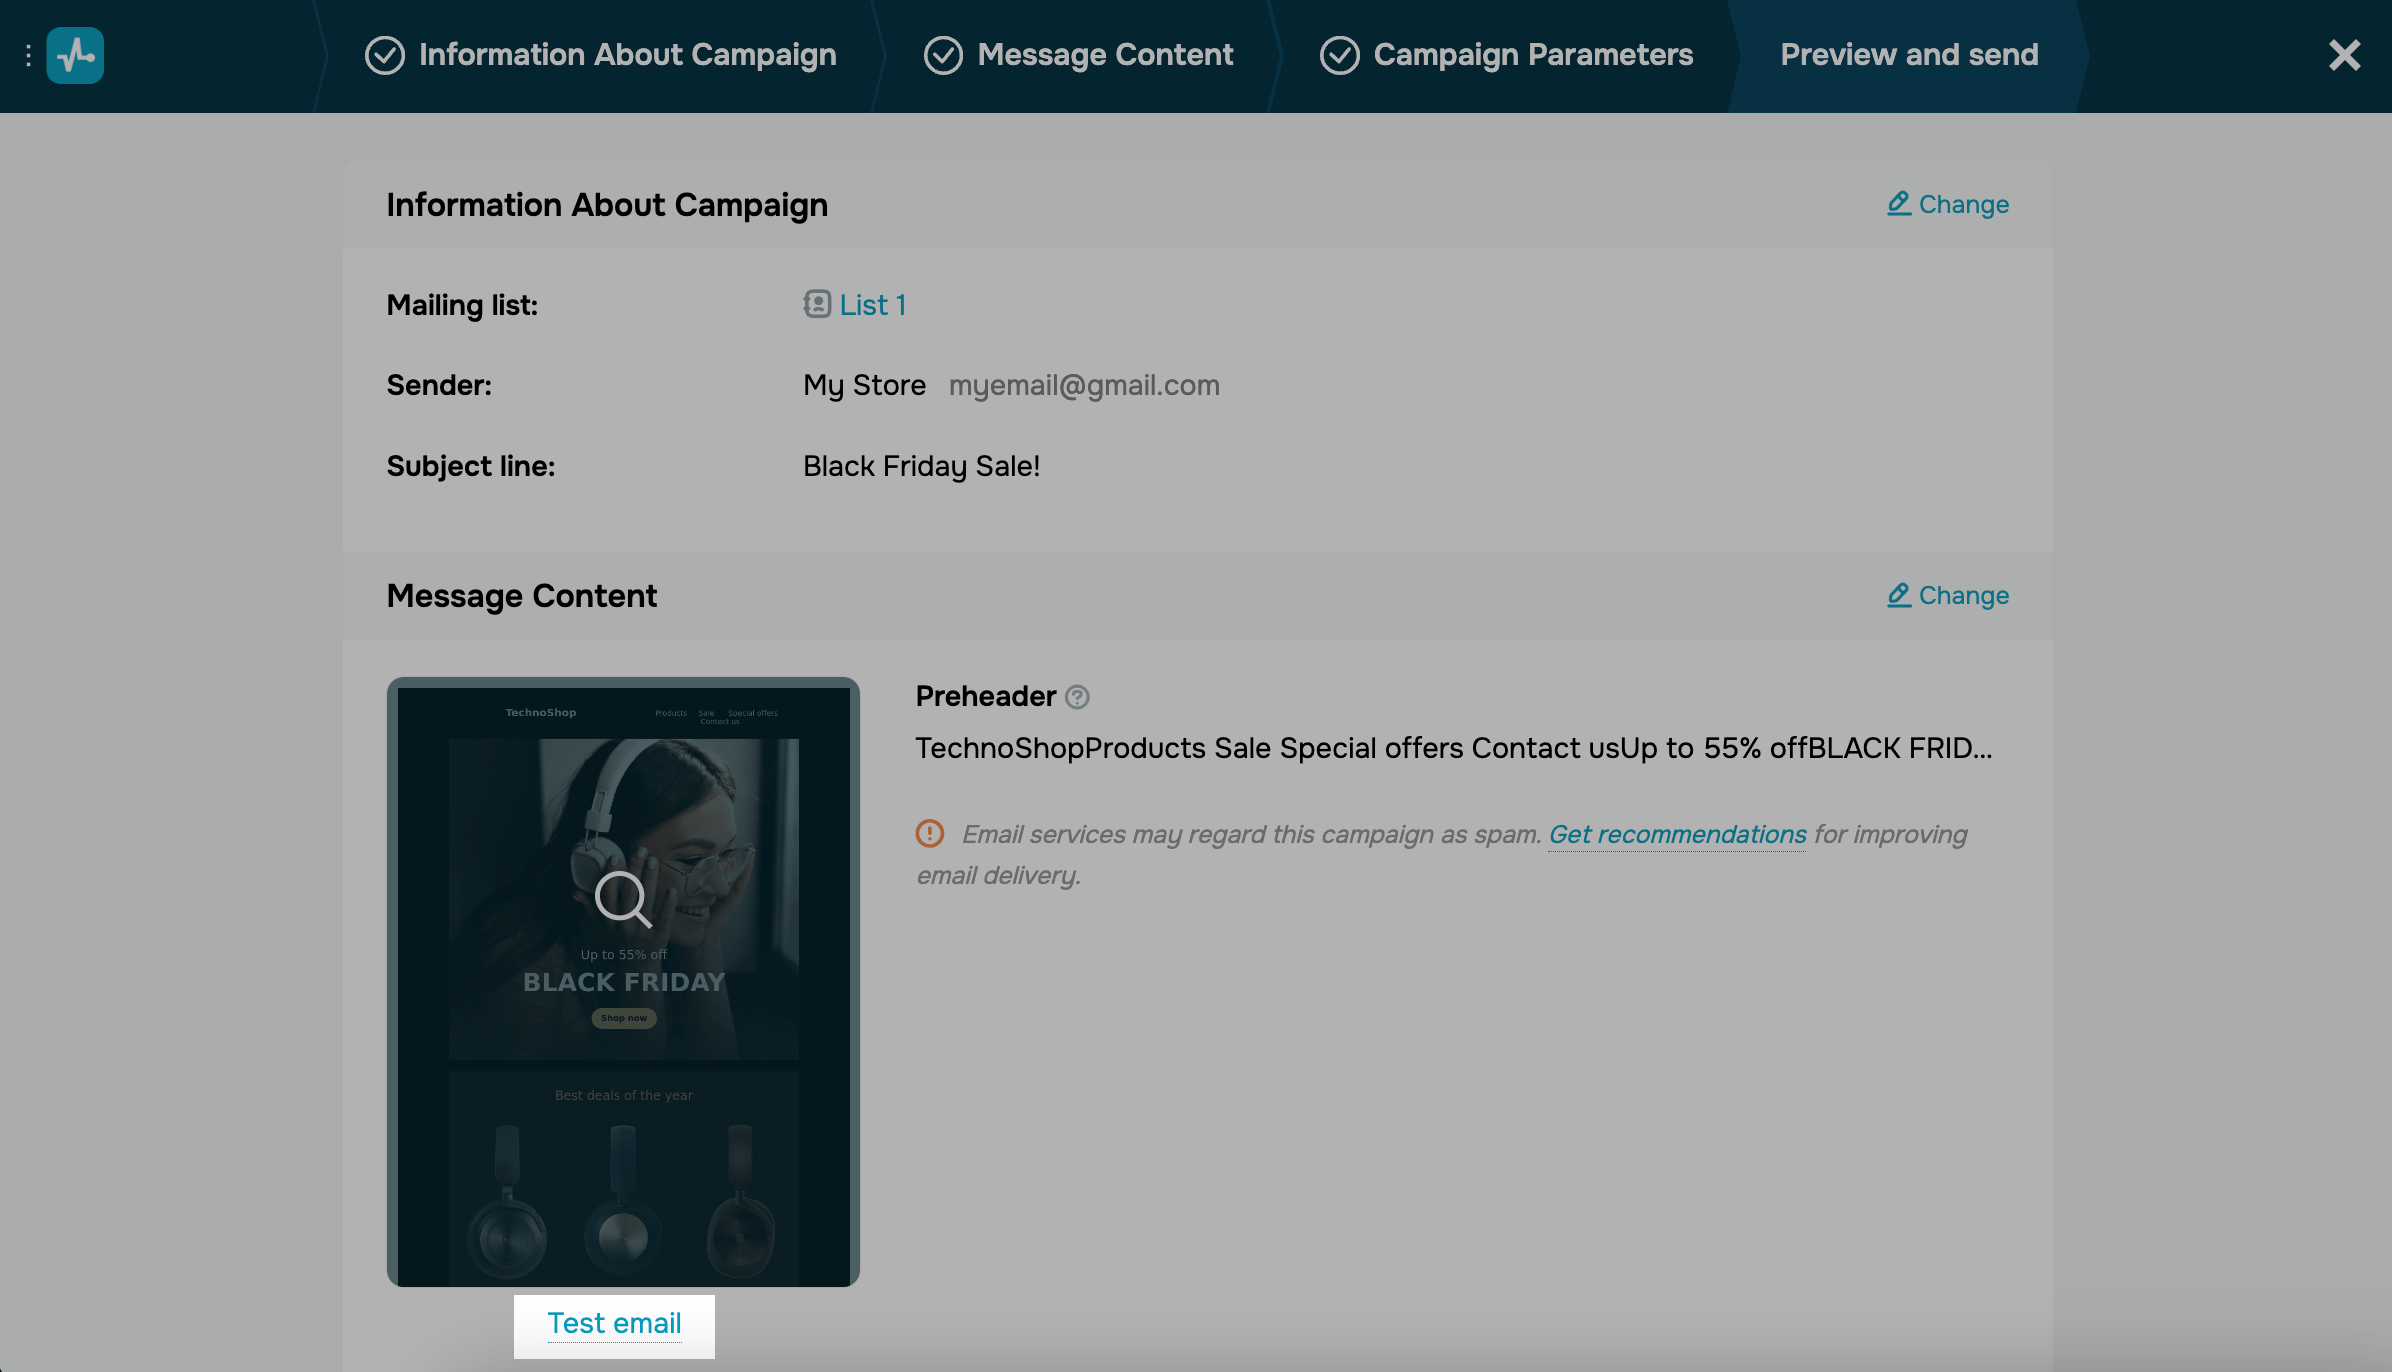
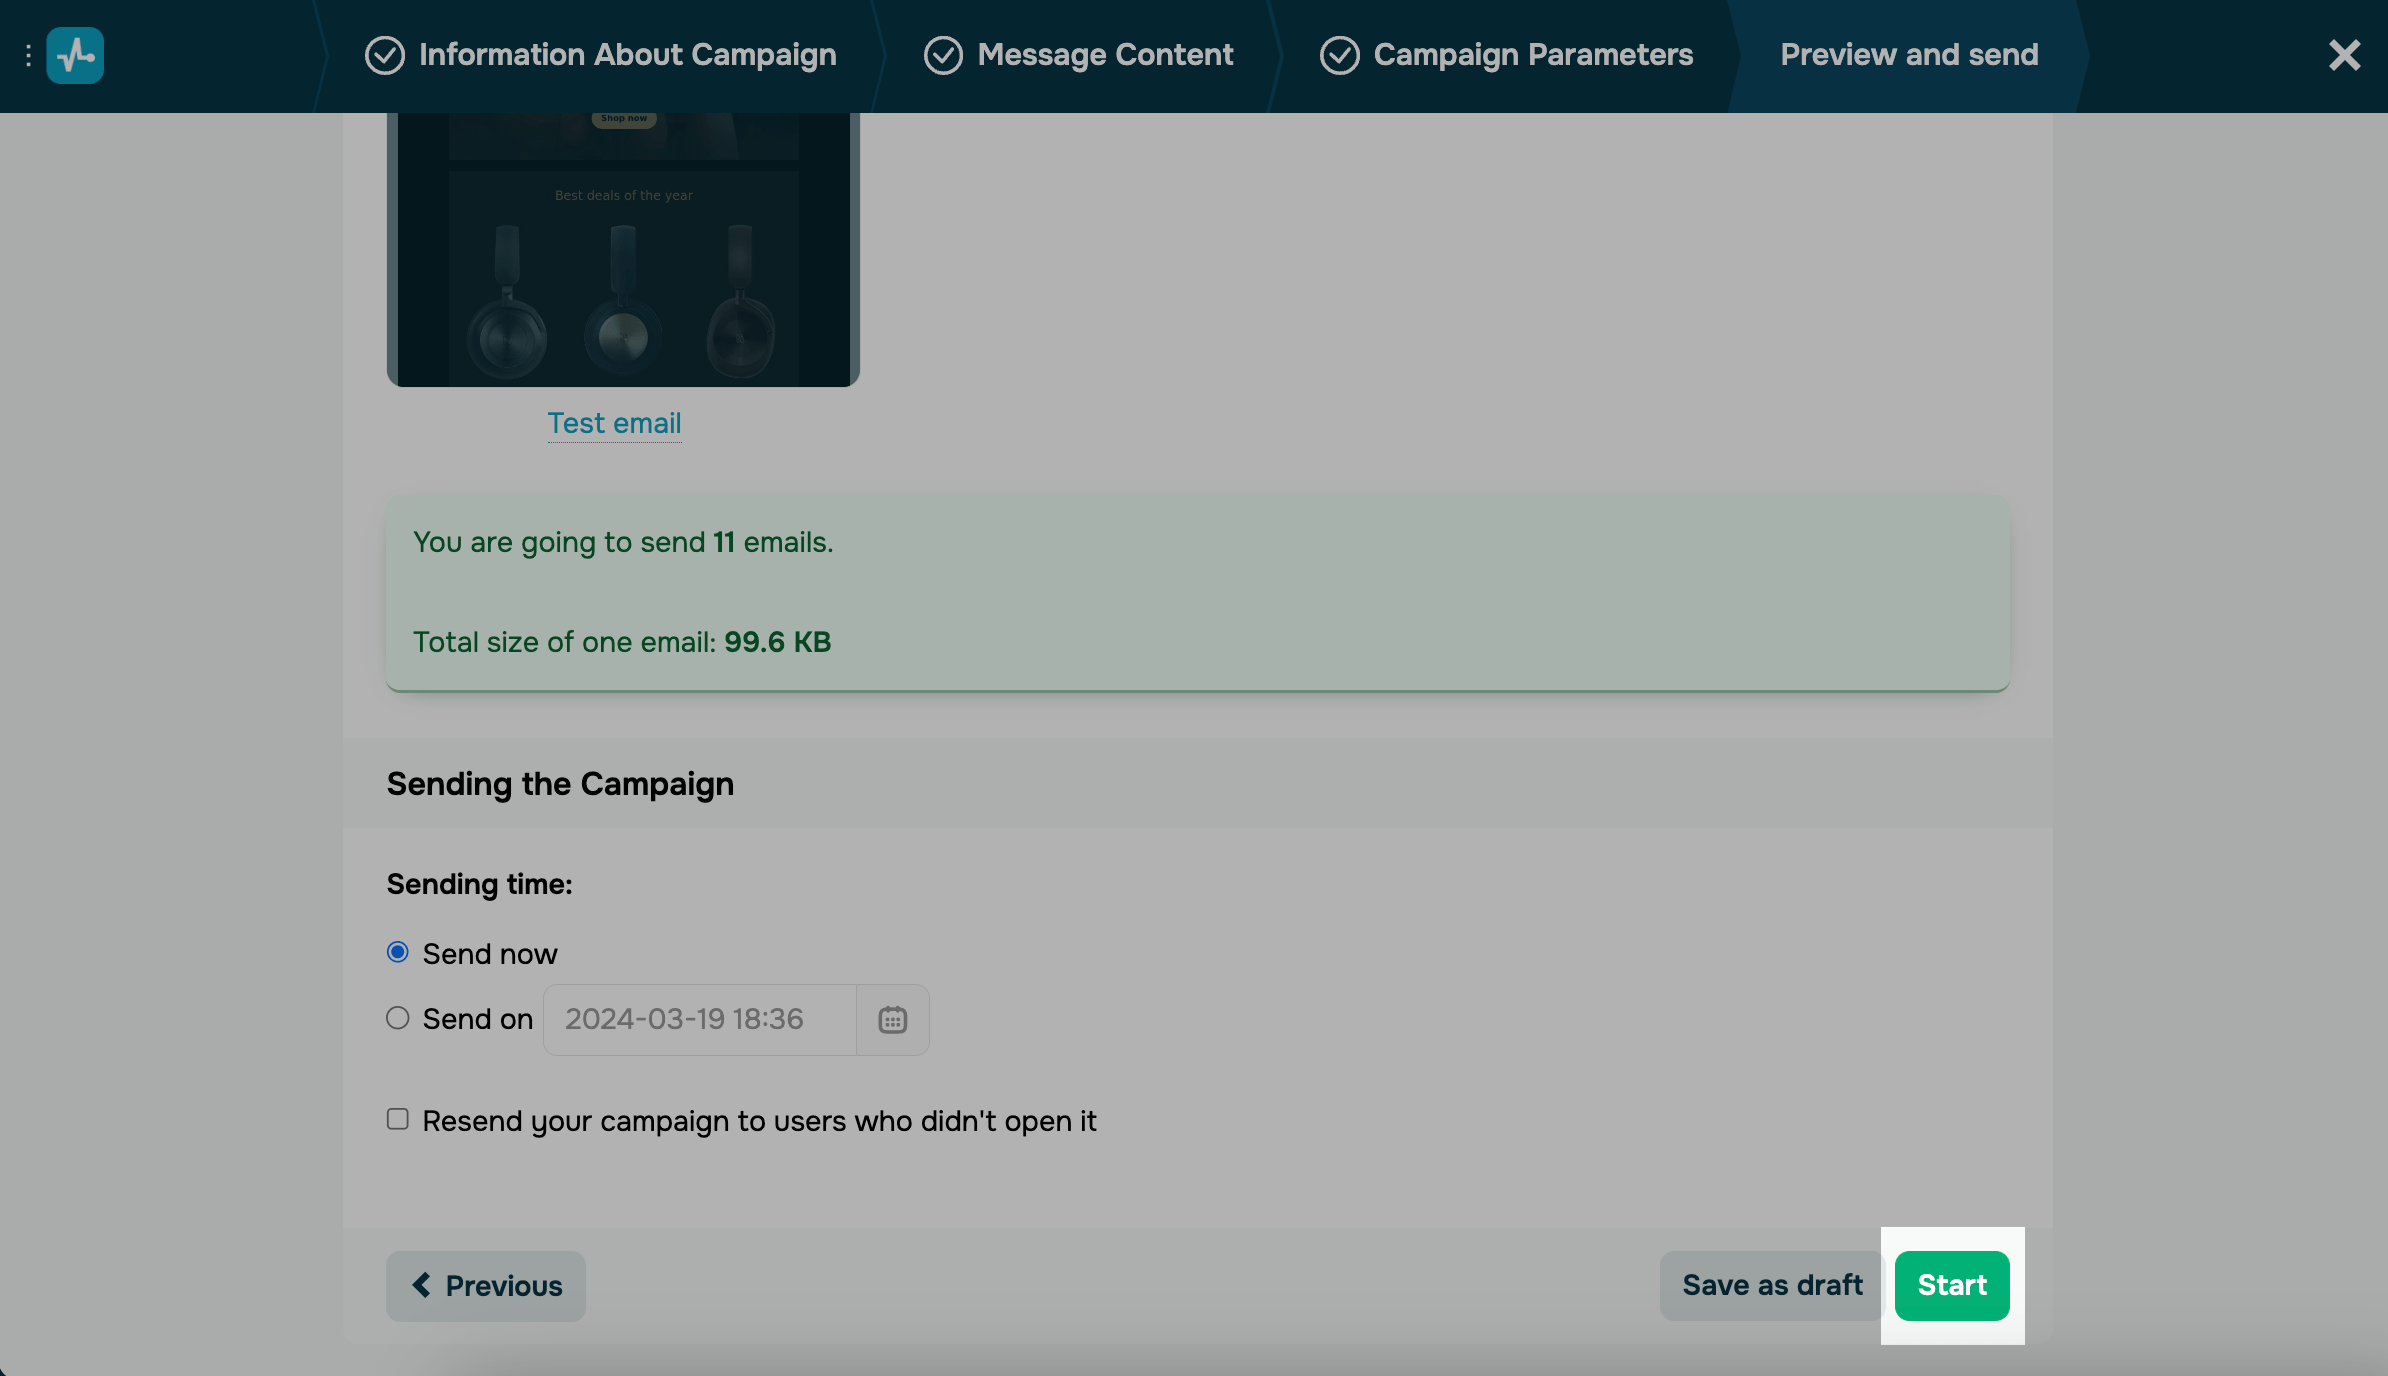
Testing the campaign
You can send a test email before you send out the finished email to clients. Click Test Send, and select which address you want to send the email to. You can only send emails to addresses you have added as the sender address in the system.
Note that variables for personalization are not displayed in test campaigns. If you want to see how the variables will appear to your subscribers, send the campaign to a test mailing list that has your email addresses and variables filled in.
Send the campaign
When you're ready, click Start to send the campaign.
Last Updated: 16.07.2024
or