Switch to SendPulse from other WhatsApp providers
You can migrate your WhatsApp Business API number and change providers (BSP) to create chatbots in our builder. This article will show you how to migrate your number to SendPulse — an official provider of WhatsApp Business API — and create a chatbot environment with that number.
Before you start, check the following points:
- Two-factor authentication must be disabled for the WhatsApp account you want to transfer to.
- Your business Facebook account must be verified, as it is not possible to transfer your number in trial mode.
- The number that you transfer the new WhatsApp account to must be linked to the same business Facebook account as the old WhatsApp account.
Migrate your number
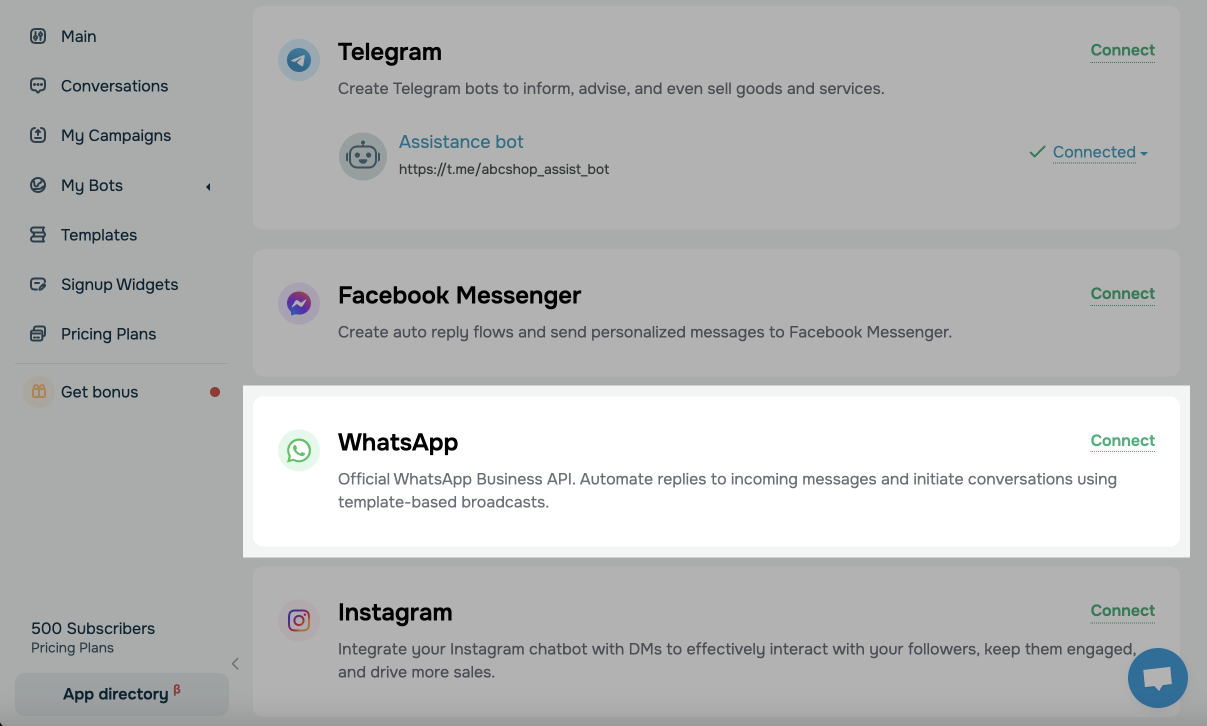
Go to the Chatbots section in your SendPulse account. If you have not previously had any channels connected, click Connect.
If you have already connected bots, go to the Manage bots section, and click Add bot. You can also click Connect next to the channel.
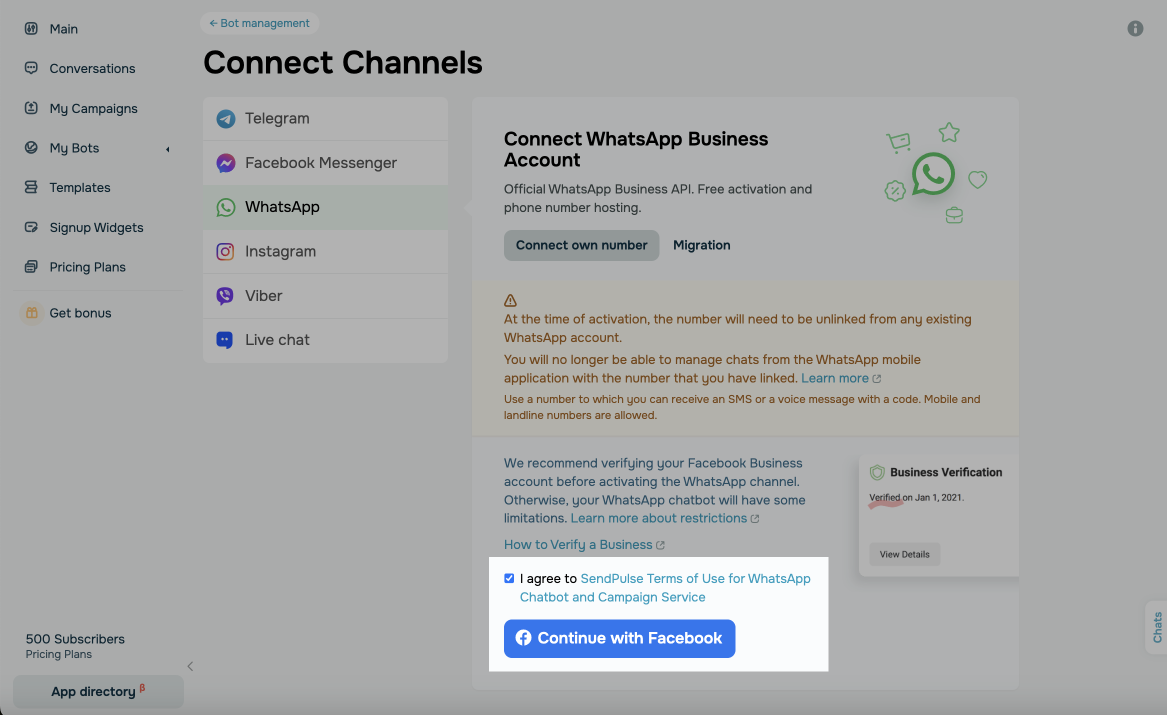
Go to the Migrate tab. Enter the number you want to migrate, and click Continue with Facebook.

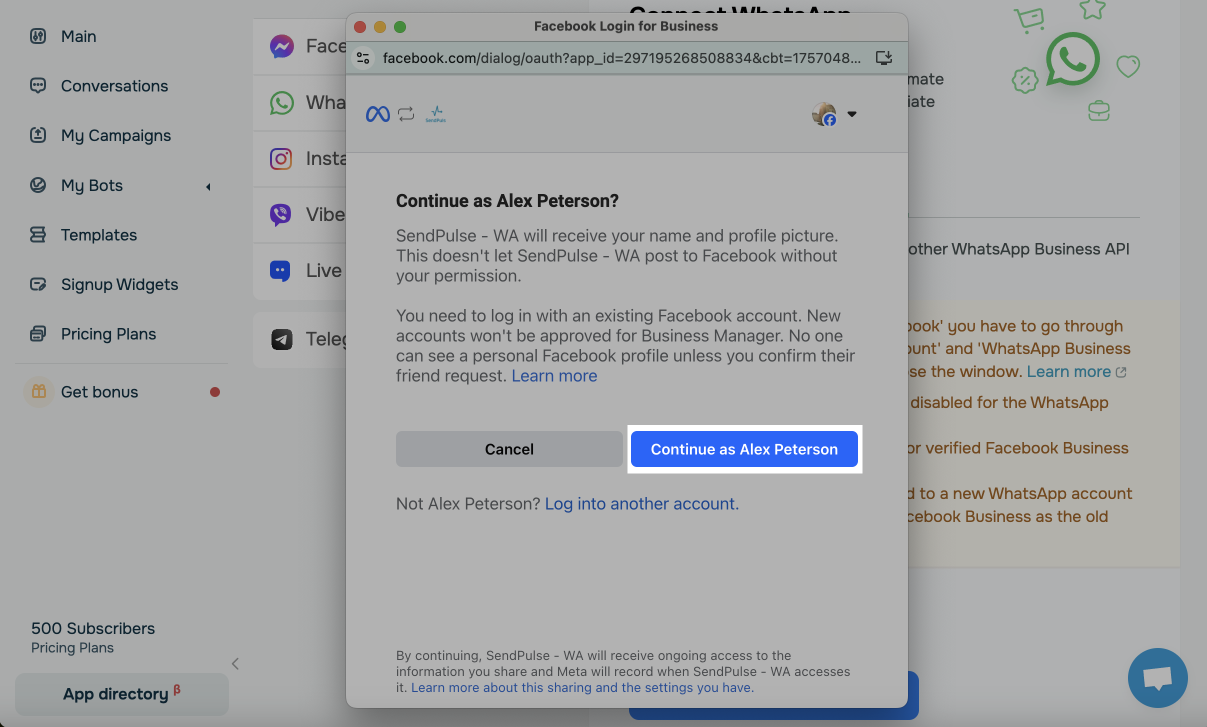
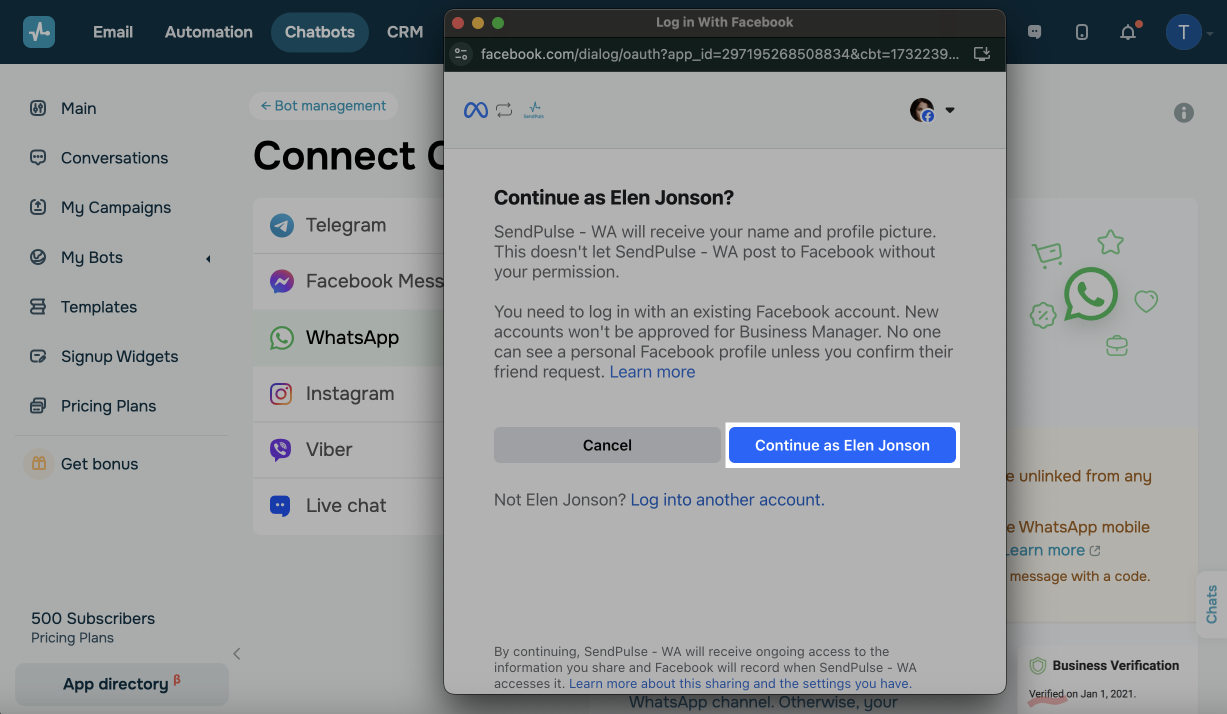
Log in to your Facebook account and click Continue As.
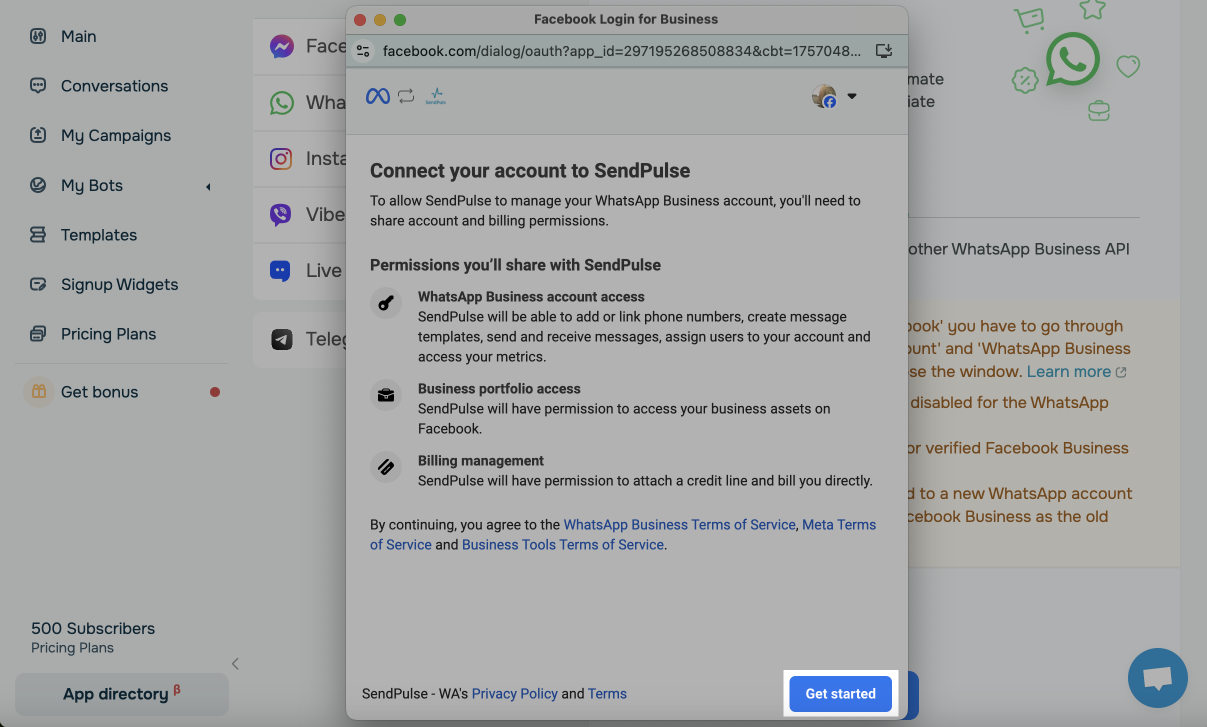
Grant permission to access your WhatsApp Business account and billing and click Continue.
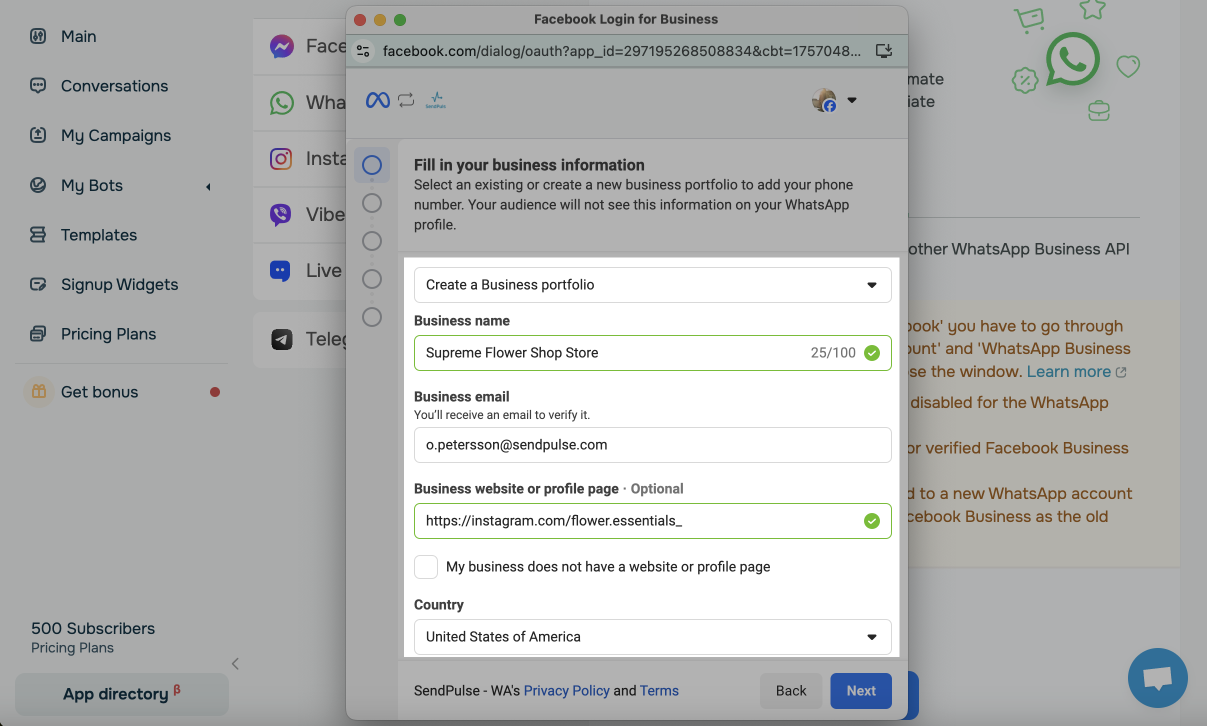
Select a Facebook business account and click Continue.
Please note: When you transfer a number to a new WhatsApp business account, you need to select the same Facebook business account to which your old WhatsApp account was linked. Also, your Facebook business account must be verified, as it is not possible to migrate the number in trial mode.
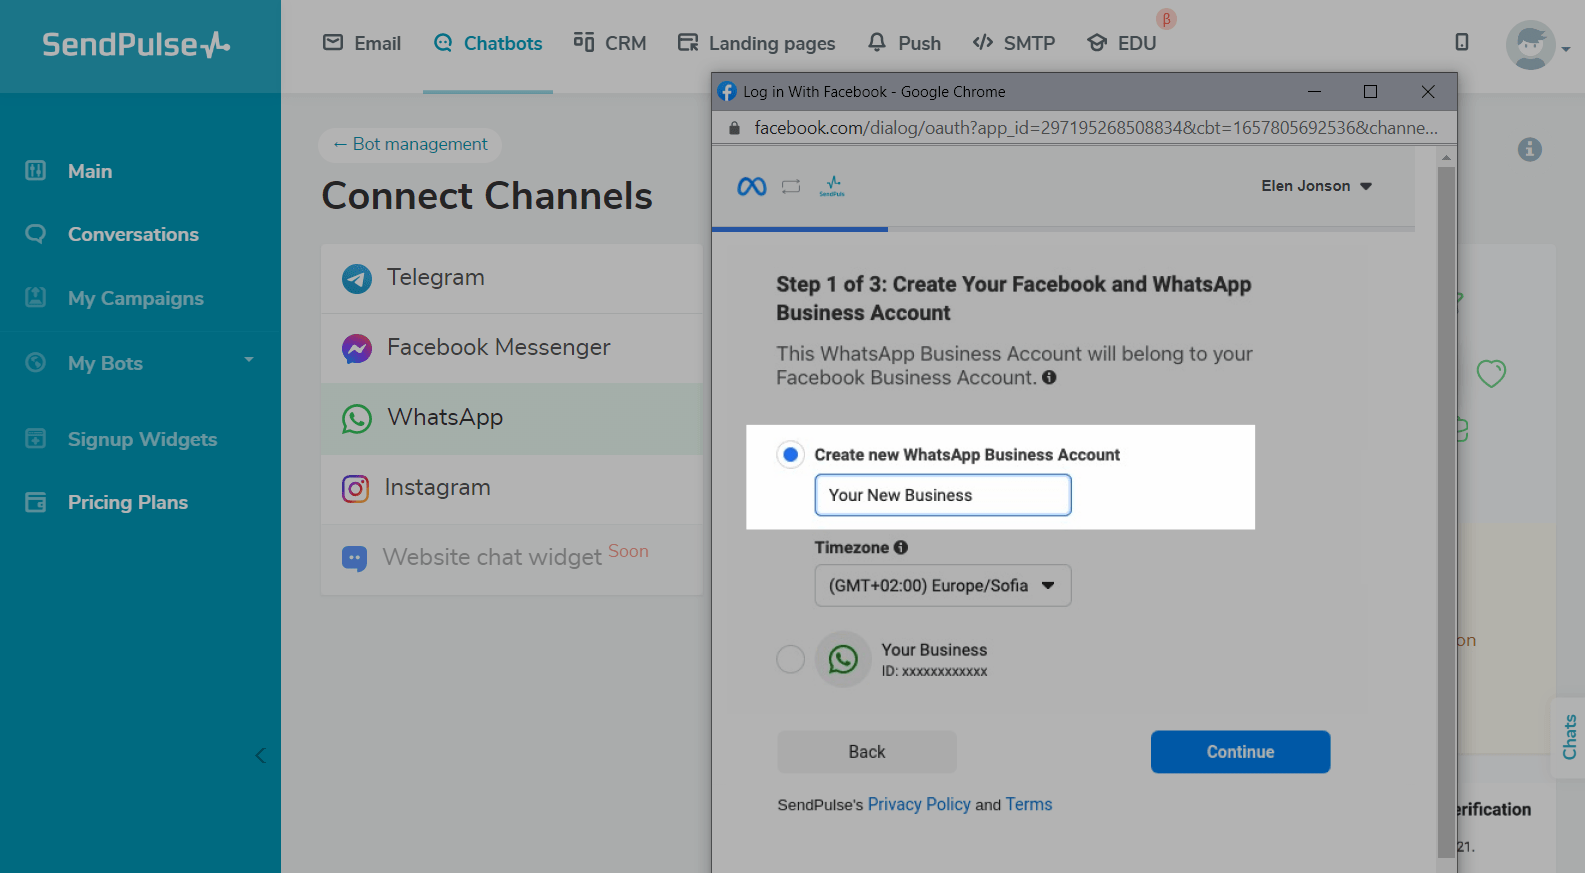
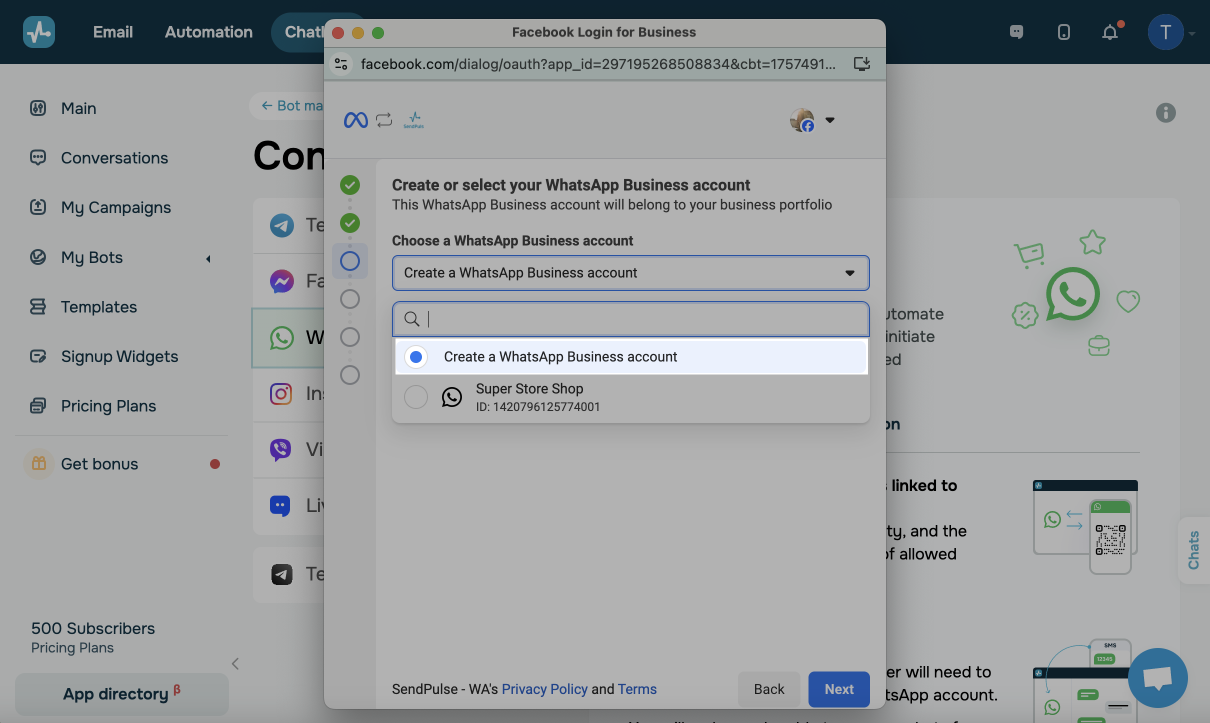
Create a new WhatsApp Business account and click Continue.
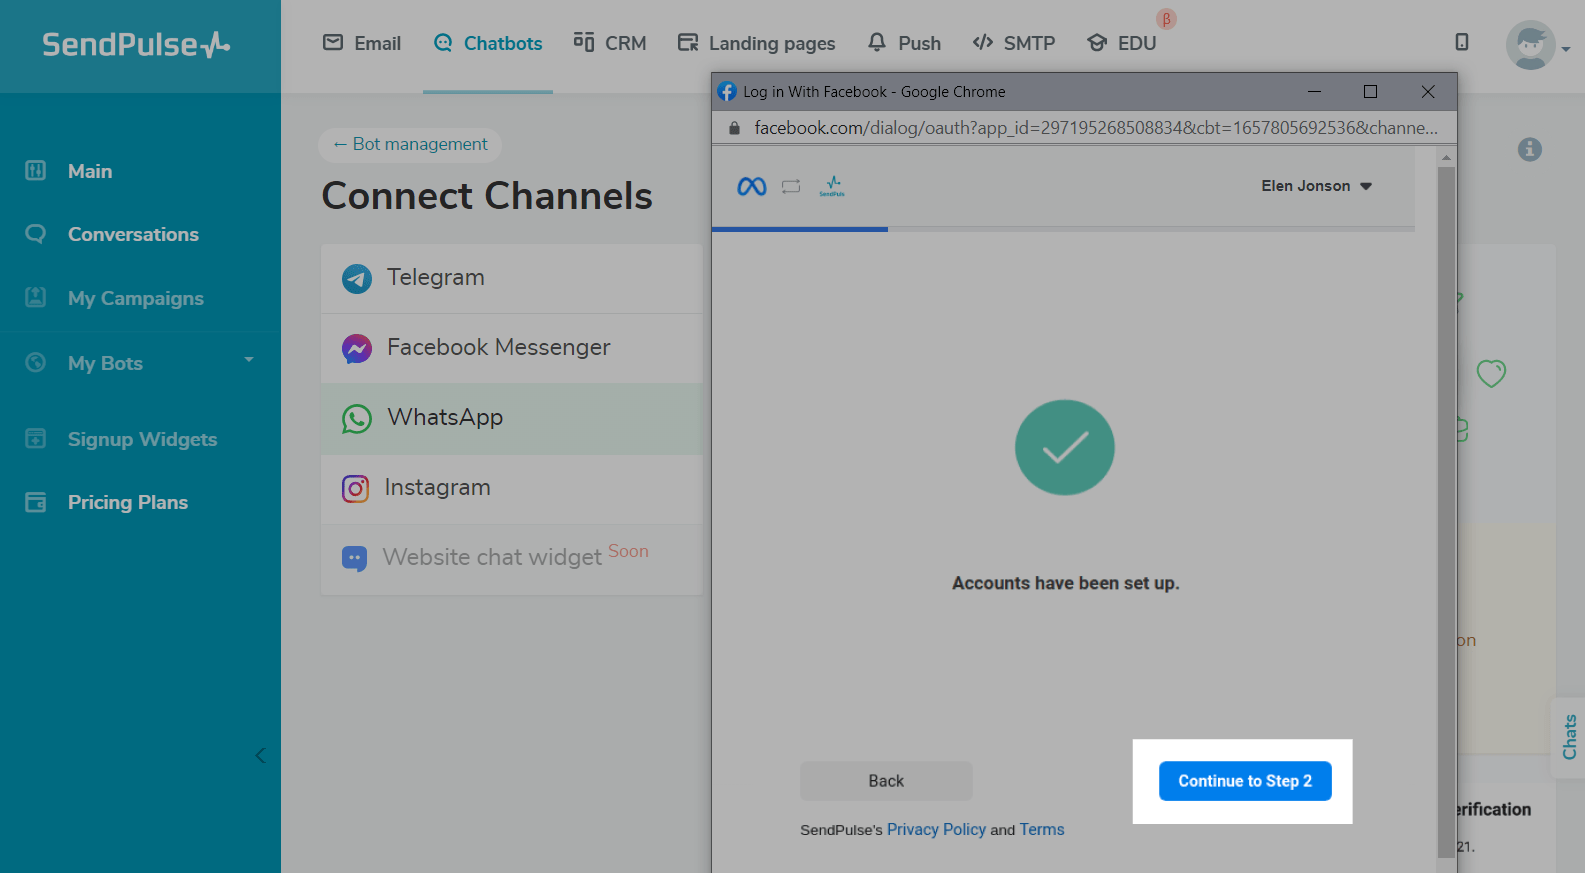
If everything is done correctly, you will receive a notification that your accounts have been successfully set up. Click Next, and close the current popup.
After the Facebook window closes, a new SendPulse window will appear, offering you to choose your confirmation method: SMS or voice. Click Apply.

Enter the activation code and click Apply.
Once you have successfully entered the code, you will receive the appropriate notification and you can start creating a chatbot.
Create a chatbot
Return to the bot connection page, go to the New Bot tab in the Whatsapp section, and click Continue with Facebook.
Log in through Facebook and go through all the steps of the WhatsApp setup wizard.
Read more: How to create a WhatsApp chatbot.
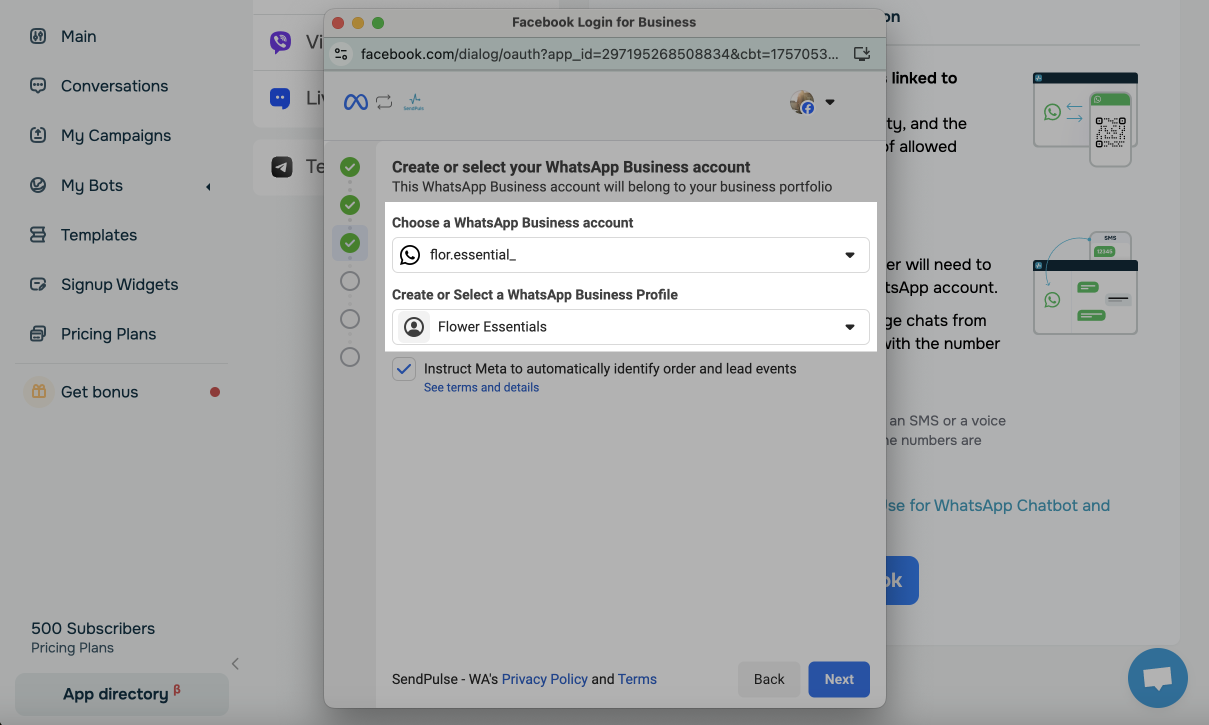
In the second step, select the WhatsApp profile with the migrated number.
On the third step, confirm the number by entering the code you will receive via SMS or voice message.
Once you have successfully completed the previous steps, the environment configuration for the bot will begin and in a few minutes, your chatbot will be ready to use.
Then you can add message templates, create personalized campaings, and customize your chatbot's flow
Migration troubleshooting
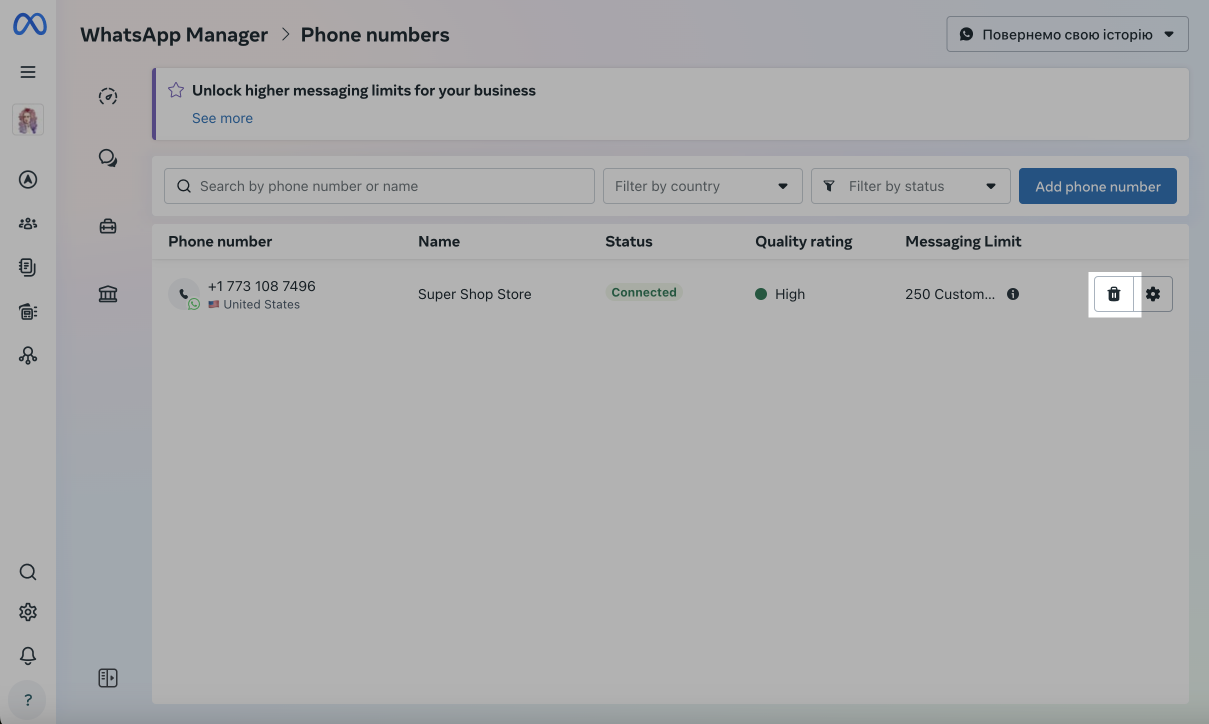
If phone number migration to WhatsApp Business fails, reconnect your phone number and create a new chatbot.
To do this, go to WhatsApp Business Manager > Business Settings > WhatsApp Accounts > WhatsApp Manager > Phone Numbers and click the trash icon next to your current phone number.
When connecting a chatbot, make sure you create a new WhatsApp Business Account and configure it as you did for your previous one.
Last Updated: 29.01.2025
or