The Button widget in website builder
With the SendPulse website builder, you can add the Buttons element to include a link to other websites, pages, or blocks or allow website visitors to call or email you.
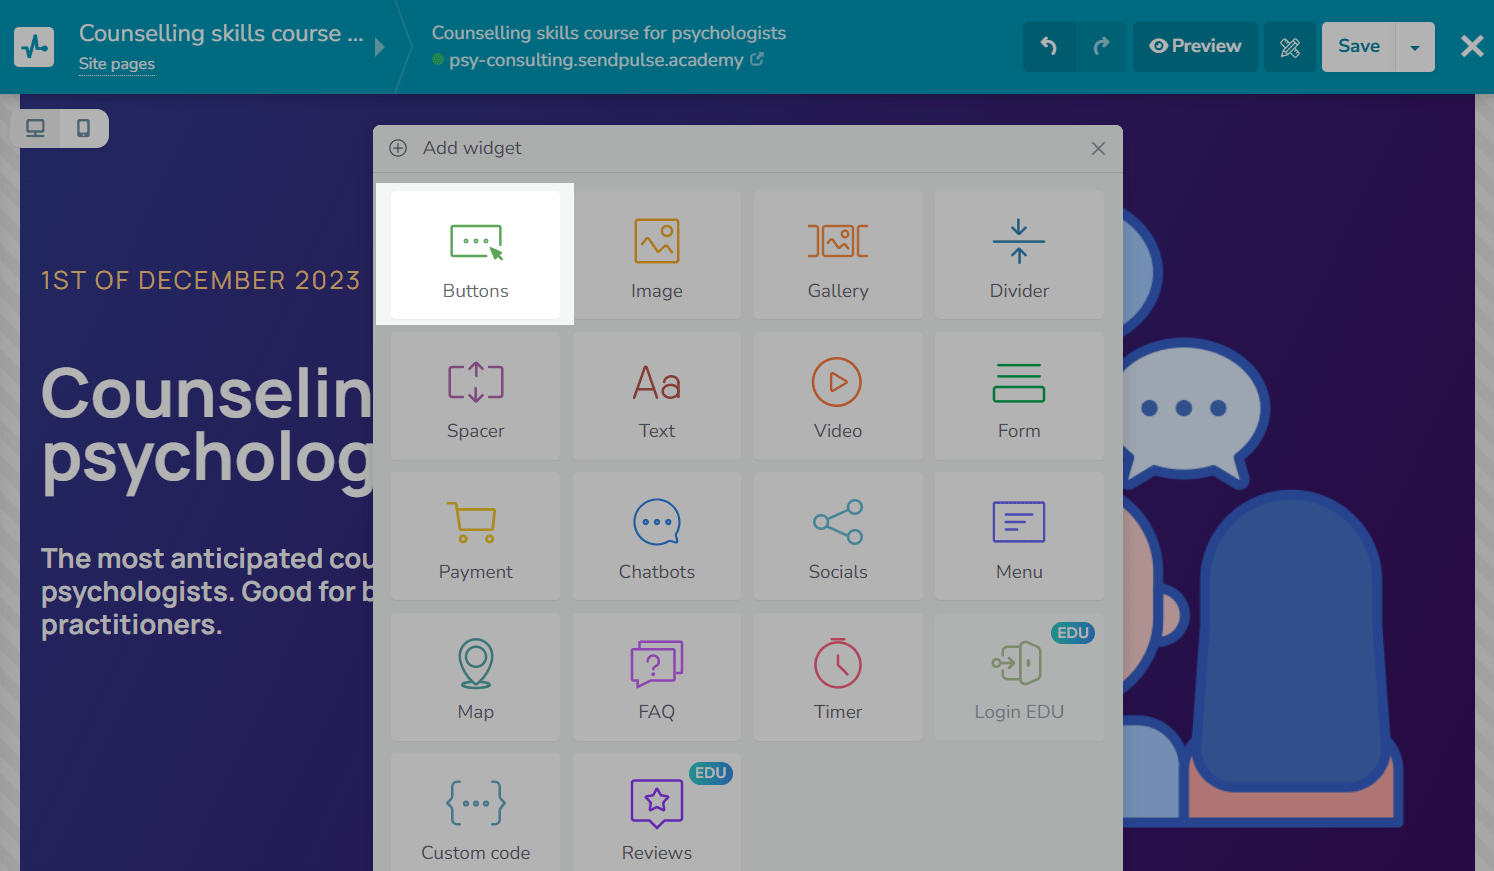
Add an element
Add the Buttons widget to the required part of your website.
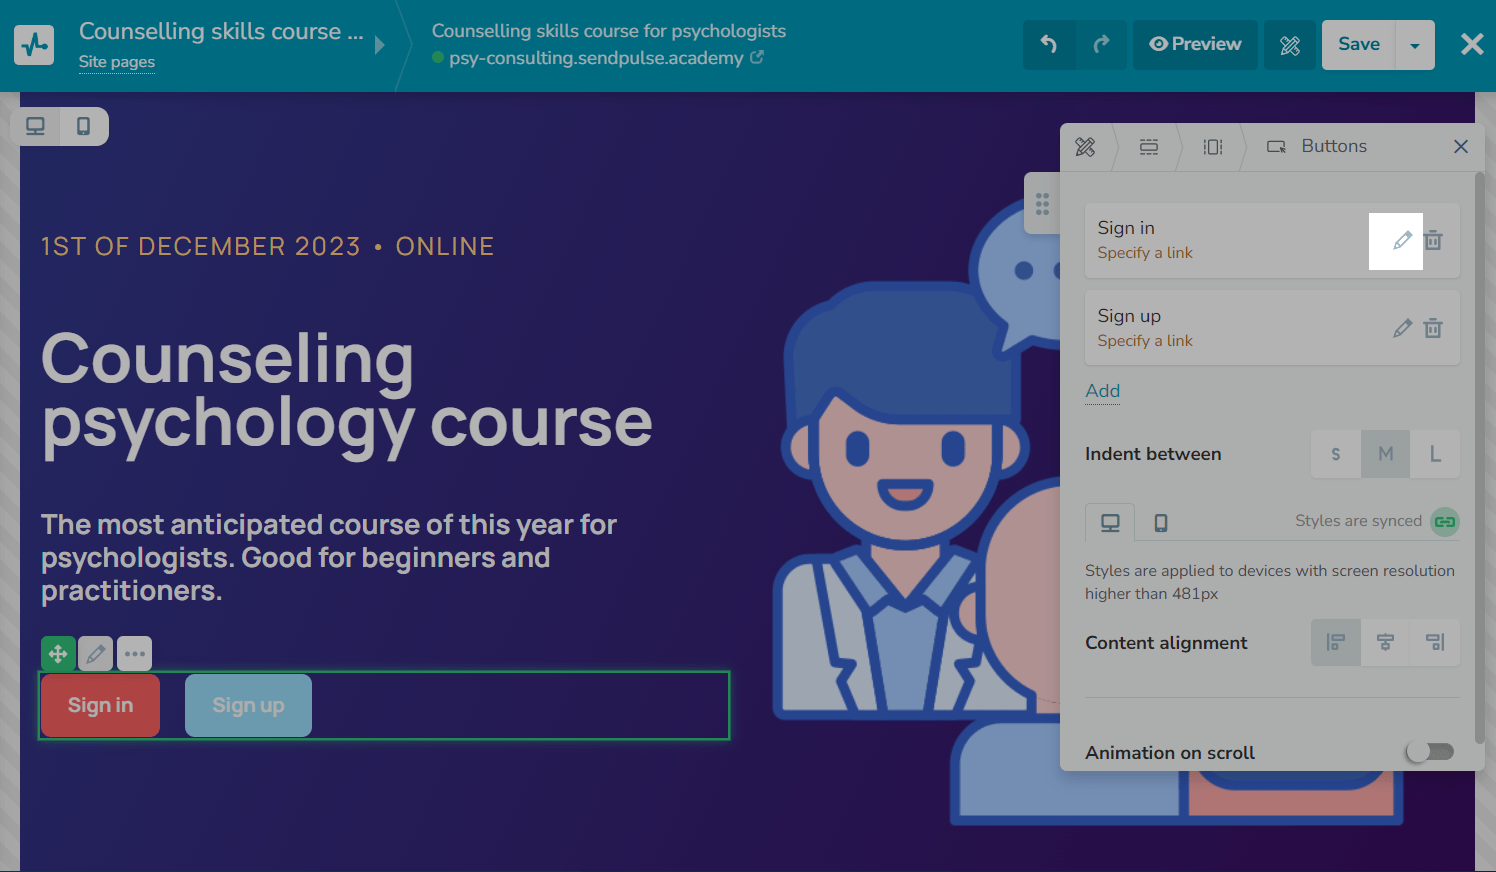
Customize your button
In the Buttons widget editing panel, you can add extra buttons or align the element relative to the column space.
To add an extra button to your column row, click Add. To customize your button, click the edit icon.
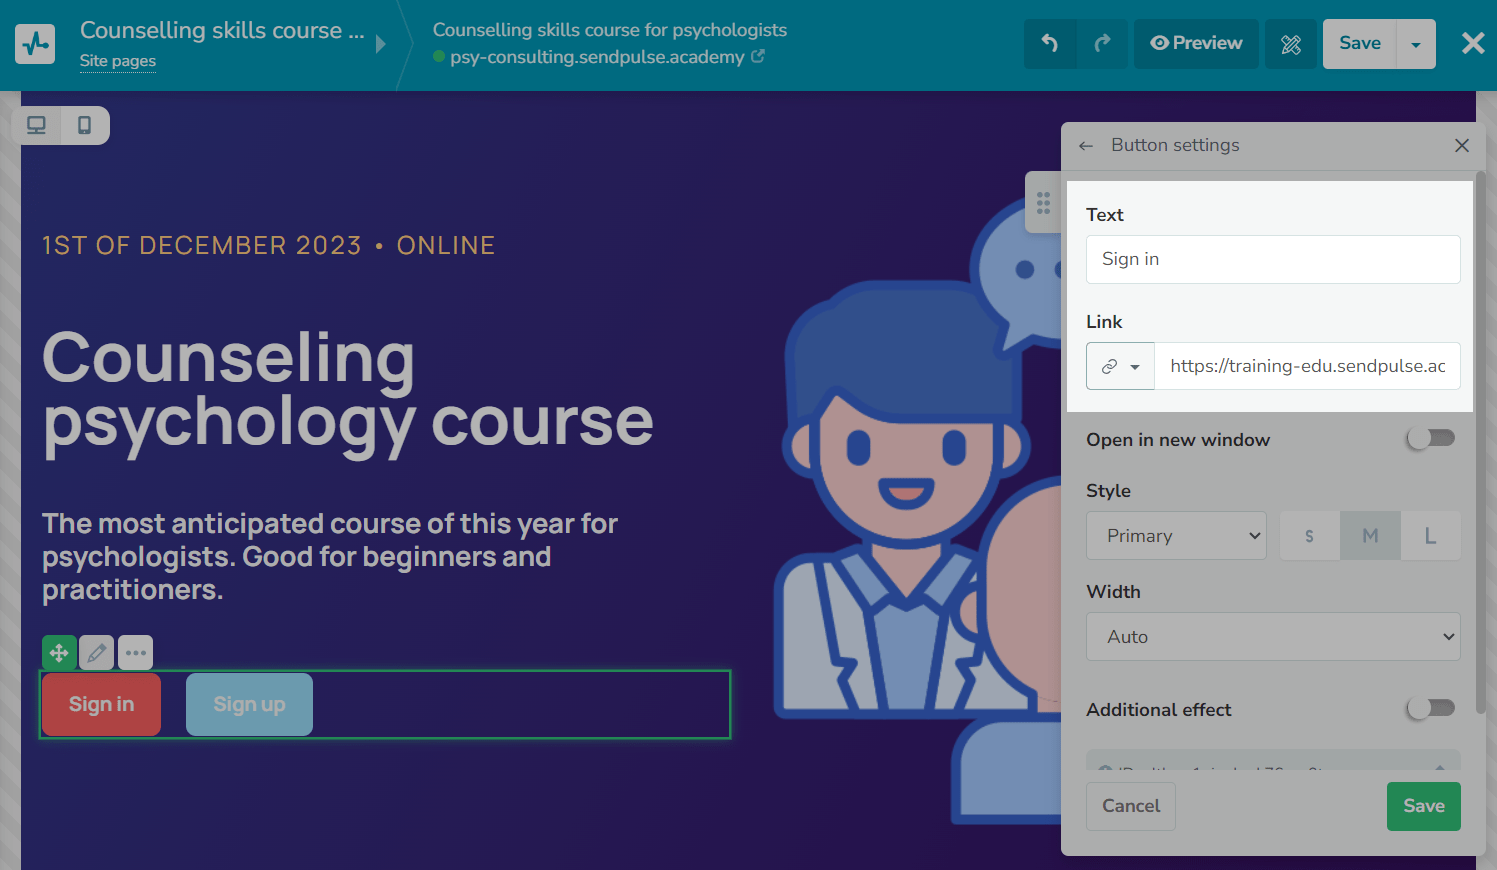
Choose a button type and add a Link
Enter your button text. Select a button type (link, phone, email, or anchor), and then enter the required data.
Let's analyze each link type.
| Link | Used to insert a full link in the https://example.com format. We recommend adding secure links. If you select the "Open in new window" option, your link will be opened in a new browser tab when a user clicks it. |
| Phone | Used to insert a phone number in the +11111111111 format. By clicking such a link, users will be able to call the specified phone number from their browser or device using built-in applications. We recommend using the international format when adding phone numbers so that applications can correctly determine where to call. |
Used to insert an email address in the user@example.com format. We recommend checking your email address for typos so that website visitors can contact you. |
|
| Anchor | Used to insert an anchor link that leads to another block. By clicking the link, visitors will be immediately redirected to your specified block. You can get your anchor ID in the block settings.
Note: if you hide a block for mobile devices, then your anchor link to this block will not work on these devices. This also applies to desktop devices. You need to add a block and its links for the mobile and desktop versions individually. |
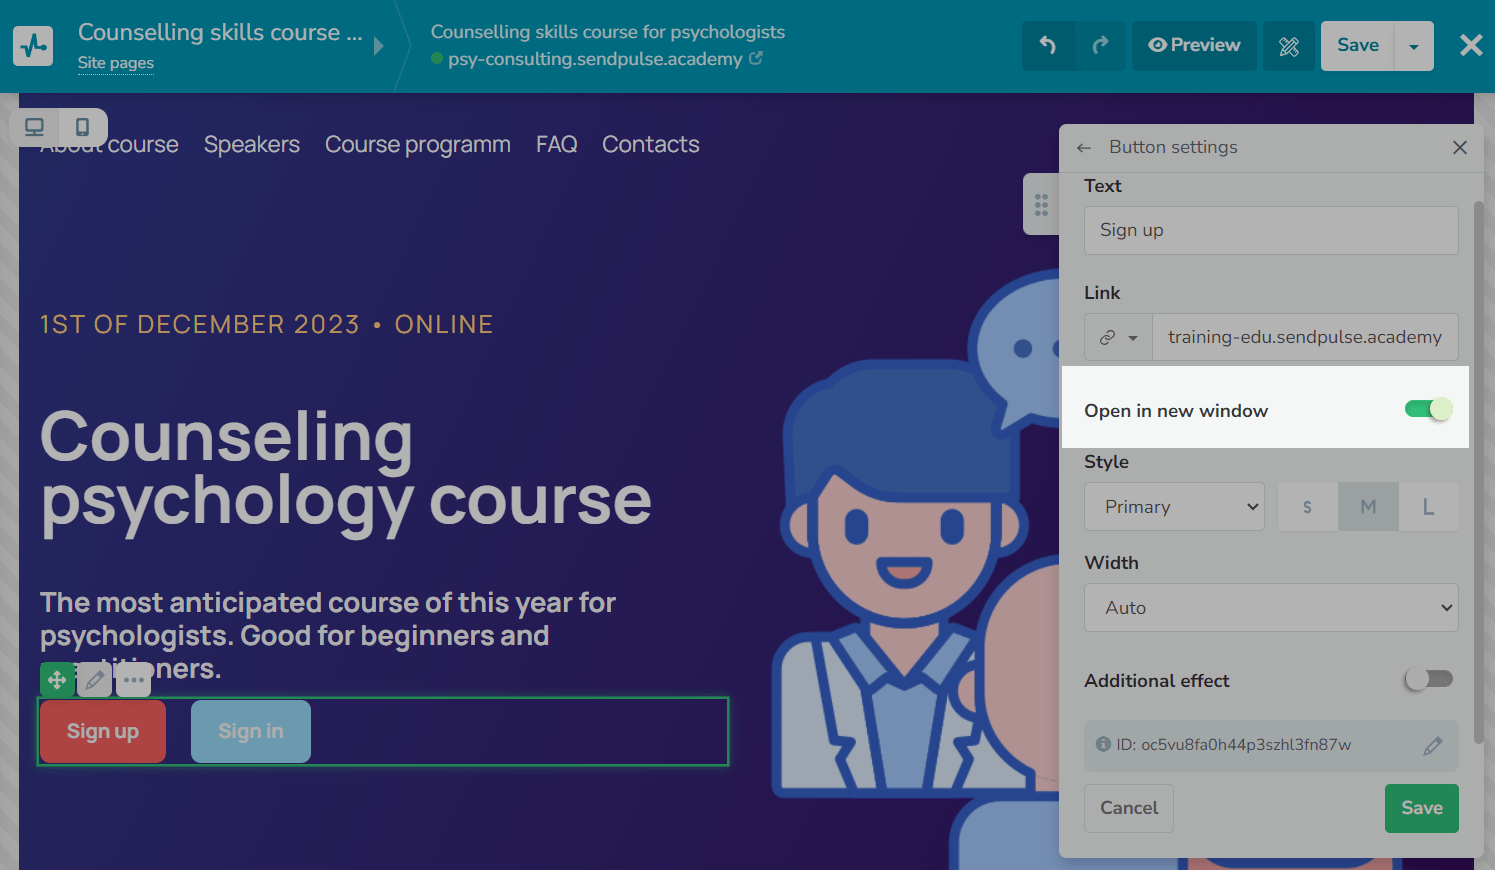
Select an opening type
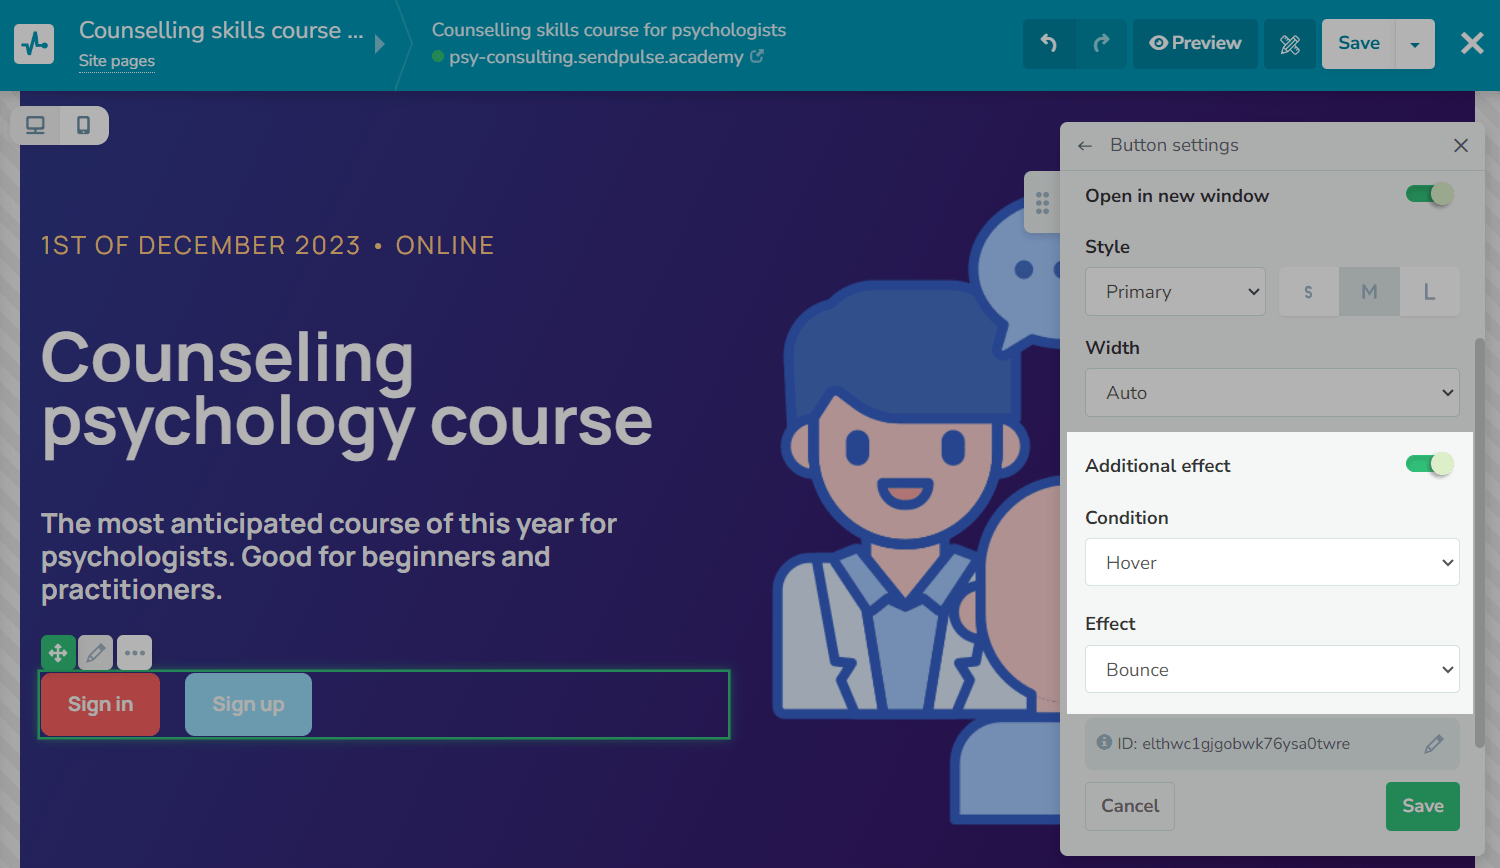
You can choose how your button link will be opened — in a new tab or in the current one. Turn on the Open in new window toggle if you want your button link to be opened in a new browser tab.
Customize the button appearance
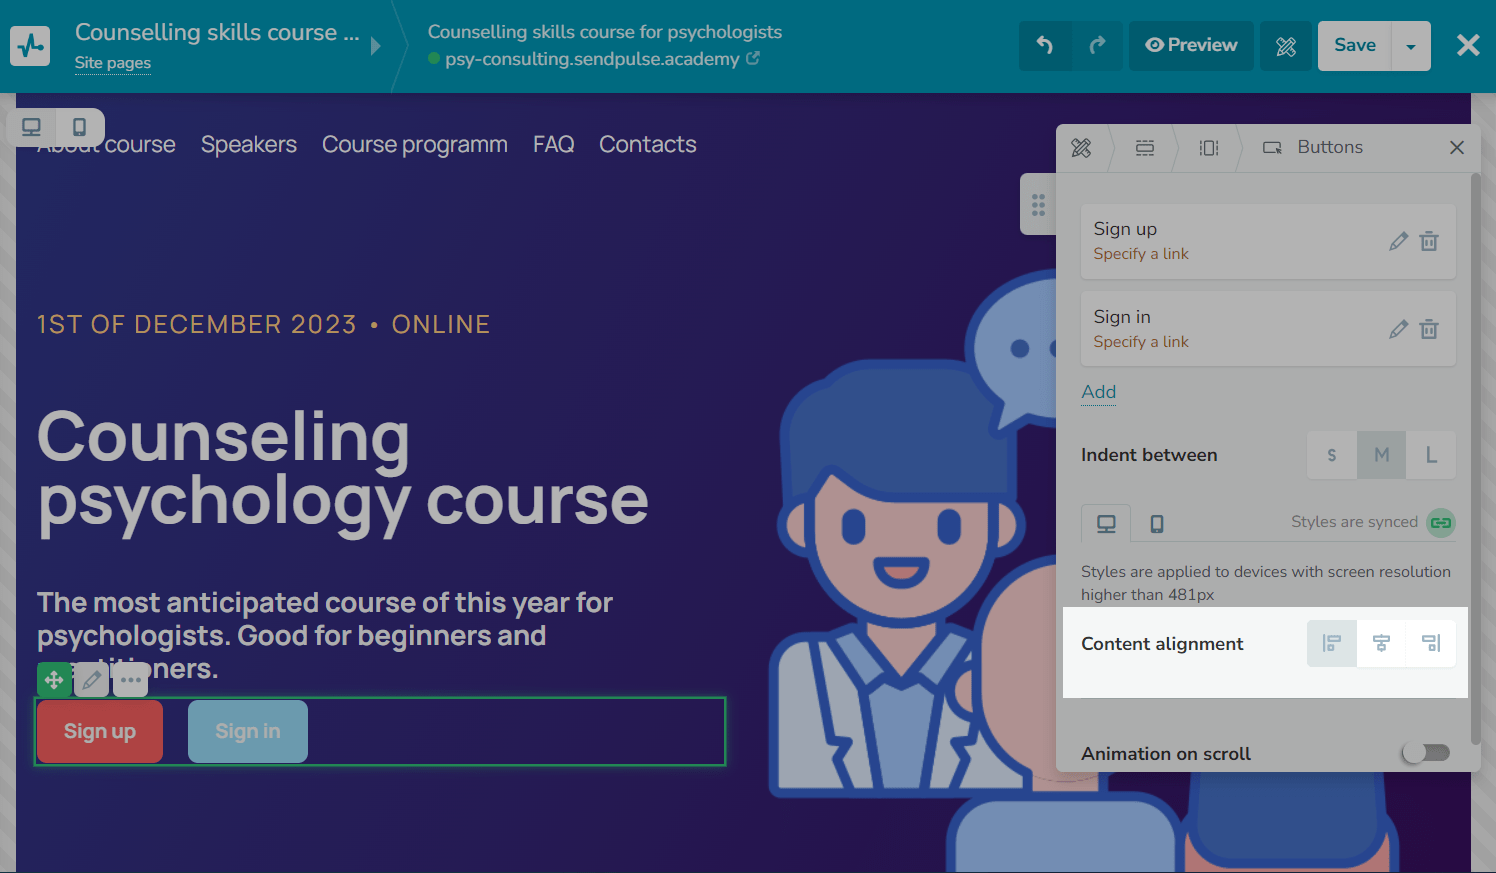
Customize the placement and animations
Go to the element editing panel, and select a placement.
You can select the distance between your buttons in the Indent between field.
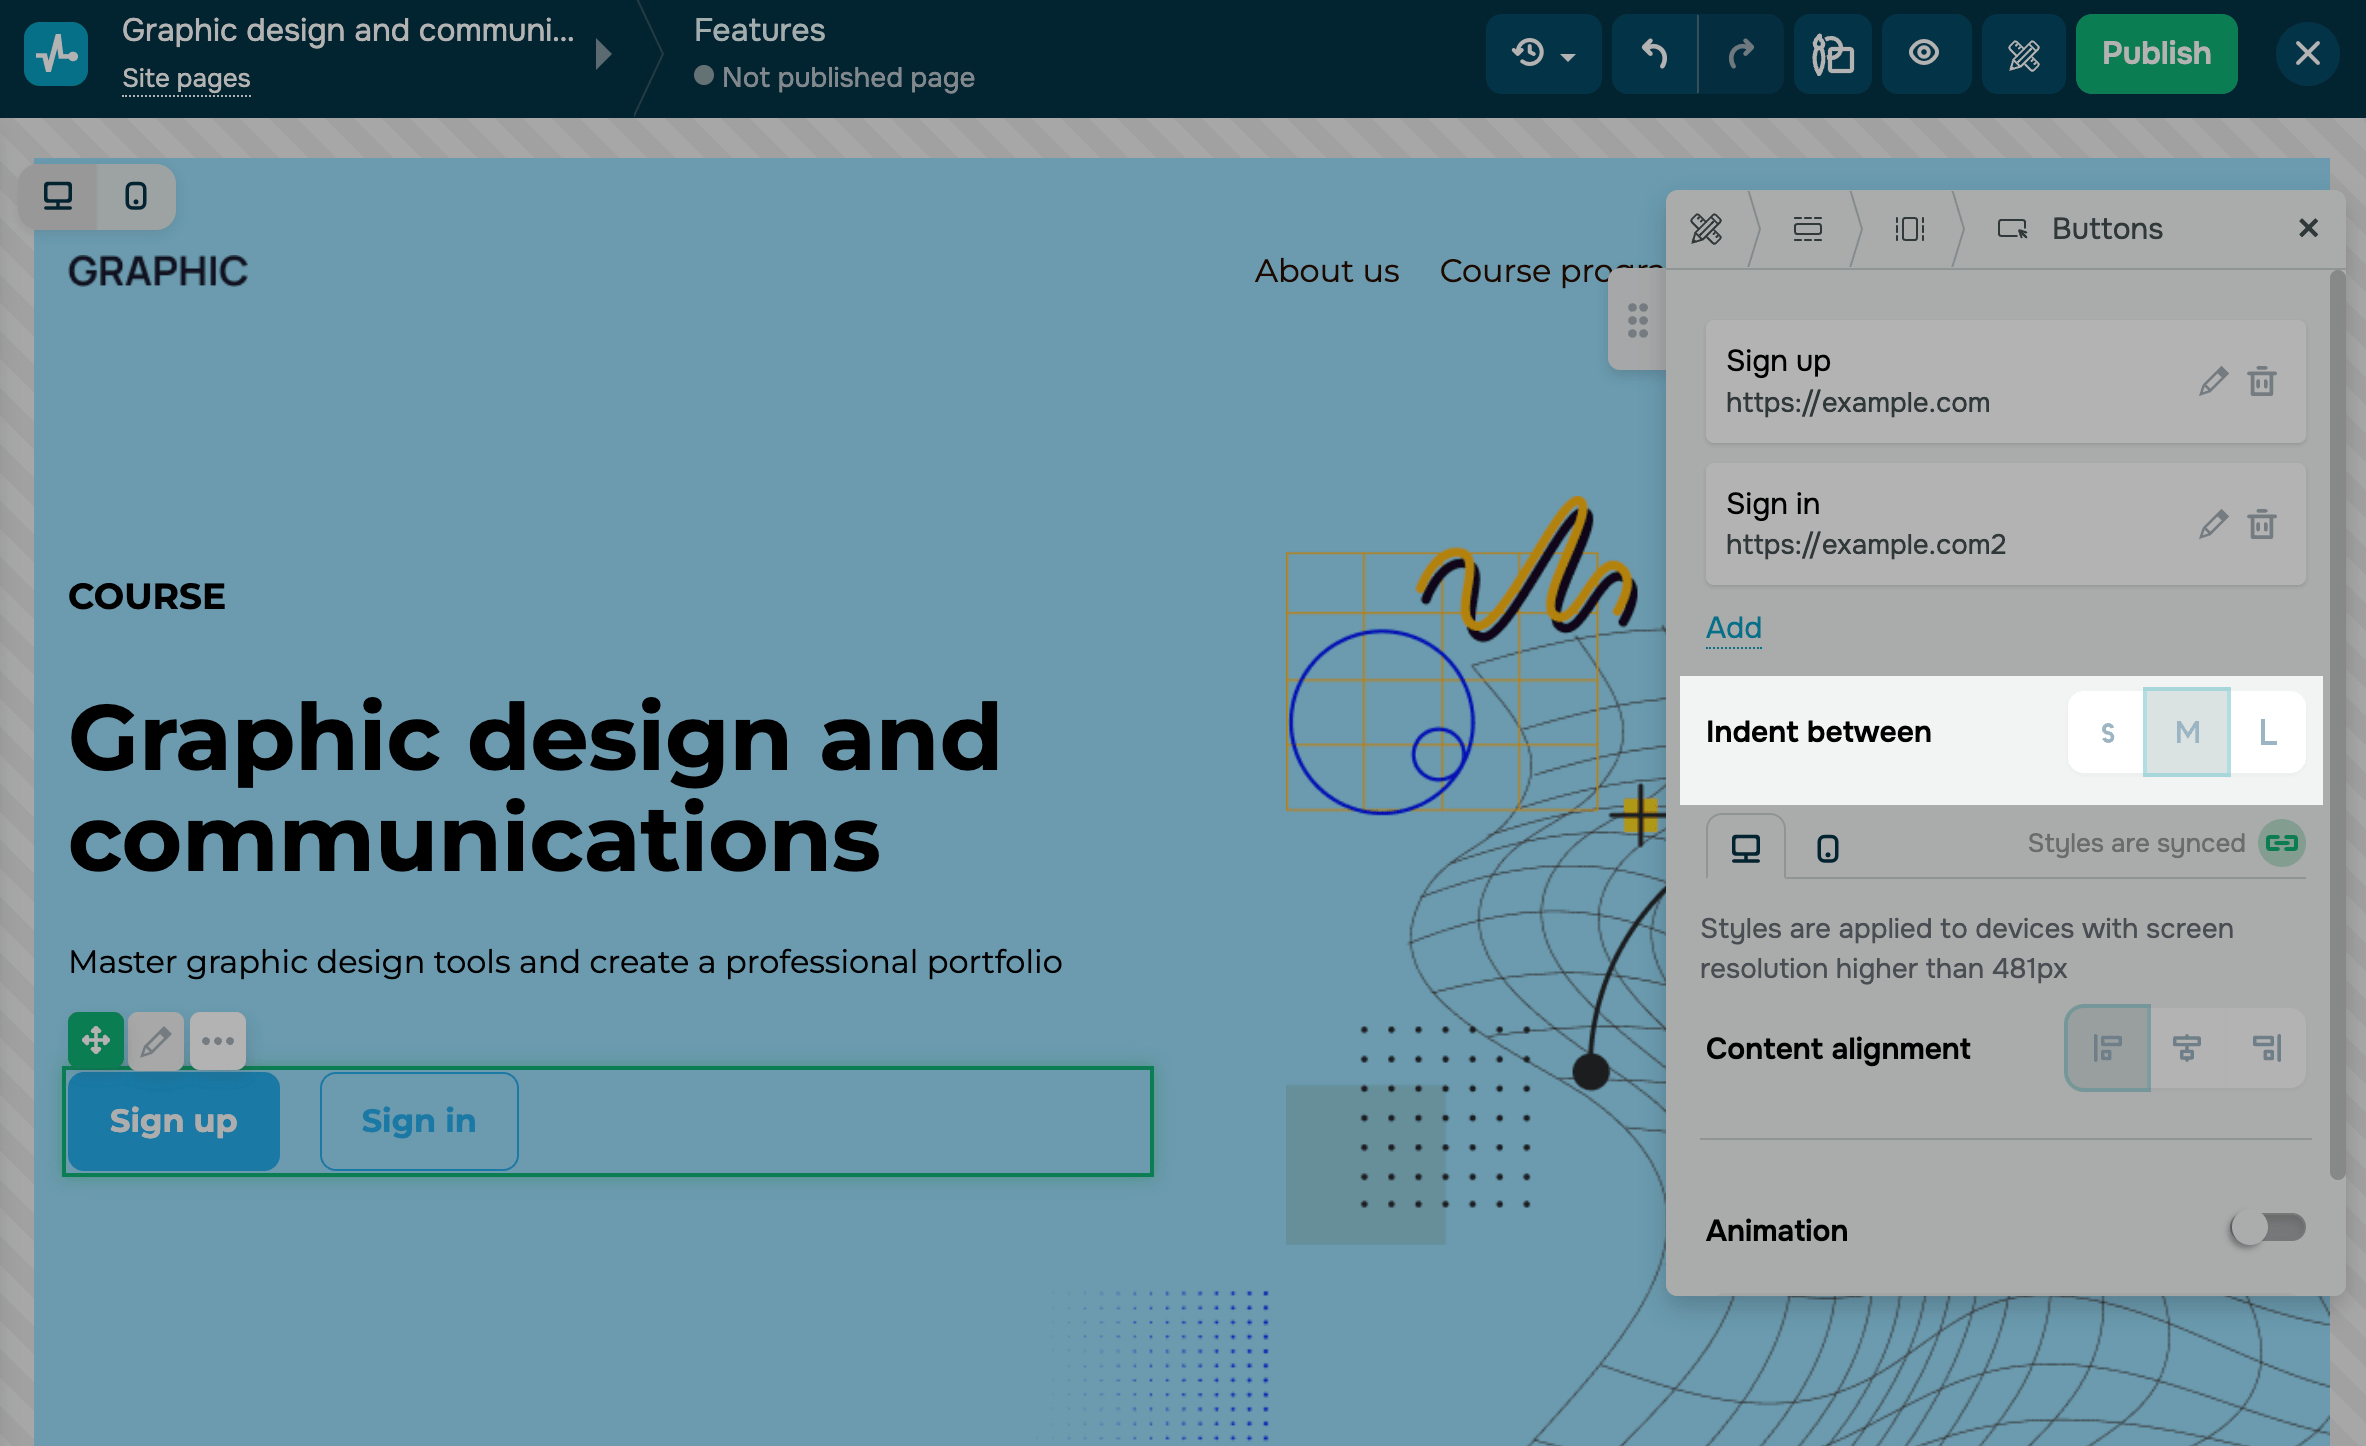
By default, styles are synced across all device versions. To customize each version separately, turn off Styles are synced.
Select your button placement relative to a section or block (left, center, or right).
You can also add scroll animation — to do this, turn on the "Animation on scroll" toggle, and select an animation type, position, and speed.
Read more: Animation.
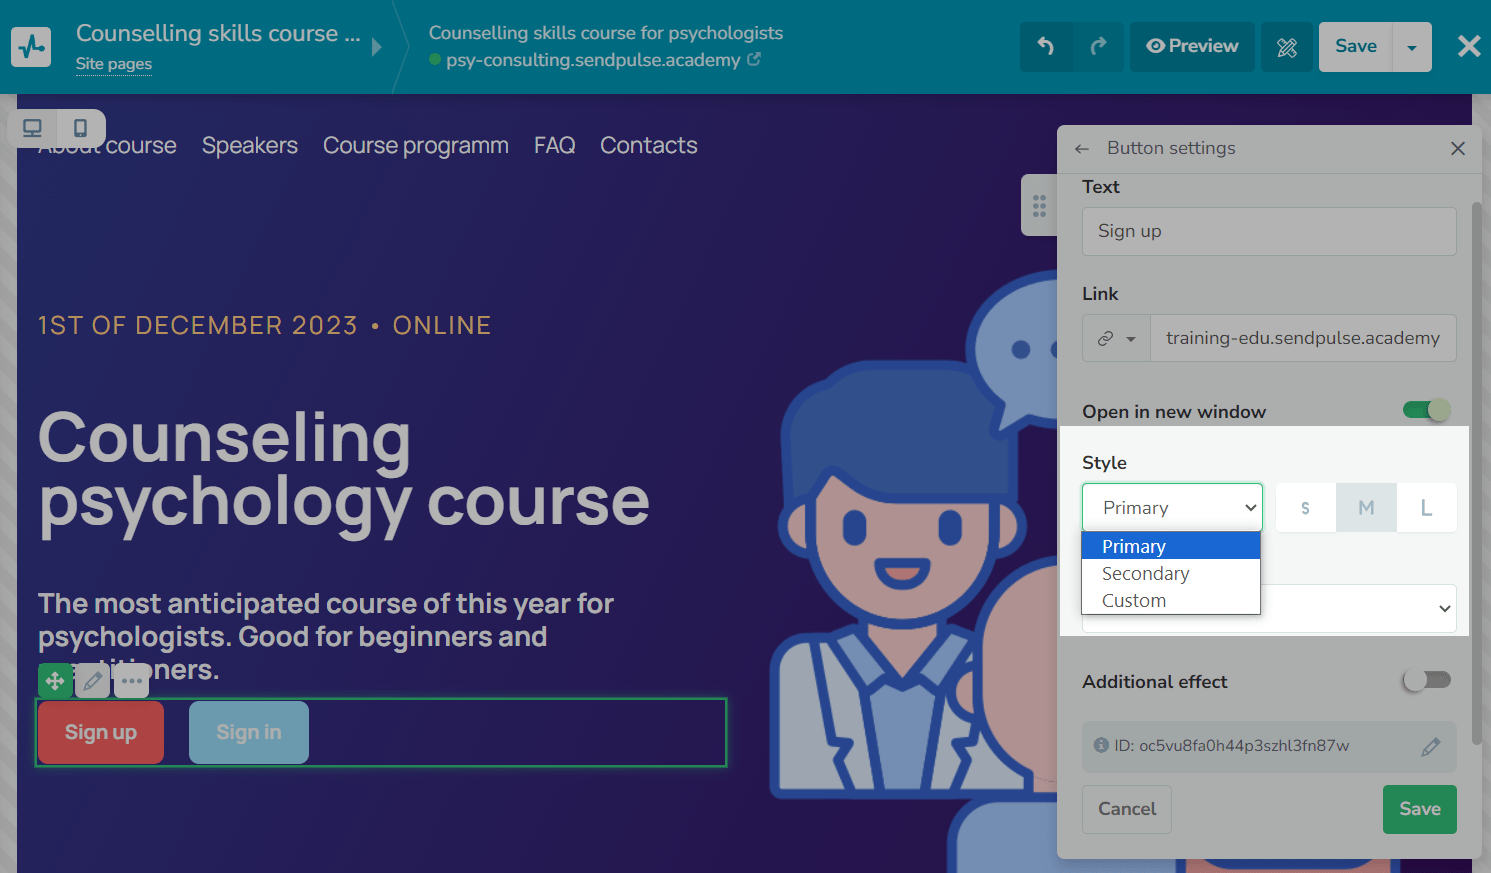
Select a button style
Go to your button settings.
By default, your primary, and secondary website styles are based on your overall page style. However, you can create your own style for each button. To do this, select the Custom option.
With the Custom style, you can apply rounding to every button corner individually to create unique shapes.
You can also choose your button size (small (S), medium (M), or large (L)).
You can also customize your buttons when working on your website design.
Read more: How to customize your page style.
You can also edit your button width (automated, full, or fixed).
| Auto | Your button width is set according to the selected size: small (S), medium (M), or large (L). You cannot adjust it. |
| Full width of the container | Your button width will match the section or column width where you added the button. |
| Fixed | You can adjust your button width by manually editing its pixel values. |
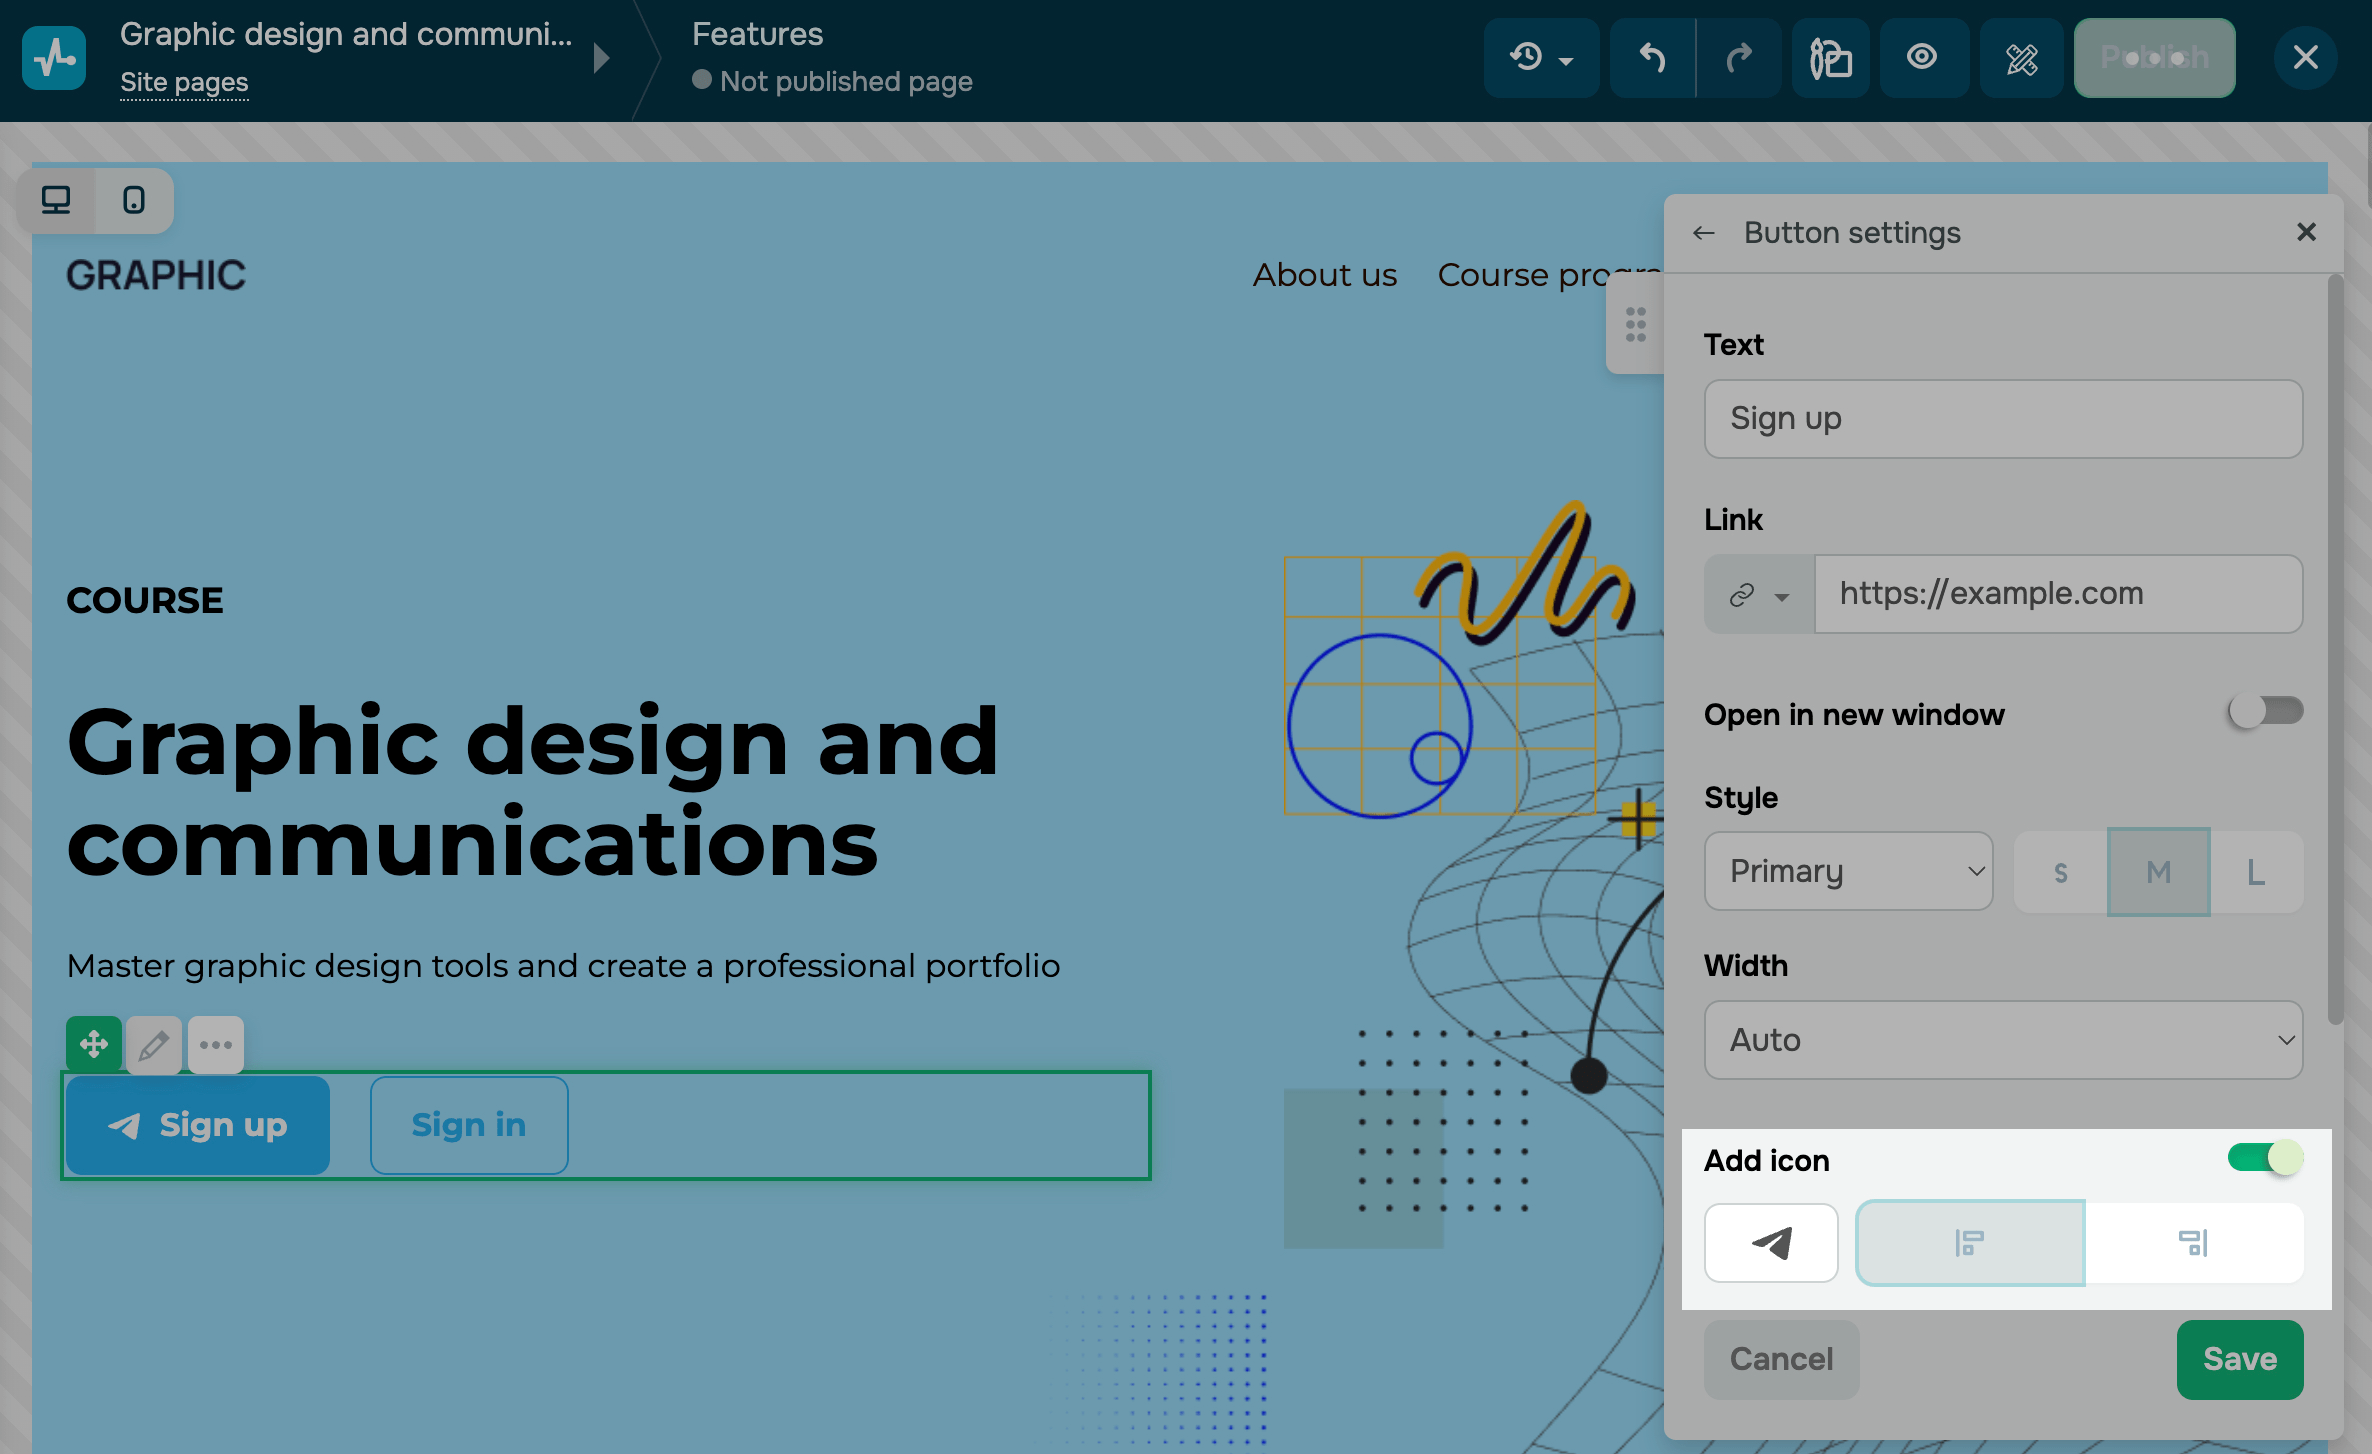
Add an icon
To add an icon image to the button, turn on the Add icon toggle. Then, select an icon, and position it to the right or left of your button text.
Add effects
Turn on the Additional effects toggle to add animations and hover effects.
In the Condition field, select a website visitor action that will trigger your button effect, and in the Effect field, select an animation available for this condition.
| Condition | Description | Effect |
| Hover | This effect is triggered when a website visitor hovers over your button. | Bounce (the button moves up and down).
Shake (the button moves in different directions). Decrease (the button becomes smaller). Increase (the button becomes larger). |
| Static | This effect is triggered when a visitor opens your page or stops scrolling, seeing your button in the visible area. | Shine (the button shimmers).
Twinkle (the button is translucent and smaller at first but then goes back to its regular size and color). |
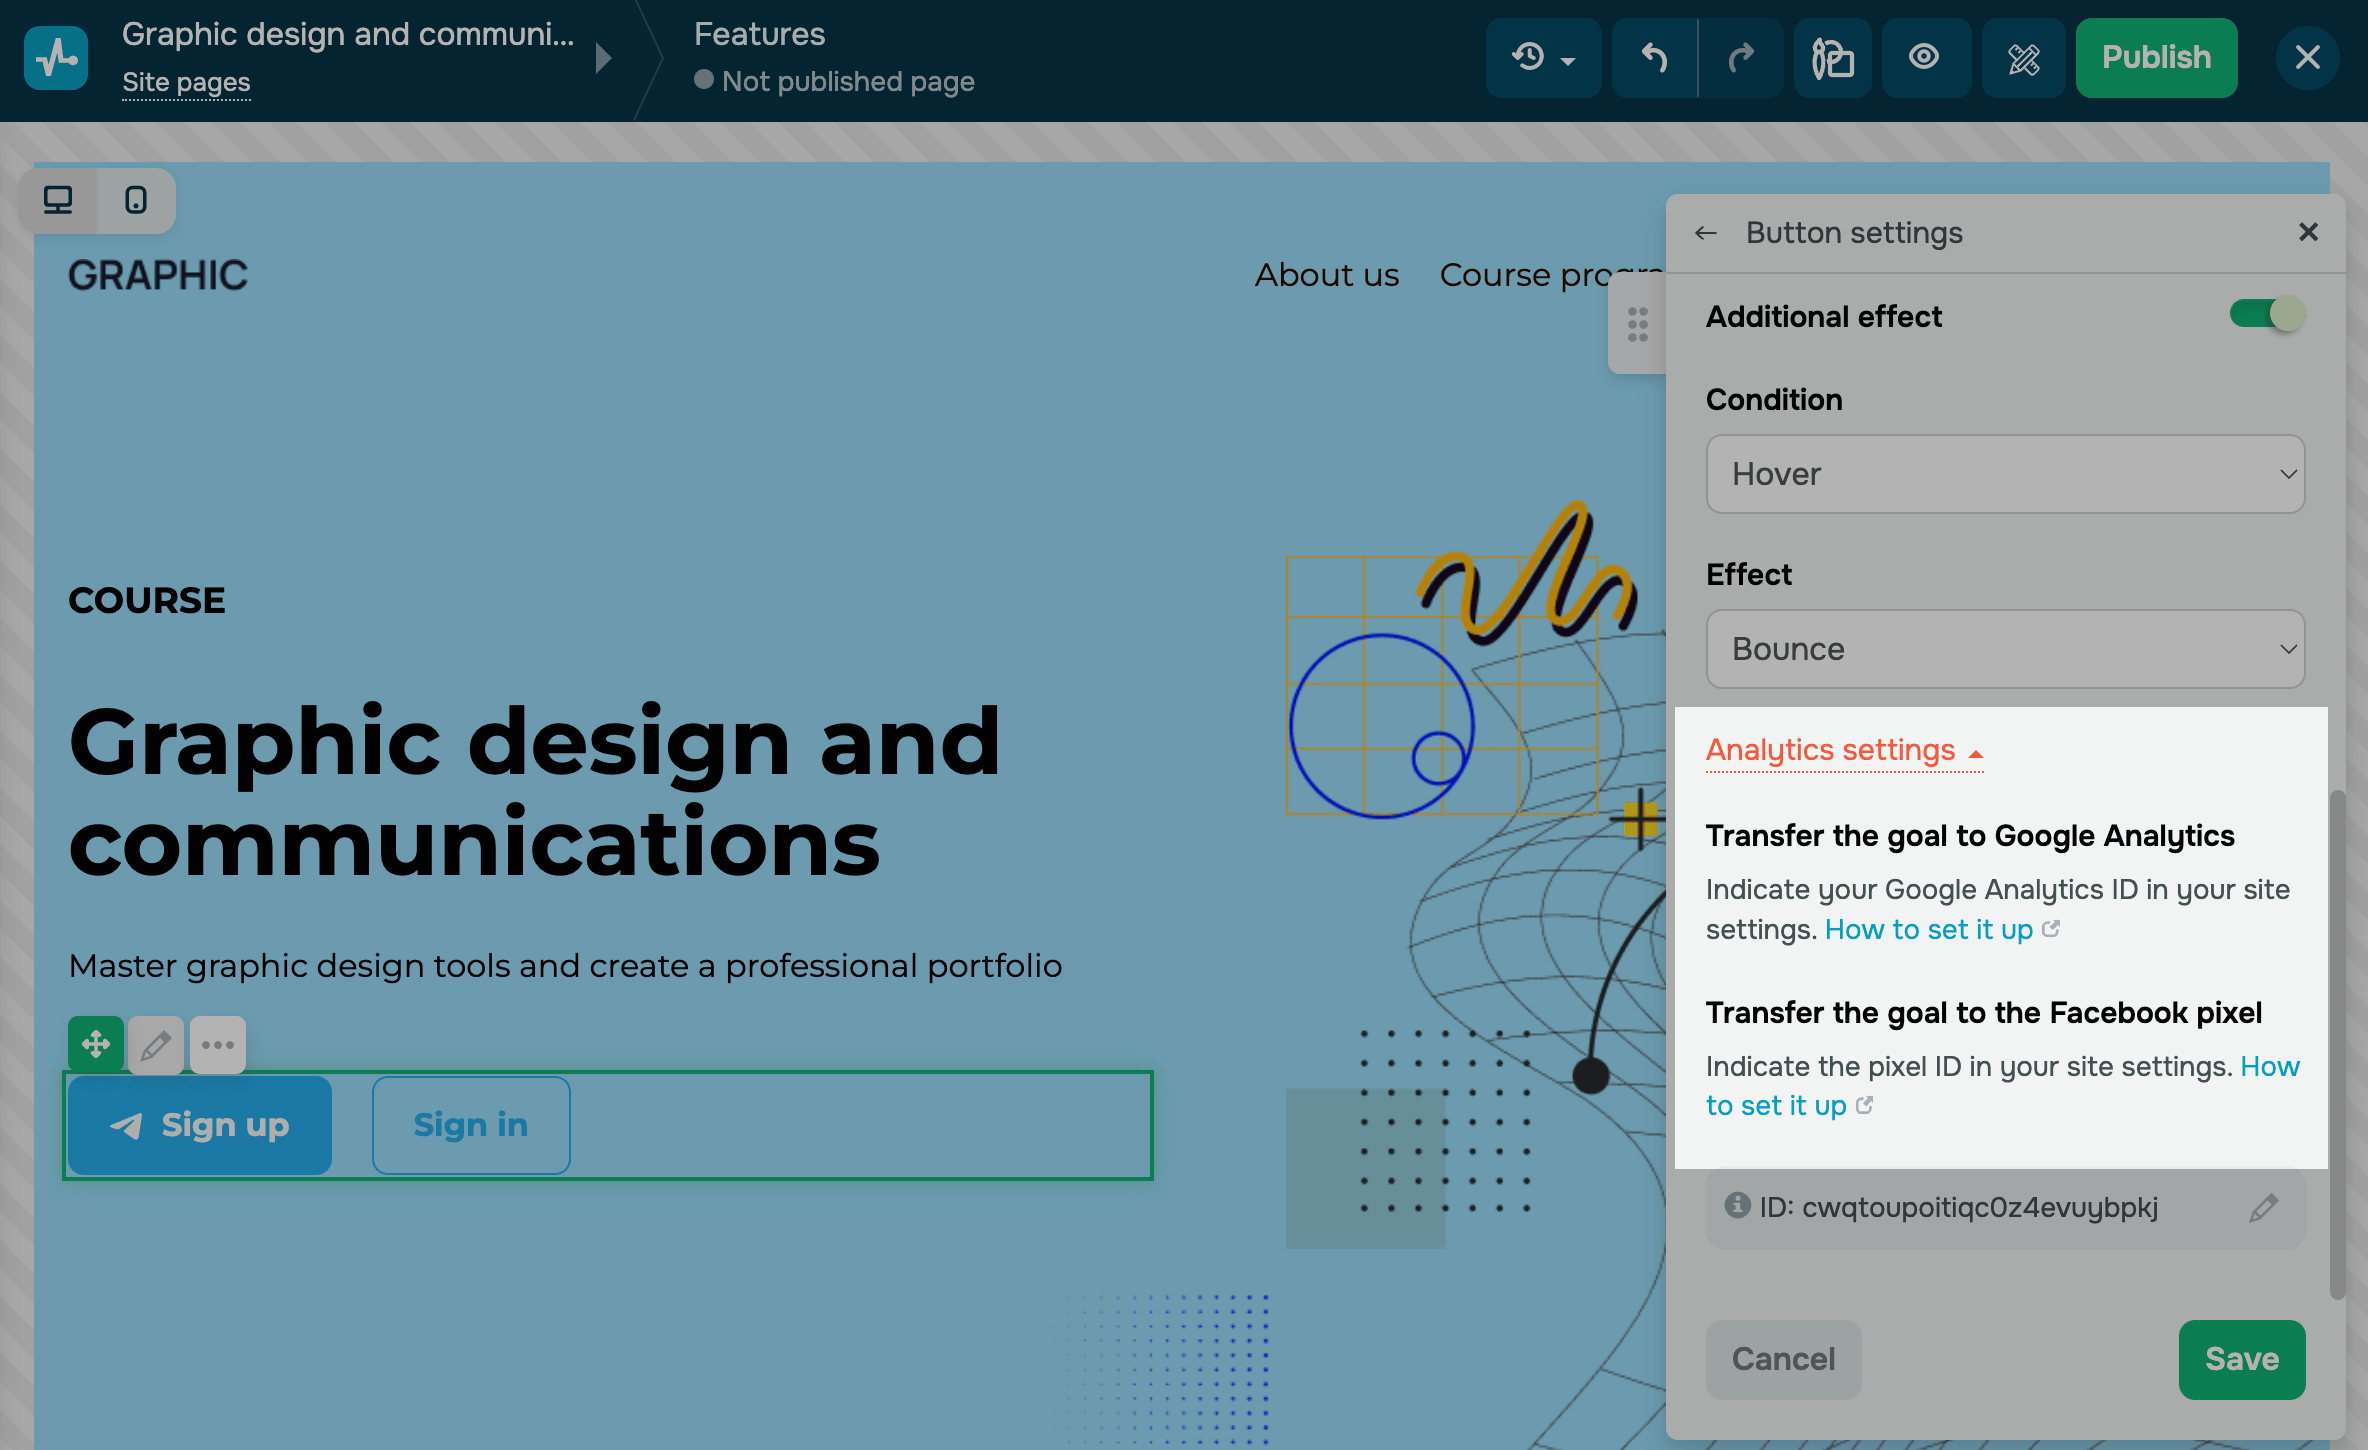
Configure analytics
You can transfer your goals from your form to Google Analytics and Facebook Pixel events. Click Analytics settings.
If you haven't activated analytics yet, follow the How to set it up link.
To complete your data transfer, add the Facebook pixel and Google Analytics code to your website settings.
Read more: How to Connect Google Analytics to Your Site and How to Connect Facebook Pixel to Your Site.
If your analytics are already activated, you will see two toggles.
Turn on the Transfer the goal to Google Analytics or Transfer the goal to the Facebook pixel toggle.
If you have turned on the Transfer the goal to Google Analytics toggle, enter your data in the Category, Action, and Label fields — these parameters will be transferred to Google Analytics in the Events section.
If you have turned on the Transfer the goal to the Facebook pixel toggle, the Complete Registration event will be generated automatically. You will be able to see it in Events Manager in your Facebook Business Account.
You can transfer data to your chatbot audience if you’ve added a chatbot flow link to your button.
Last Updated: 05.02.2025
or