Transfer Facebook chatbot subscribers from other services to SendPulse
In this article, we’ll show you how to migrate your chatbot service to SendPulse for creating chatbots, sending auto-responses, collecting user information, and other useful features for Facebook Messenger.
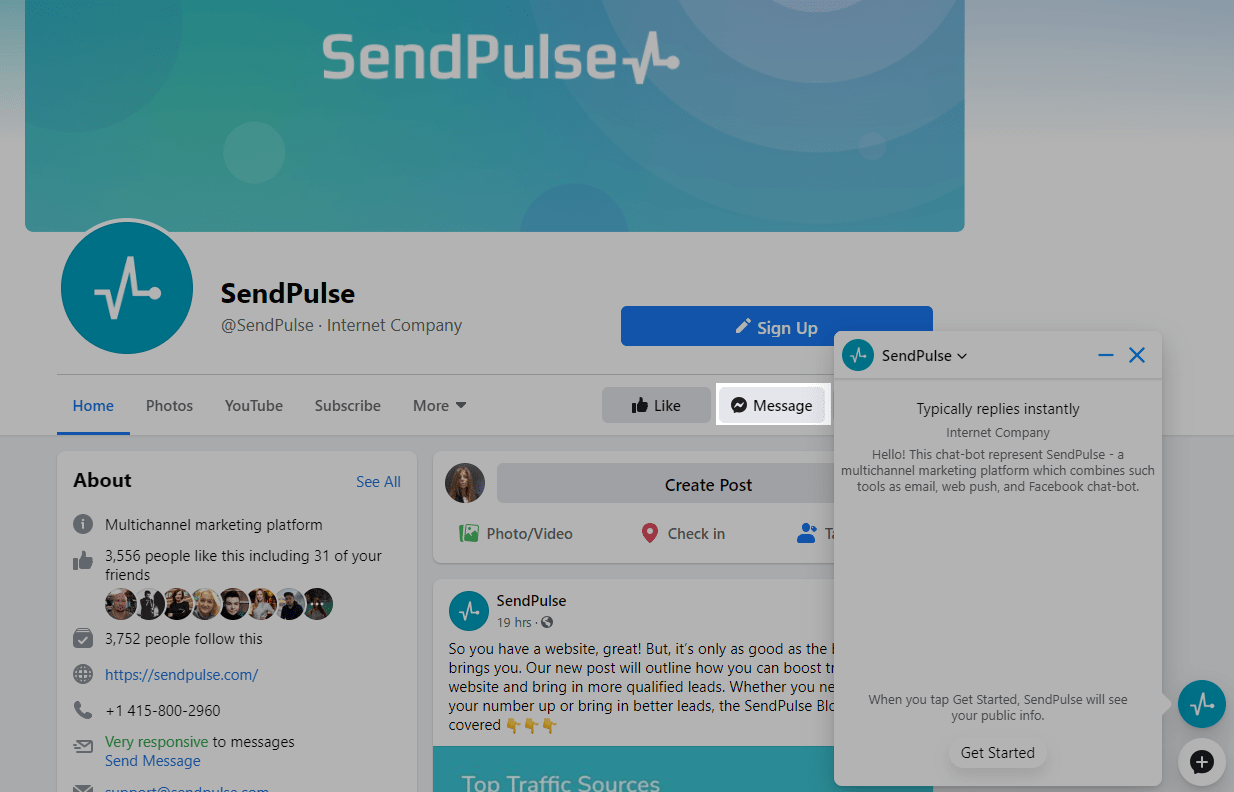
What is chatbot subscriber?
Chatbot subscribers for Facebook Messenger are all the users who have interacted with your community page: clicked the "Message" button and asked a question, subscribed through a widget or subscription form of another service, went to the messenger box on the page, and started communicating by clicking "Get started."
All of the chat dialogs associated with your page are saved in the Messenger. When switching from another service to SendPulse, all your subscribers are saved, because they are automatically pulled from the Messenger data.
How to connect a chatbot to Sendpulse and transfer subscribers
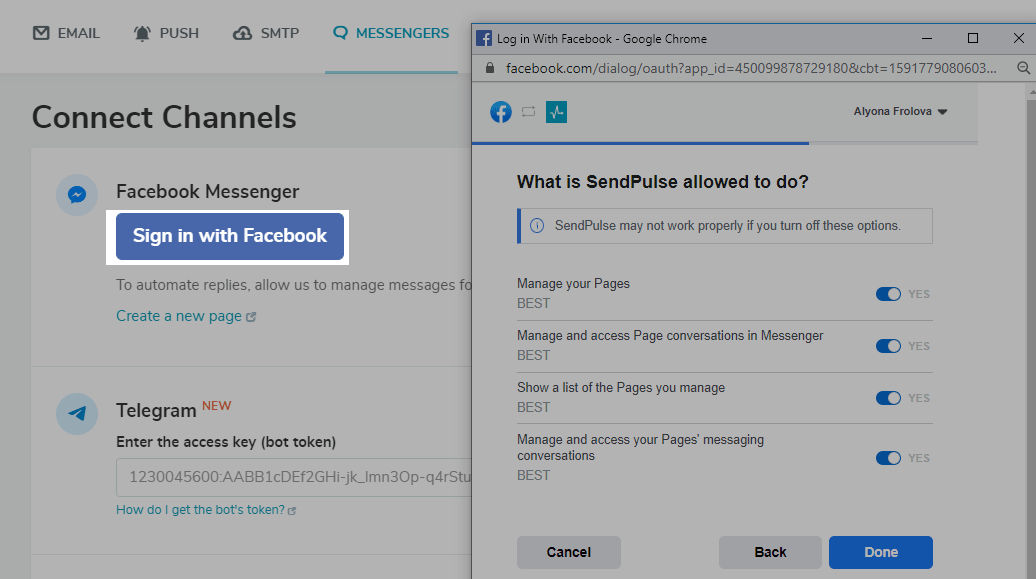
Go to the Messengers section and select Facebook Messenger. Then select the page of the community you want to connect, allow the necessary permissions, and click Done.
The page with all the subscribers that were previously collected will be connected to SendPulse and you can create campaigns and configure new chatbot flows.
Note, when you connect a bot, only users’ names will be passed to SendPulse. Other variables, tags, and interaction statistics that you have collected in another service can not be passed. You can start collecting them through chatbot flows: by entering user data in the Message element, updating or creating new variables in the Action element, or using the subscription widget.
How to disable your chatbot with another service
To ensure that your bot correctly sends autoresponders, you first have to disable the chatbot in the previous service you used.
If you have lost access to the service or you need to check that the service has been properly disabled, you can check the Facebook page settings.
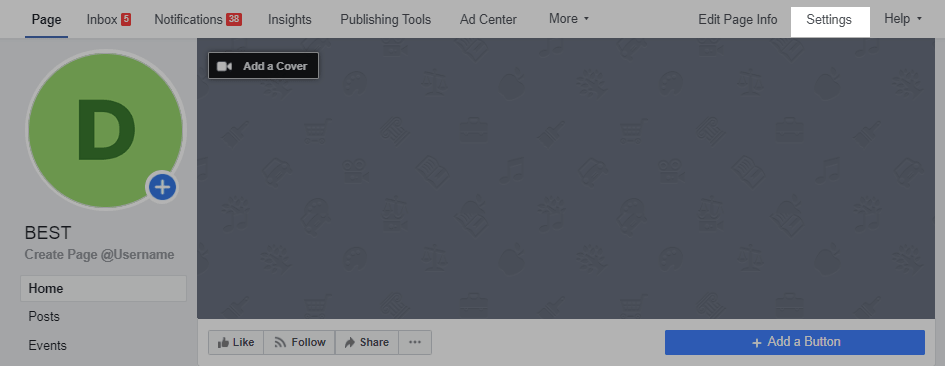
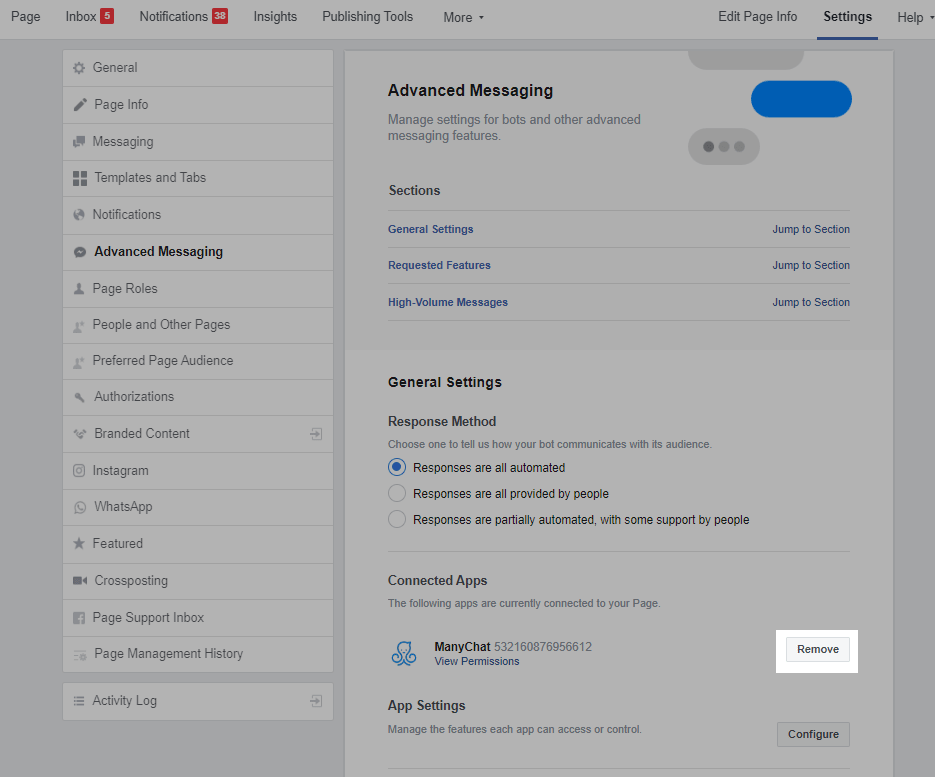
To disable another bot from your Facebook page, open the community page and go to Settings.
Select Advanced Messaging.
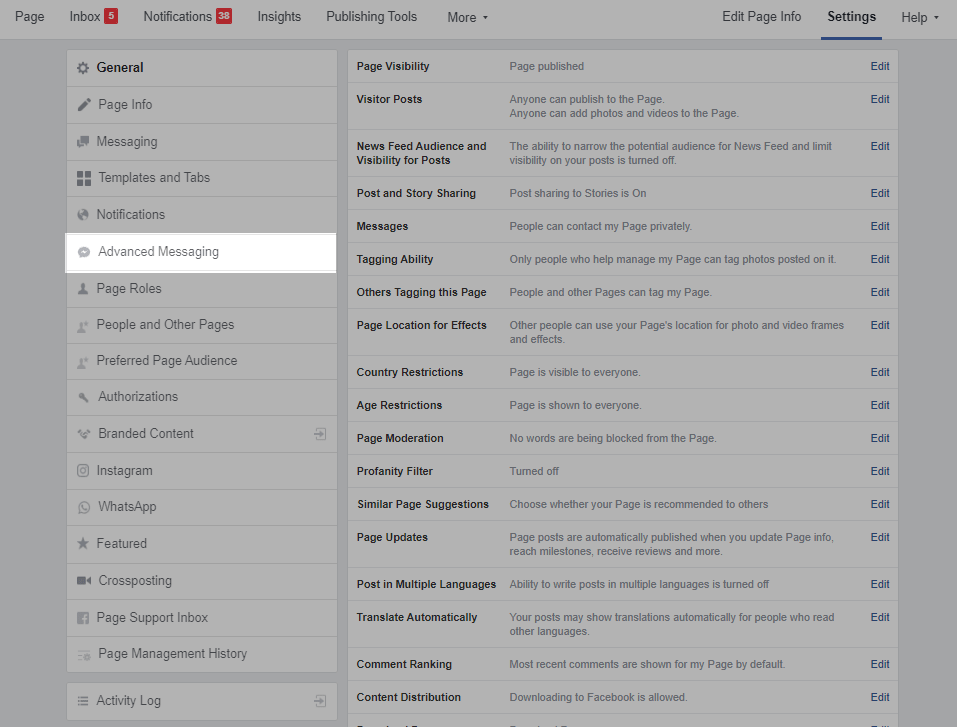
Scroll down to the Connected Apps section, select the service you connected earlier, and click Remove.
How to disable Facebook autoresponders
For the bot to work properly by triggering its auto-responses, make sure you also disable automatic responses for your community's Facebook page.
In the community settings, select Messaging.

Under Set up automatic responses, click on the Set up button.
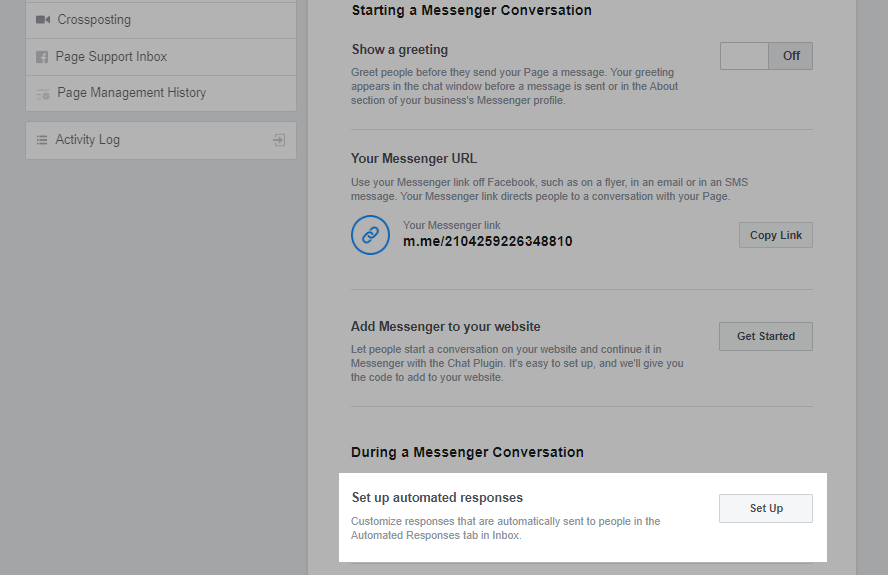
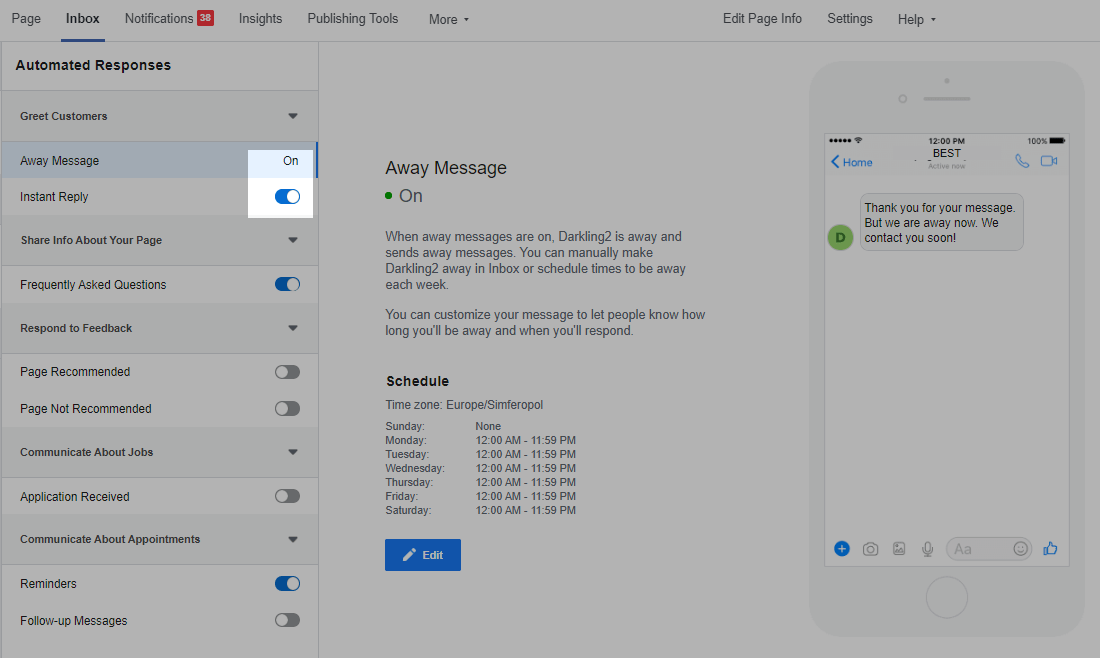
Check the settings under Customer Welcome. In order not to confuse the responses from the bot configured in SendPulse, disable messages for the status Out of place and Instant response.
Now you can start configuring the chatbot in Sendpulse without any hiccups — create personalized сampaings for all contacts, configure auto-replies and actions with responses to the flow.
If you have difficulties with the transition from one service to SendPulse — contact us, we will be happy to help.
Read also:
How to transfer Facebook bot subscribers from ManyChat to SendPulse
How to Transfer Facebook bot subscribers from SmartSender to SendPulse
How to Transfer Facebook bot subscribers from BotHelp to SendPulse
How to Transfer Facebook bot subscribers from Chatfuel to SendPulse
Last Updated: 10.02.2024
or