How to enable and disable push notifications in Google Chrome
Push notification subscription requests appear in the top left of the browser window. After a user is prompted to subscribe to push notifications and accepts, notifications will appear at the bottom right of their browser window — even if they are offline at the time of sending. In this article, we’ll look at how to enable and disable push notifications in Google Chrome.
Go to the browser menu and select Settings.

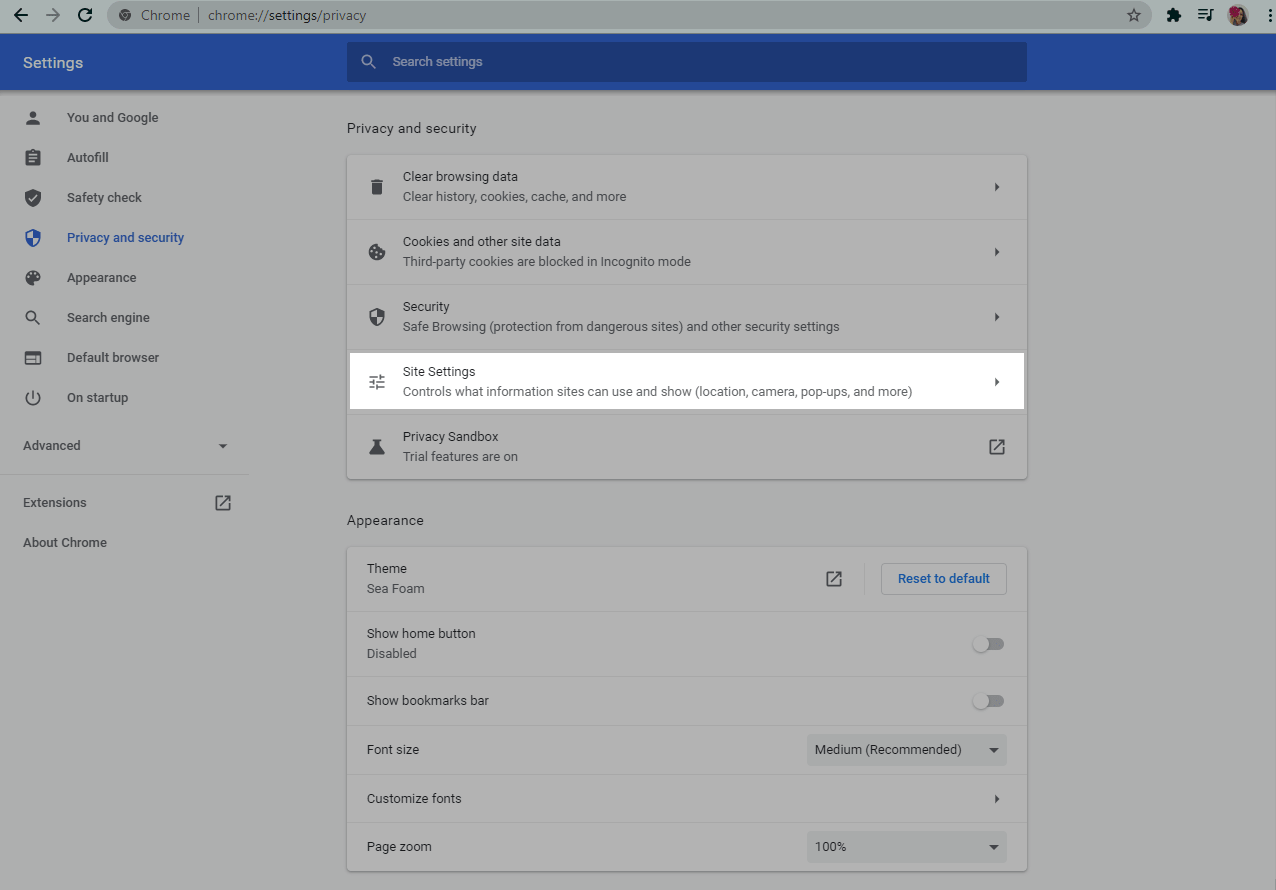
In the Privacy and security section, go to Site Settings.
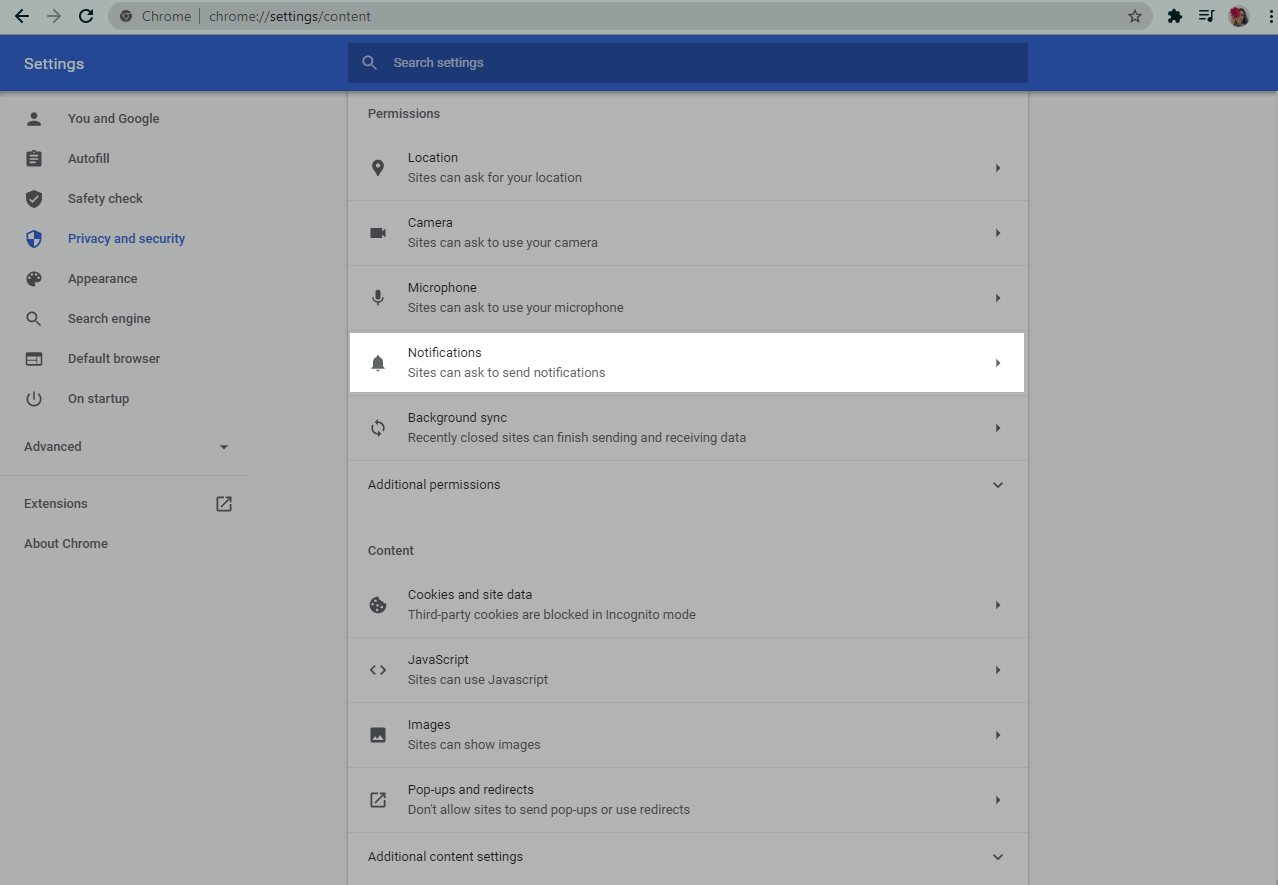
Select Notifications.
In the Notifications settings, you can add sites you want to receive notifications from or sites you want to block notifications from.
To disable notifications from all sites, select the Don't allow sites to send notifications option.
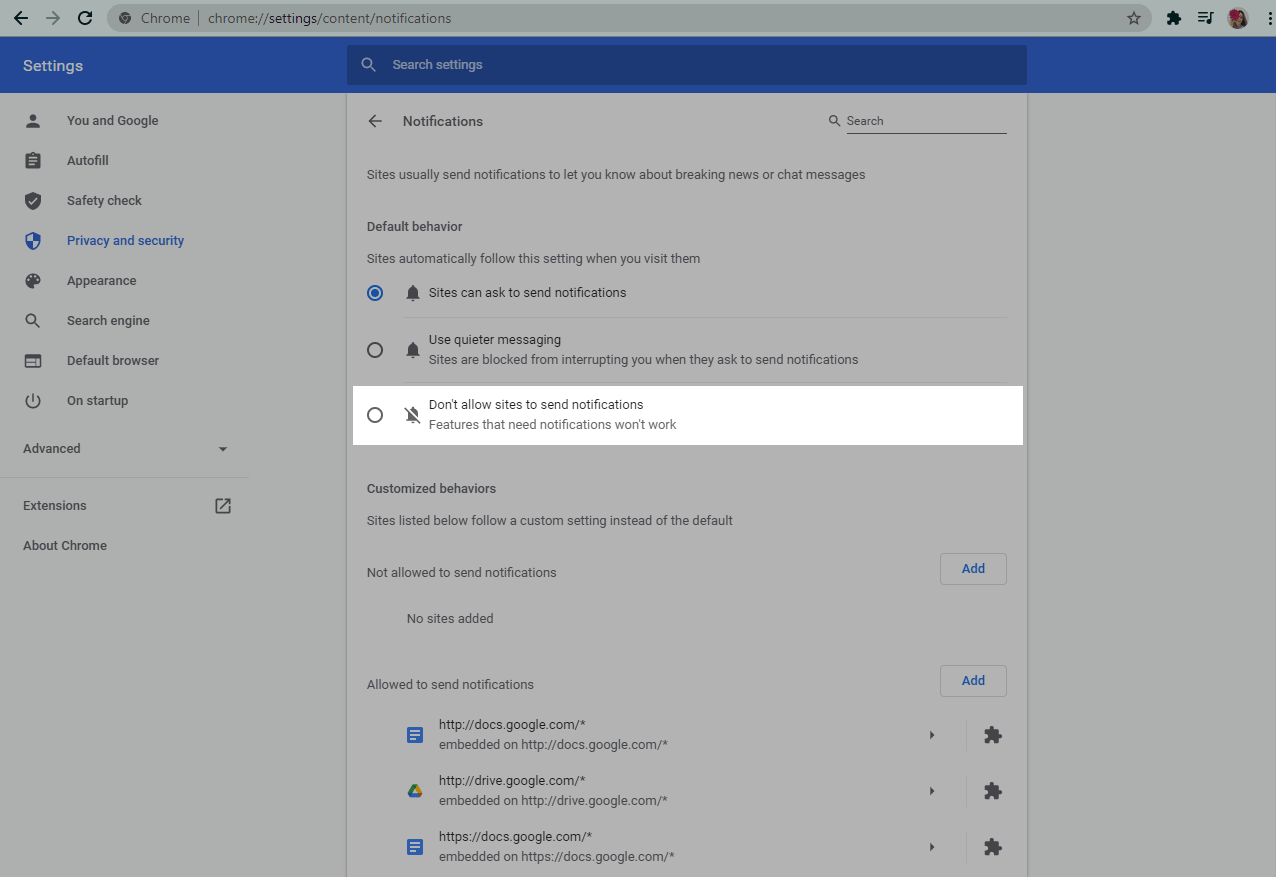
To disable the display of notifications for a specific site, click the Add button in the customized behaviors section.

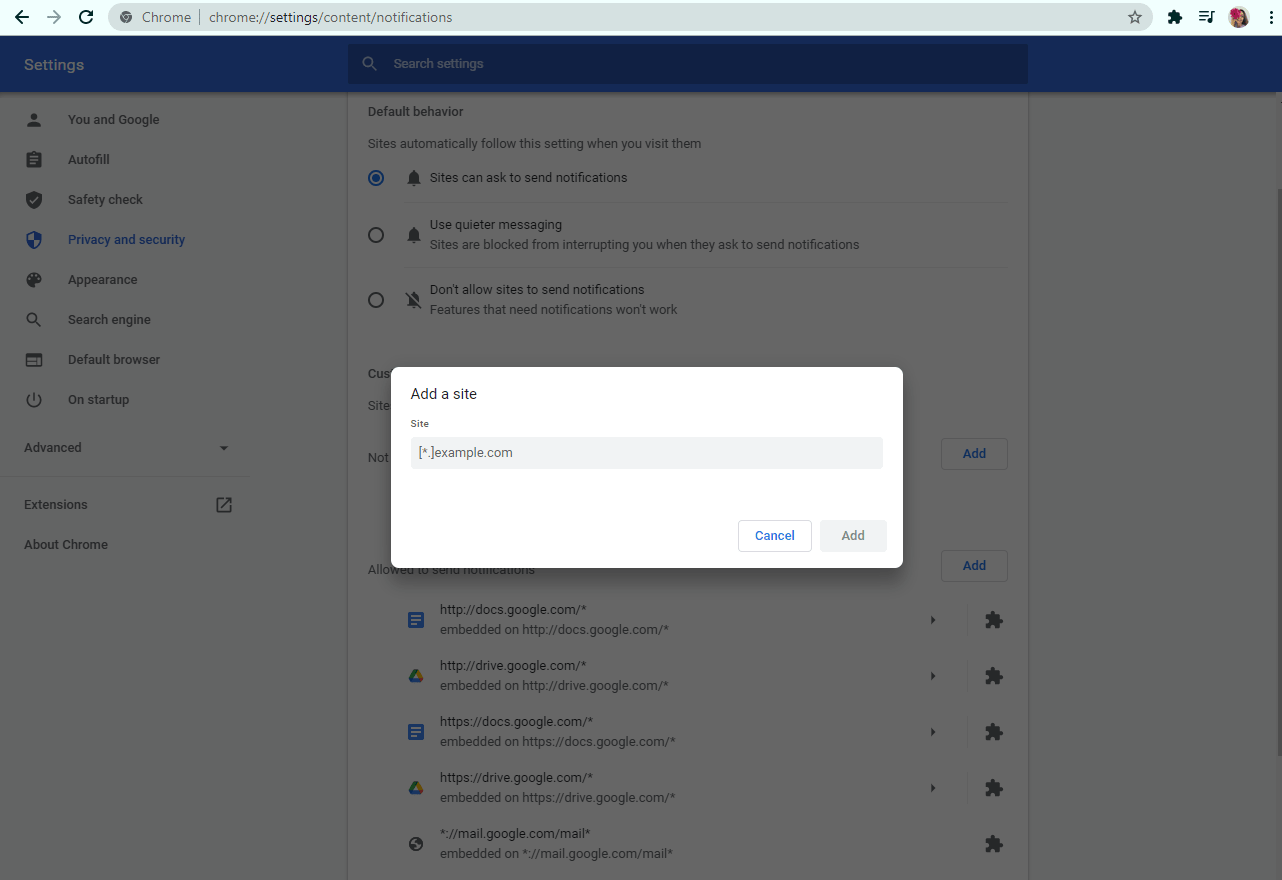
Specify the site and click the Add button.
Also, you can disable notifications for a specific site through the settings of the site.
To do this, click Block next to the desired site in the dropdown menu.
You will be prompted again to allow notifications to be sent if you delete the site.

And in order to avoid having your notifications, only send them to users who have agreed to receive them.
Last Updated: 11.01.2024
or