Project basics

With the help of our pop-up builder, you can create smart pop-ups that are shown to visitors only as specified by certain scenarios to increase engagement and lead conversion.
To start adding pop-ups, you need to create a project where you will set them up. You can also connect sites created with SendPulse or add a project script to an external site.
Let's talk about what a project is and how to create it. We will also explain how to add pop-ups to your project and view your interaction analytics.
What is a project?
A project is a workspace with its own settings and limits. You can create several projects for different fields of activity and experiments.
Each project has its own:
- tool settings (pop-up appearance and behavior and Socials widgets);
- statistics for the whole project and each widget separately;
- integration settings for Google Analytics and webhooks.
Once you create a project, you can start adding pop-ups that will be displayed as specified by your scenario, adding a Socials widget, and setting up integrations.
How to create a project
Approaches you can use when creating a project
1 site*, 1 project. You can create a separate project for each domain to view statistics and have a project for each site separately.
Several sites*, 1 project. You can add several domains to one project to have common statistics settings, for example, if you work with multilingual sites.
*Site pages with domains created using a dot (.) are considered separate sites that must be added individually. Multiple pages with domains created using a slash (/) are considered one website. You can choose how to display your pop-ups on a separate page in the scenario settings.
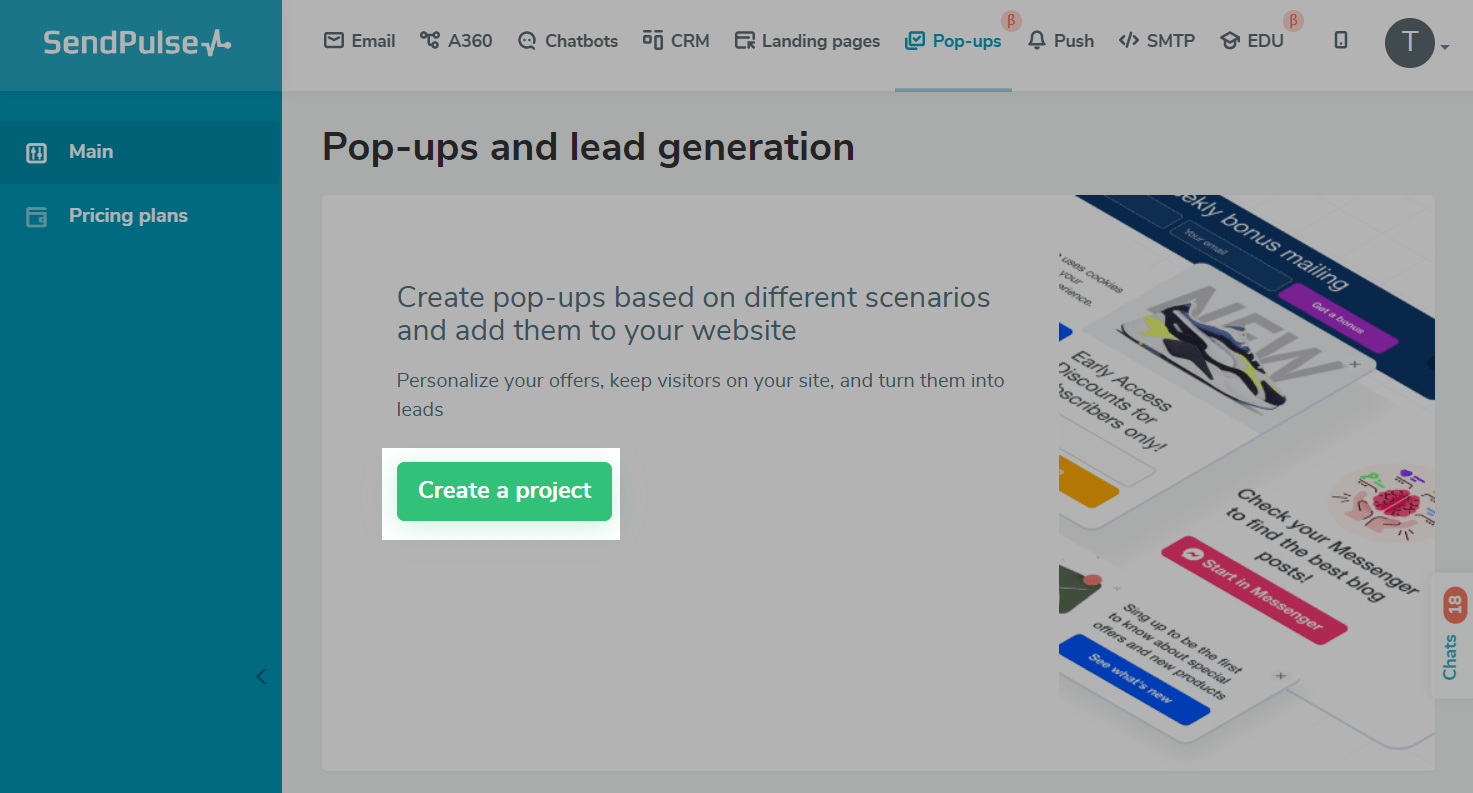
Go to the Pop-ups section and click Create project.
Connect a site
You can add a pop-up to a site created with SendPulse or a third-party builder.
Adding a pop-up to a SendPulse-based site
Enter your project name and select a site developed with our site builder or landing page builder or when creating online courses.
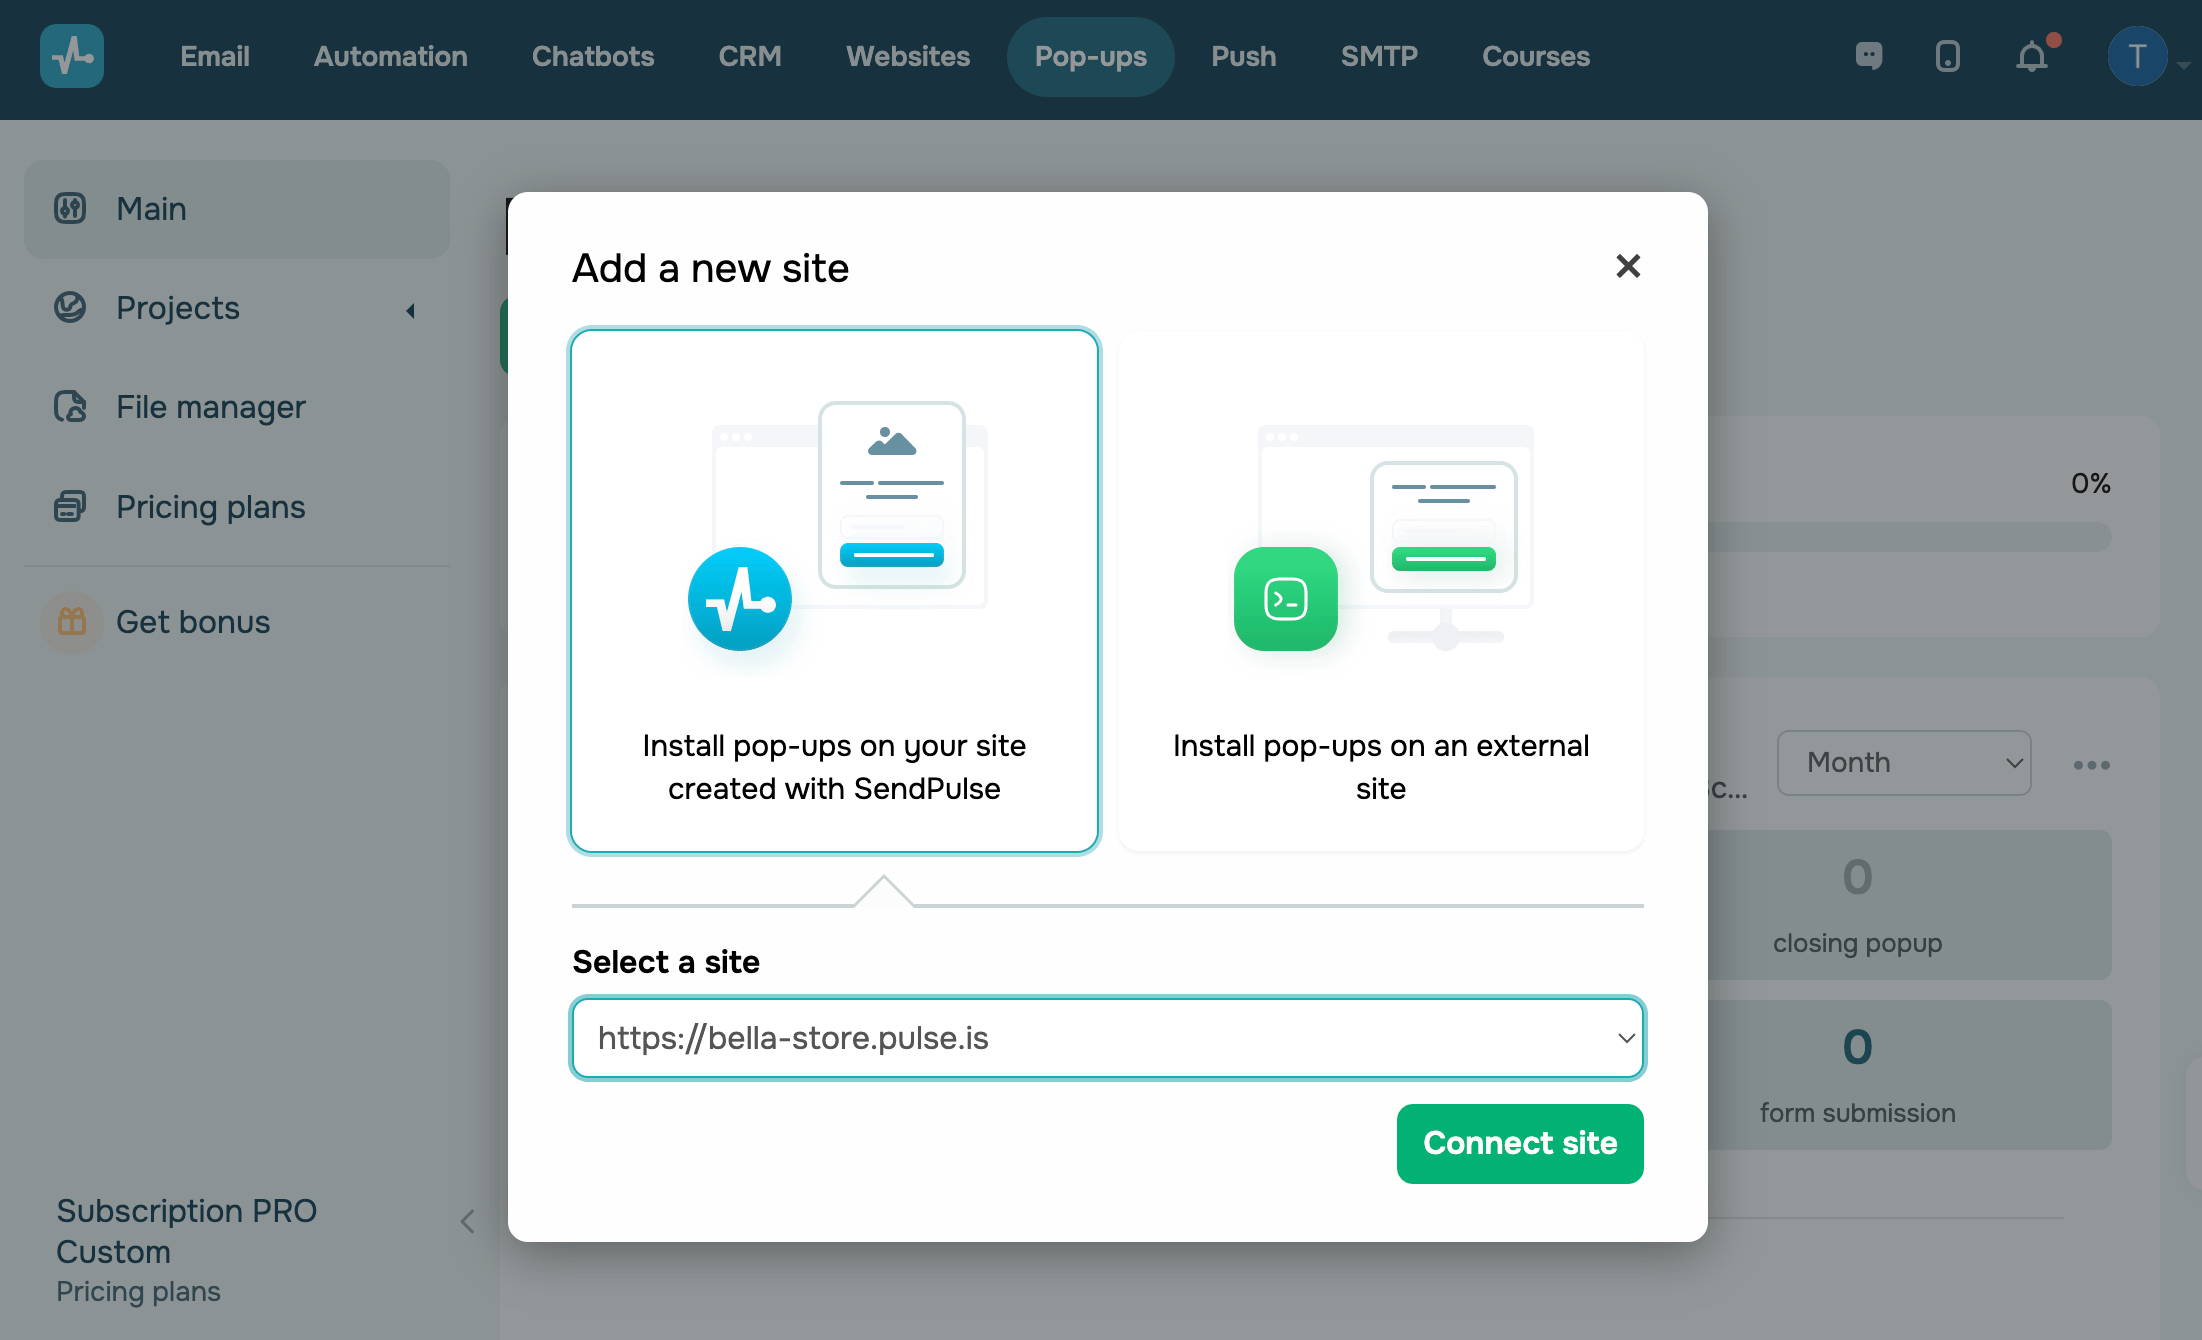
Click Connect site.
Your project code will be automatically added to your site settings — you do not need to do anything else.
Adding a pop-up to an external site
Enter your project name and a link to a site where you want to add your widget.
We recommend adding a root domain. You can choose where you want to display or hide your pop-up in the display conditions settings.
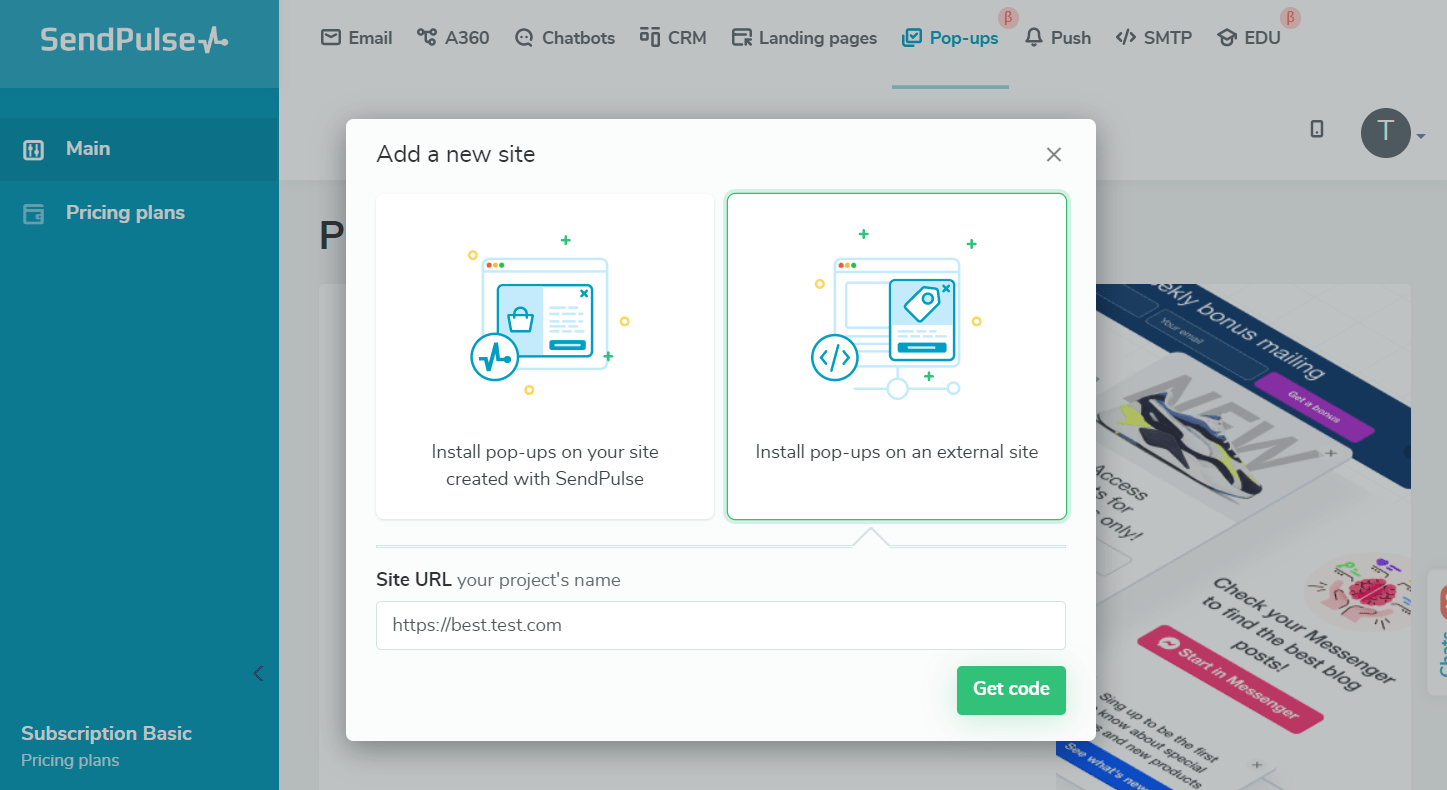
Click Get code.
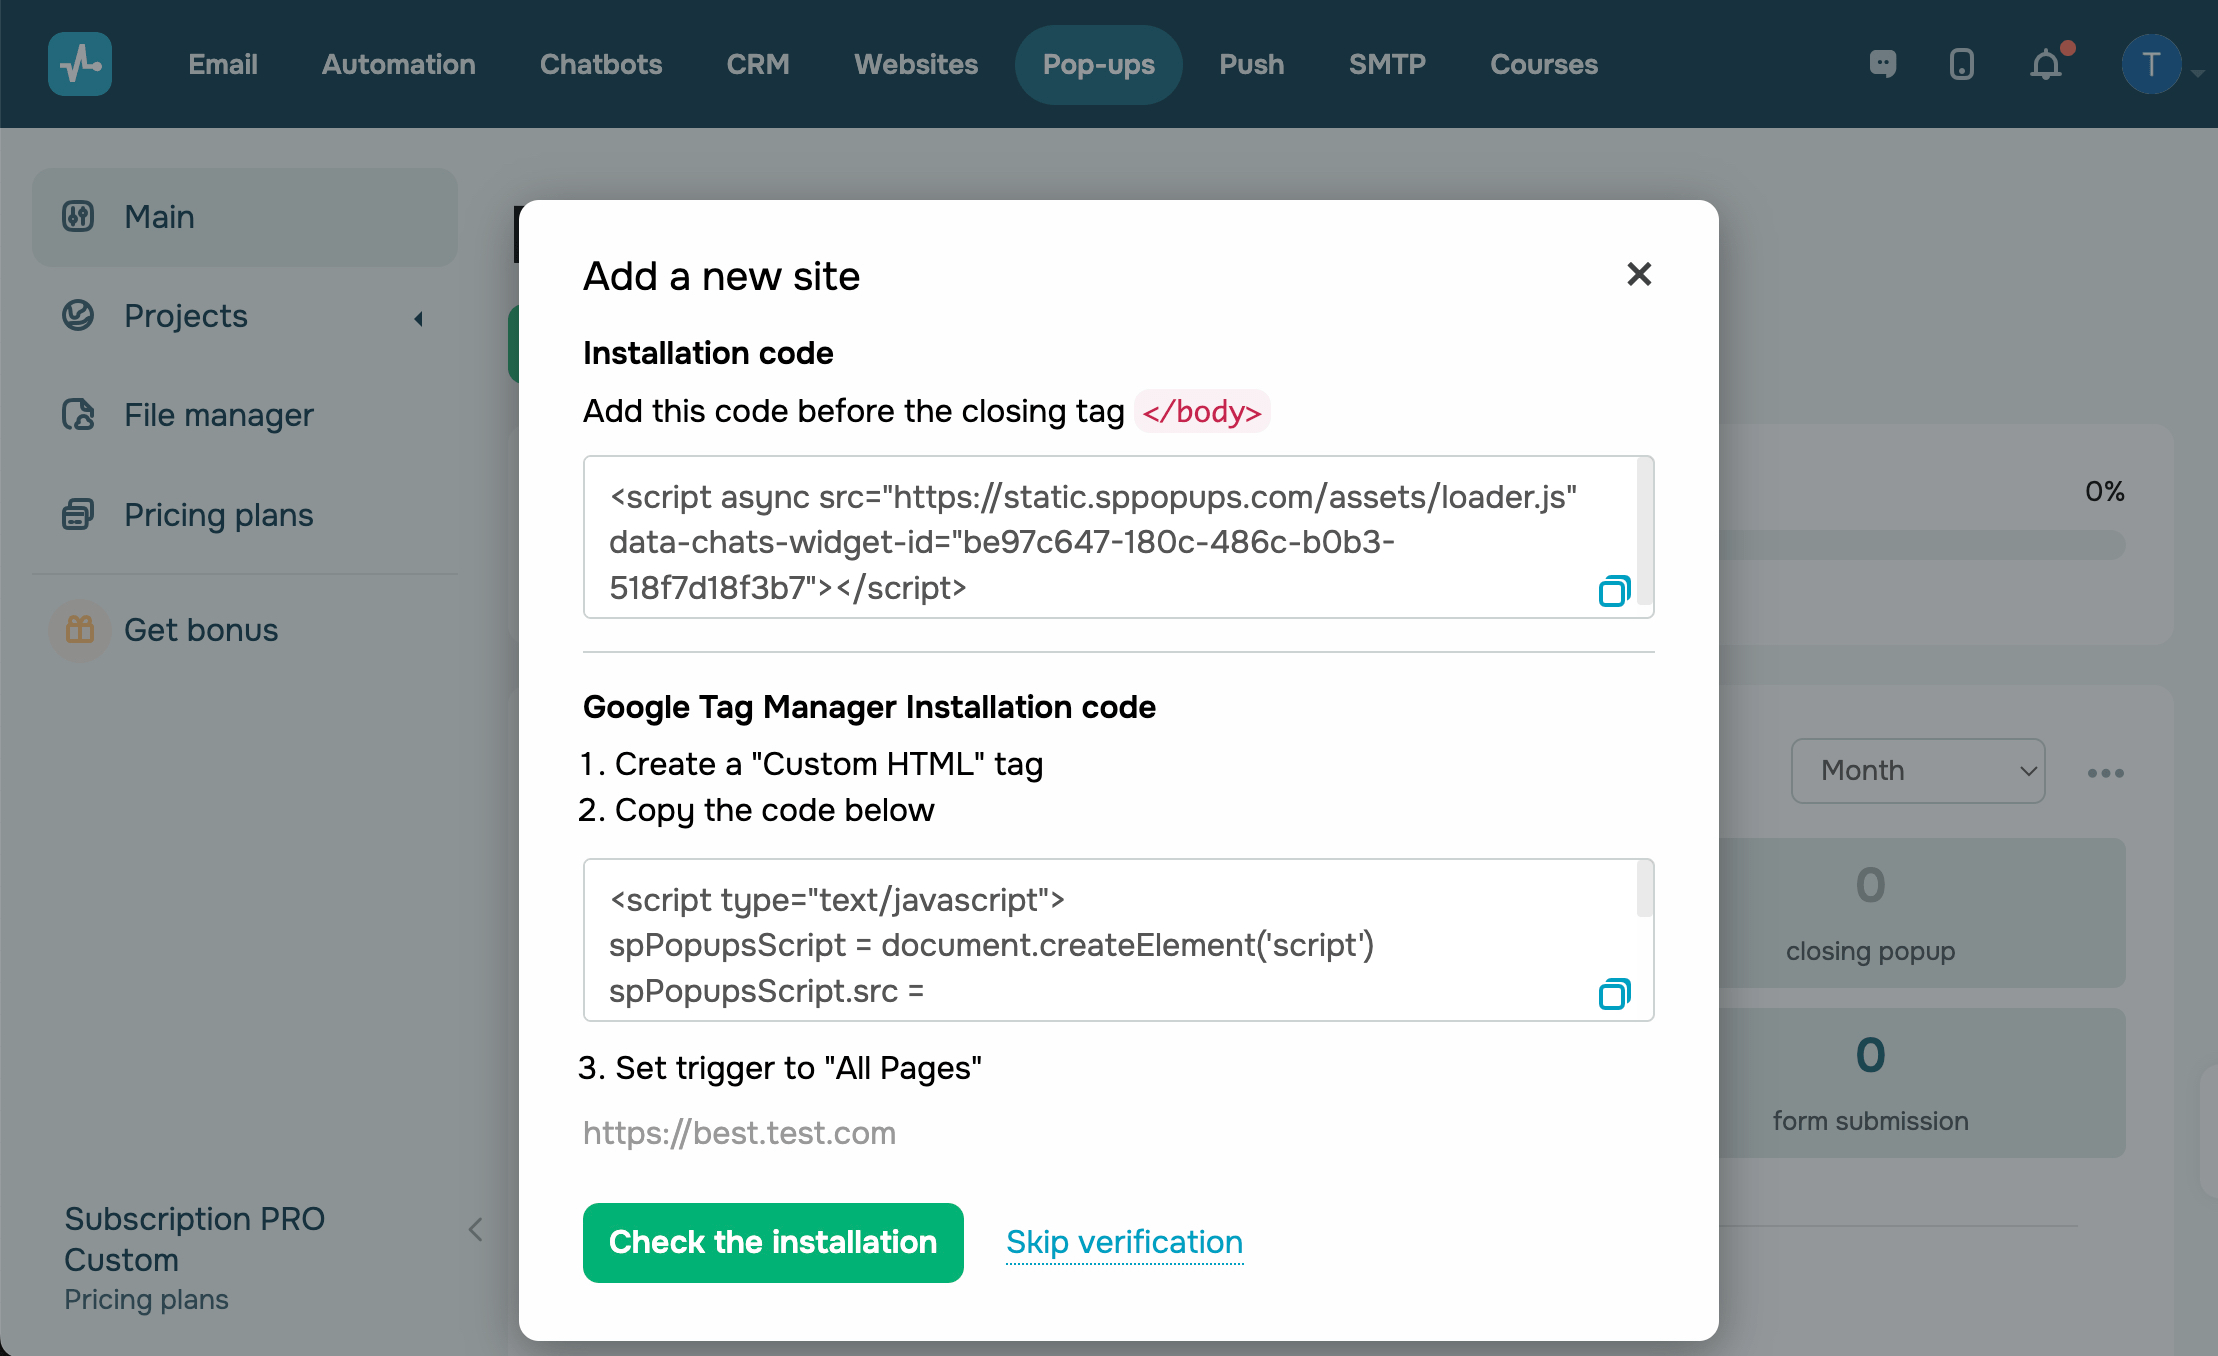
If you want to add your pop-up immediately, copy your code and add it to your site before the closing < /head> tag. Then click Сheck the installation.
If you want to add the code later, click Skip verification. You can copy and add the code later.
Read also: How to add a pop-up and verify the installation and How to add a pop-up to your website.
Your project will be created once you add your site, and you can move on to creating pop-ups and widgets.
With a paid plan, you can add additional domains to your project to display it on different sites.
Create a pop-up
Create pop-ups that are displayed to users based on your selected scenario. Your users’ actions or behavior and data read during a site visit can be your display triggers. You can choose to display information during a certain time, collect visitor data, or redirect them to other pages.
You can display your pop-ups based on one of 30+ conditions or combine them with each other to make the most personalized offer to your target segment.
To create a pop-up that will be displayed based on your scenario, click Add pop-up.
Read also: How to create a smart pop-up and Smart pop-up launch scenario examples.

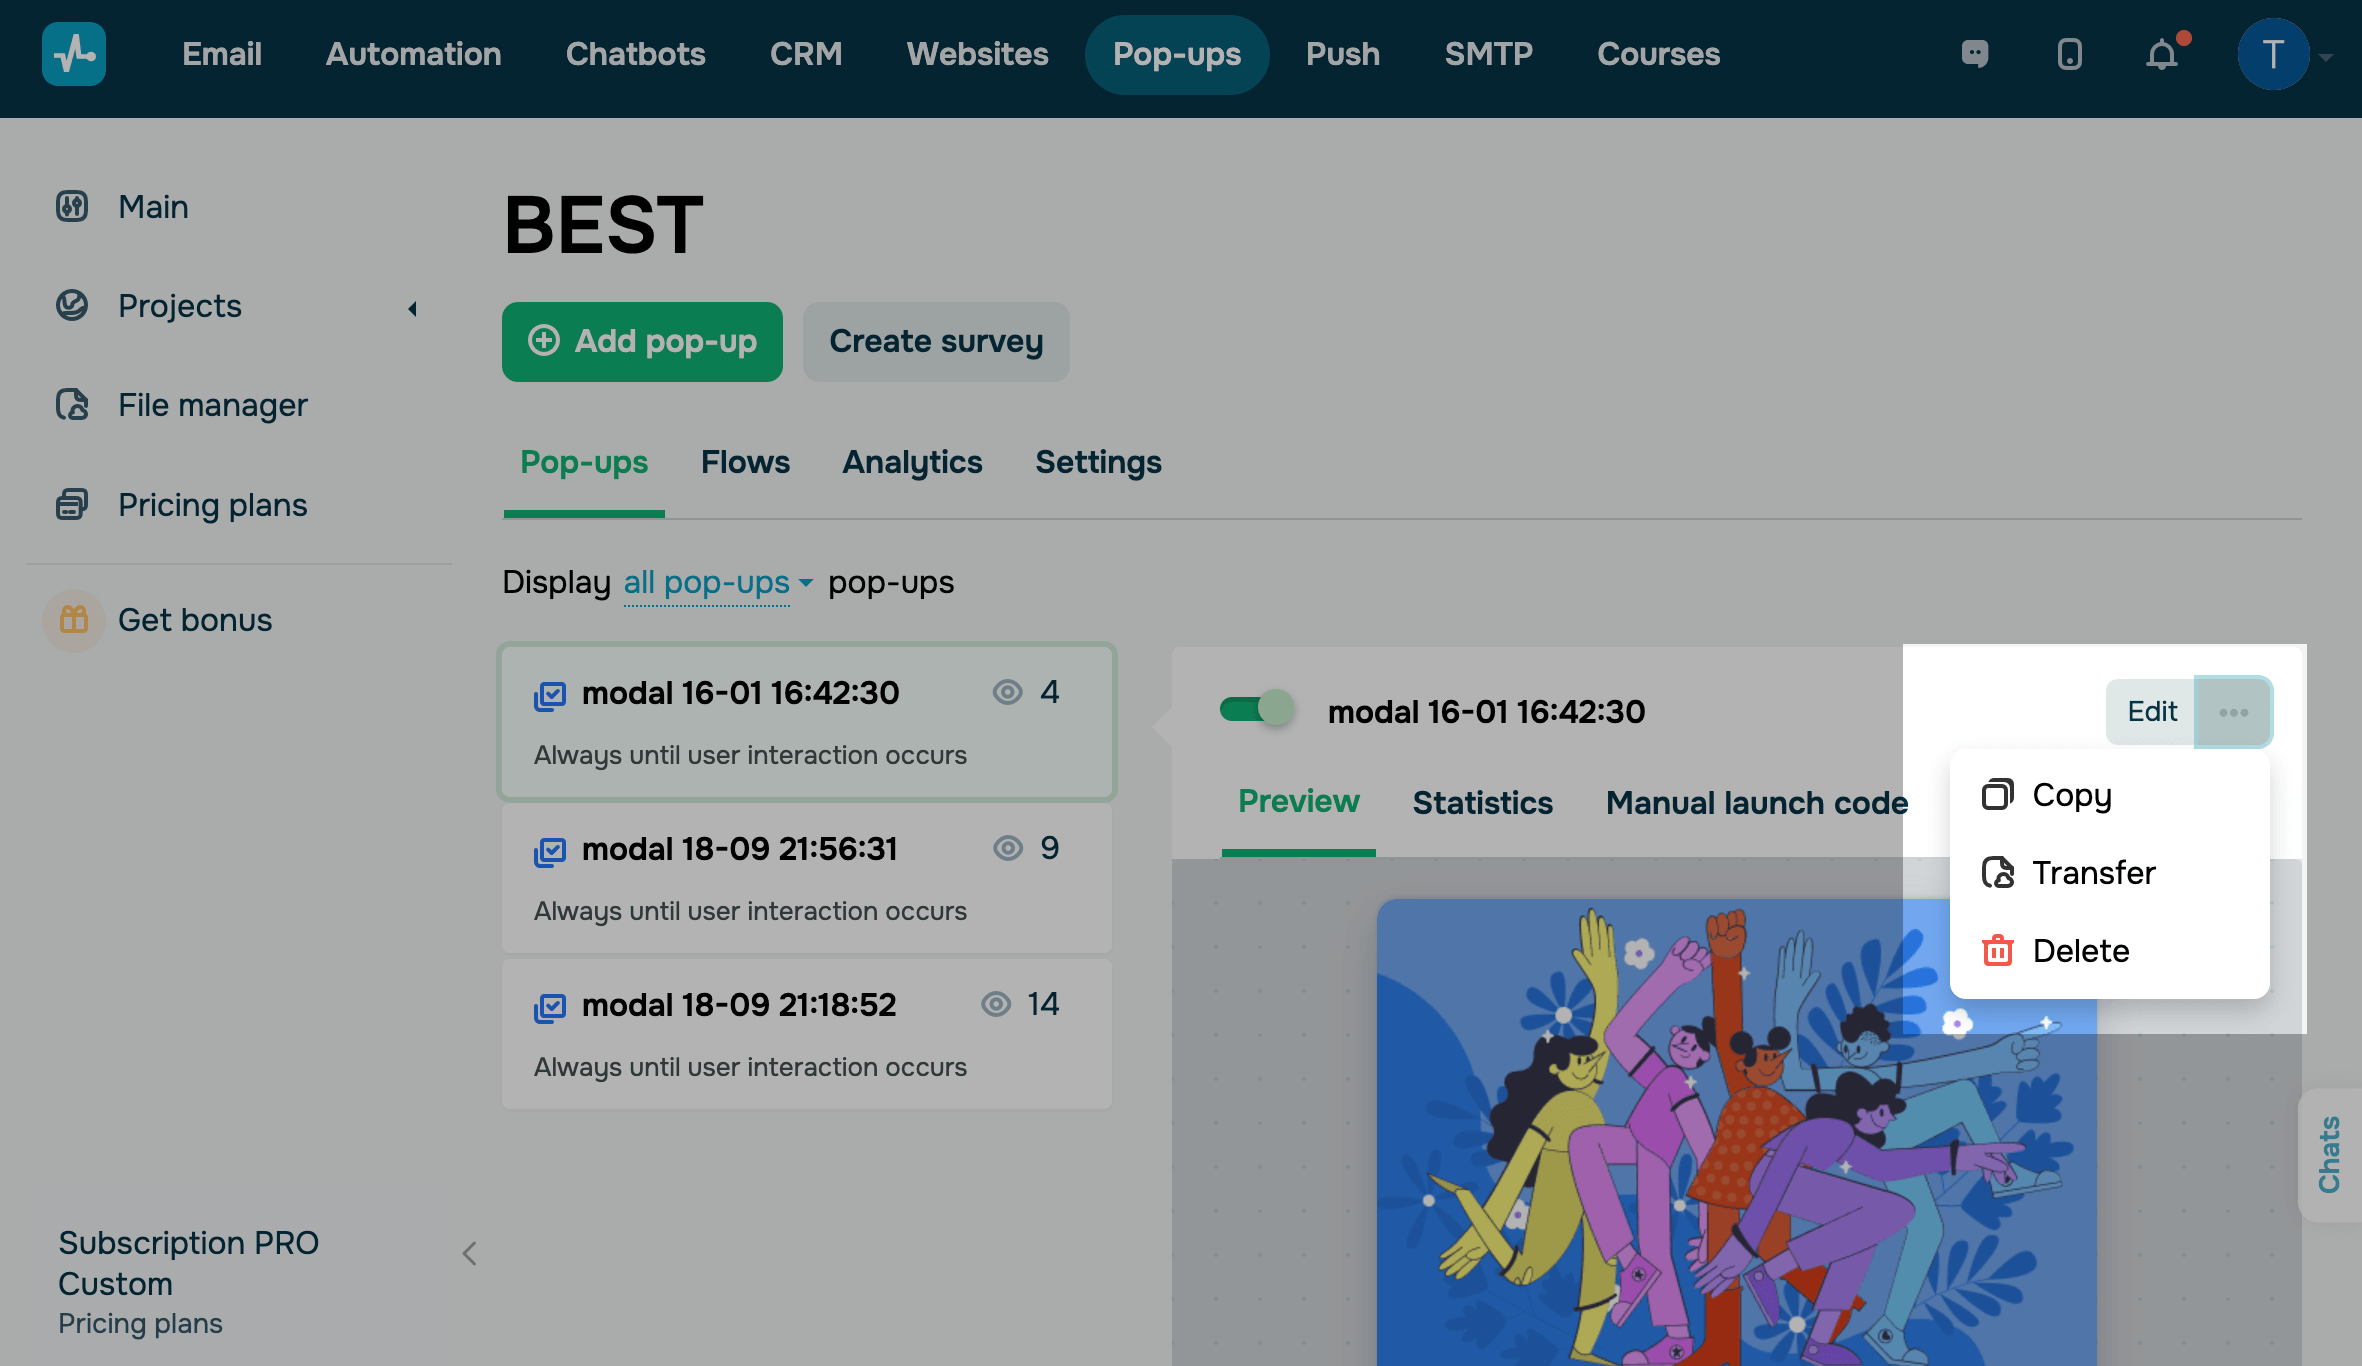
You can view all of your pop-ups in the Display scenarios tab. Select a pop-up to enable or disable it, edit its appearance or scenario, and see previews and statistics.
You can also copy a pop-up to create a similar one with a different offer or display scenario and test different hypotheses.
Customize the socials widget
You can also create a floating panel with social media buttons. Such a widget will be displayed on all pages of your site without a scenario.
Read more: How to create a socials widget.

Set up integrations
Connect webhooks
To send contact activity information about tracked subscriber action events to an external URL, connect webhooks.
Go to the Settings > Integrations tab. In the Webhooks section, click Add webhook URL and select the events you want to track.
Read more: How to set up notifications about new leads using webhooks.

Connect Google Analytics
Connect Google Analytics to send data about your click-through and subscription rates via different communication channels on the site, set goals, and view additional information.
Go to the Settings > Integrations tab. In the Google Analytics section, click Connect and choose the events you want to track.
Read more: How to track your pop-up statistics in Google Analytics.

How to view project information
You can track statistics for the entire project and each pop-up separately to find out how many users saw your pop-up, interacted with it, and subscribed.
To view statistics for the entire project, go to the Analytics tab and select the period for which you want to view statistics.
Read more: How to view project statistics.

You can also view the contacts who have subscribed using your widgets at the bottom of the graph.
To view statistics for a separate pop-up, go to the Display scenarios tab. Select a pop-up, go to the Statistics tab, and choose the period for which you want to view statistics.

Last Updated: 29.03.2024
or